General welding questions that dont fit in TIG, MIG, Stick, or Certification etc.
User avatar
  • Posts:
  • Joined:
    Mon Mar 03, 2014 5:44 pm
  • Location:
    East Coast Canada

Hi folks, a fellow asked if I could help with repairing a fin on his out board motor. Looking to see if anyone has had experience welding on these. I was thinking of Tig for a process. I have 4043 and 5356 on hand for filler. I'm wondering about pre heat, post heat? Also I figure I'm going to have to build a piece to replace the missing chunk out of some aluminum flat bar.

I appreciate any help and recommendations!
image001.jpg
image001.jpg (54.82 KiB) Viewed 604 times
image002.jpg
image002.jpg (53.07 KiB) Viewed 604 times
image003.jpg
image003.jpg (46.97 KiB) Viewed 604 times
User avatar
  • Posts:
  • Joined:
    Thu Jan 06, 2011 11:40 pm
  • Location:
    Near New Orleans

Millwrightwelder,

This repair is quite common. I could comment, but several here have more experience than me in this specific repair.

Be patient, and within 36 hours, you'll have more answers than you can use... 8-)

Steve S
User avatar

Rundquist.com has a bunch of info on prop and skeg repairs


Sent from my iPhone using Tapatalk
TamJeff
  • Posts:
  • Joined:
    Tue Dec 04, 2012 4:46 am

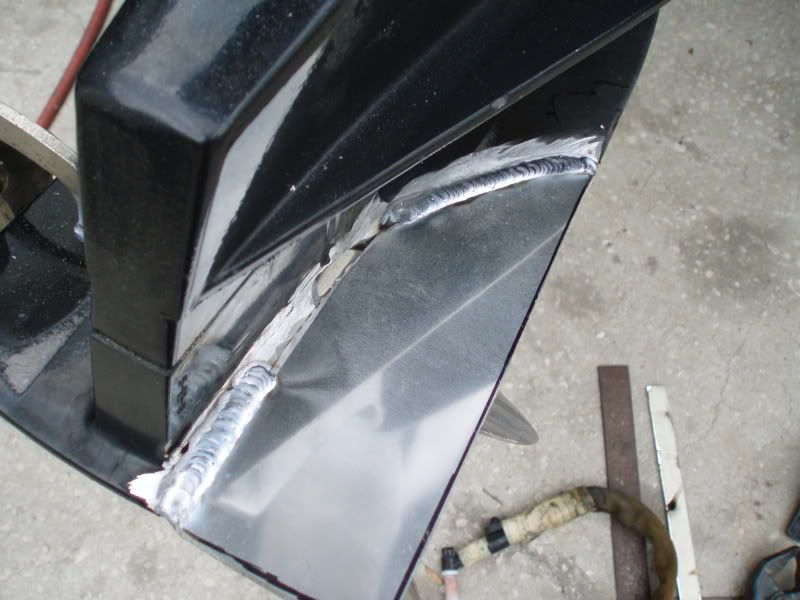
I have to repair these frequently. 4043 is a good choice, but untrapped parts like what you show are not so prone to cracking since most of the distortion has a place to go and there is no tension stored in that area.
Image

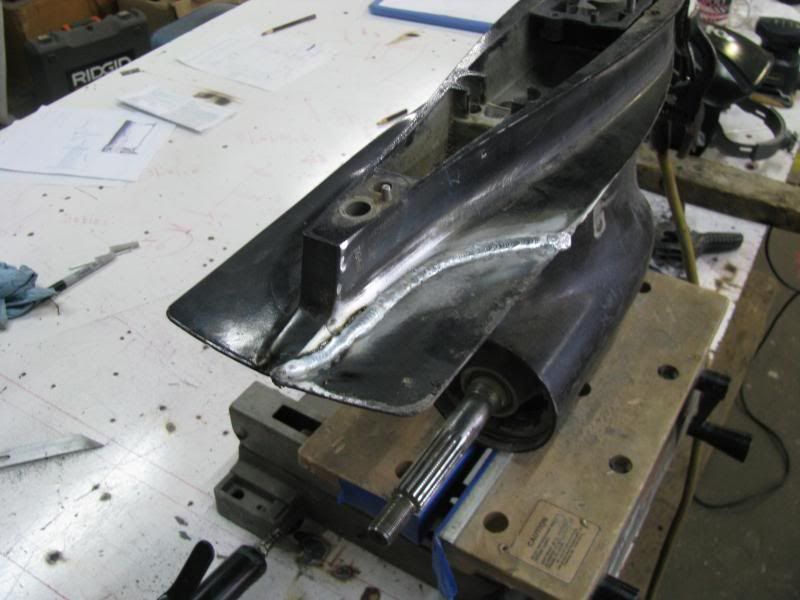
I welded this section at around 220 amps, IIRC. I build it higher than normal so there is plenty to grind down without the need for additional passes and added heat fatigue or distortion.

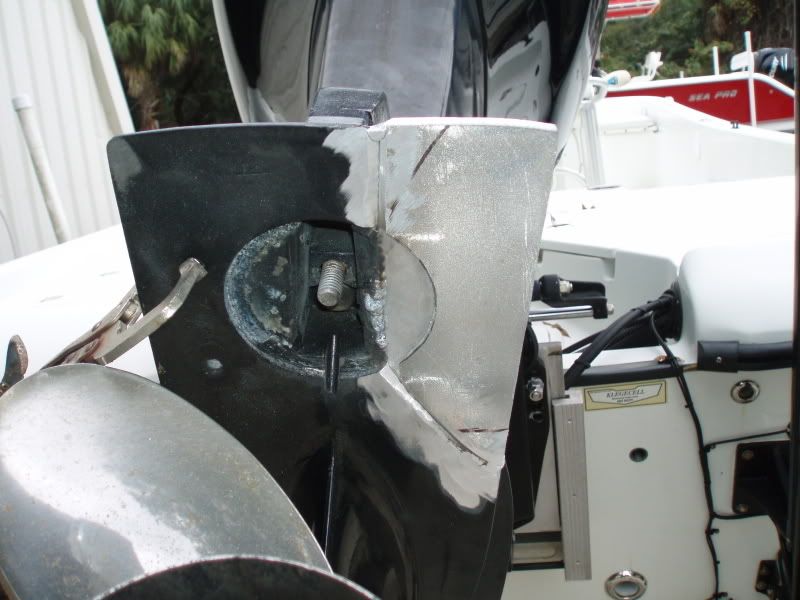
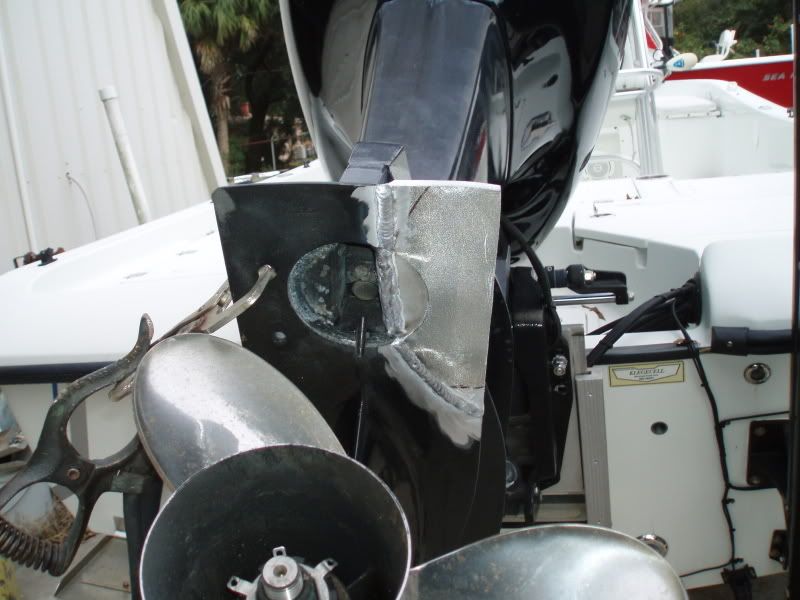
Very seldom do I have the original piece, so I use a filler piece that matches the component at it's thickest part. Either way, this is pretty much how I set it up.
Image

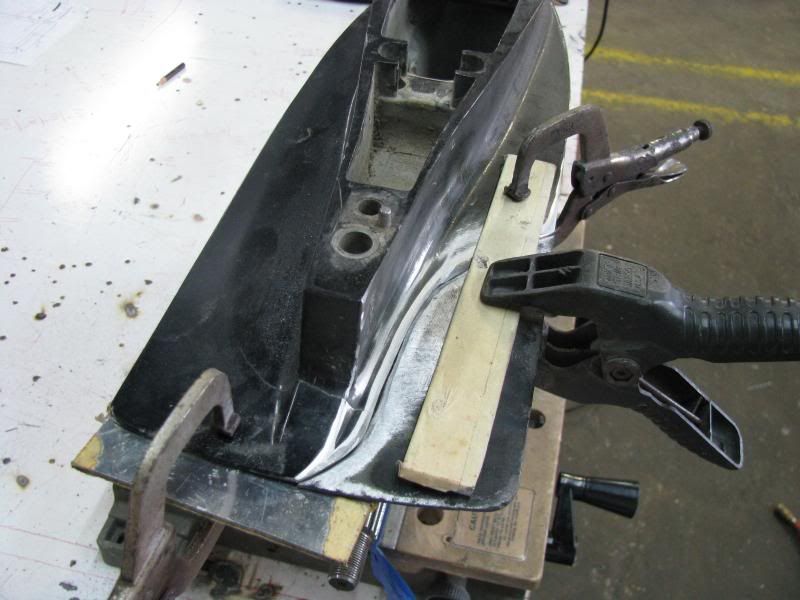
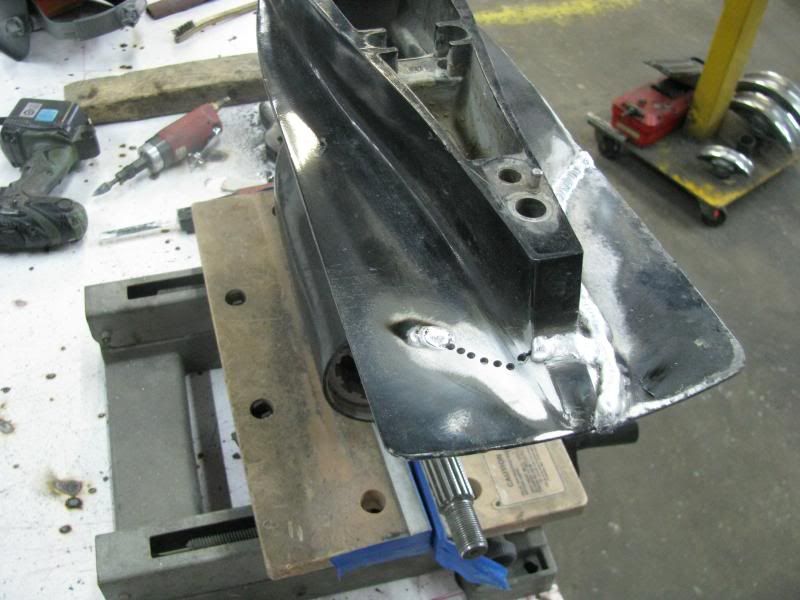
And here is how I deal with any additional cracks. Drilling every other spot, leaving a subduction zone reduces shrinkage. You can watch the remains of the crack where it is not drilled to see how the heat is effecting the part. If all is moving well, I just burn it all in.
Image

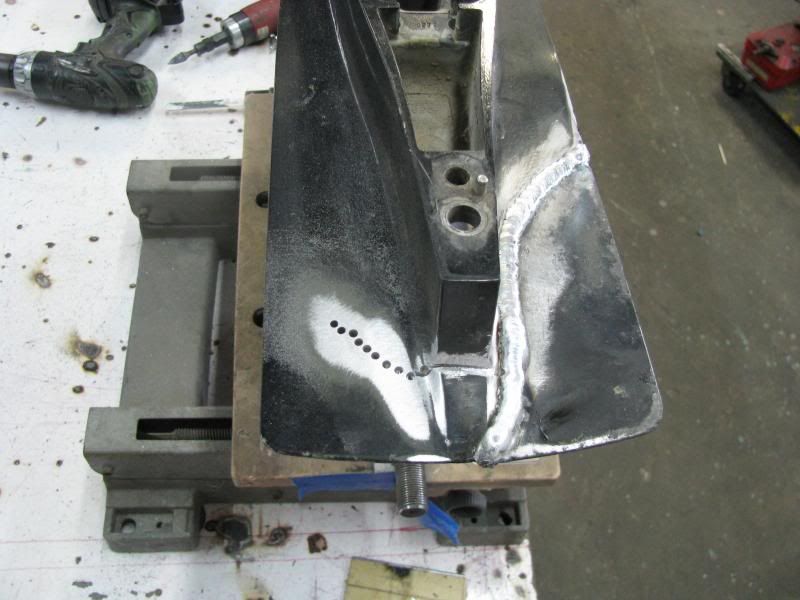
Sometimes, reading the in between the drilled holes will indicate coming at it from each direction towards a center point.
Image

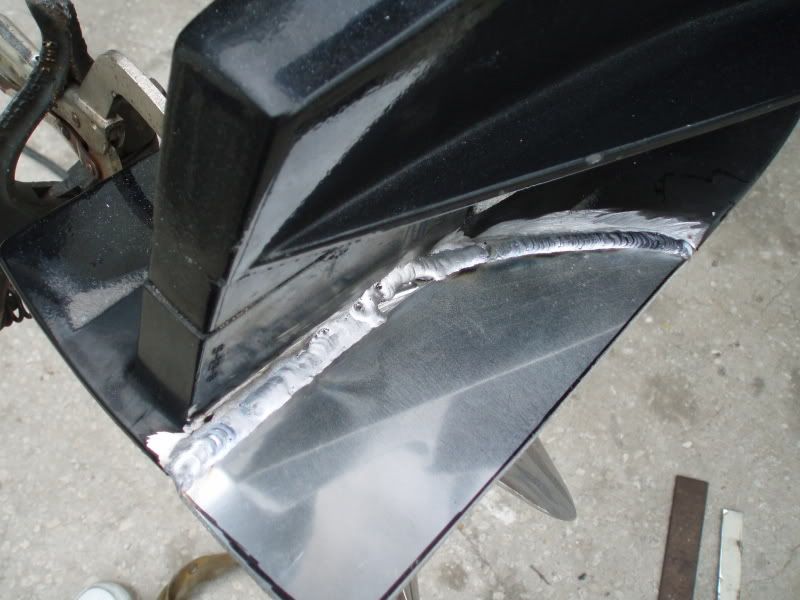
Then it gets all ground smooth. You usually don't have to leave the zipper on external sections if you get good penetration through to the other side. I'll let it penetrate through and then blend weld the root side.
Image

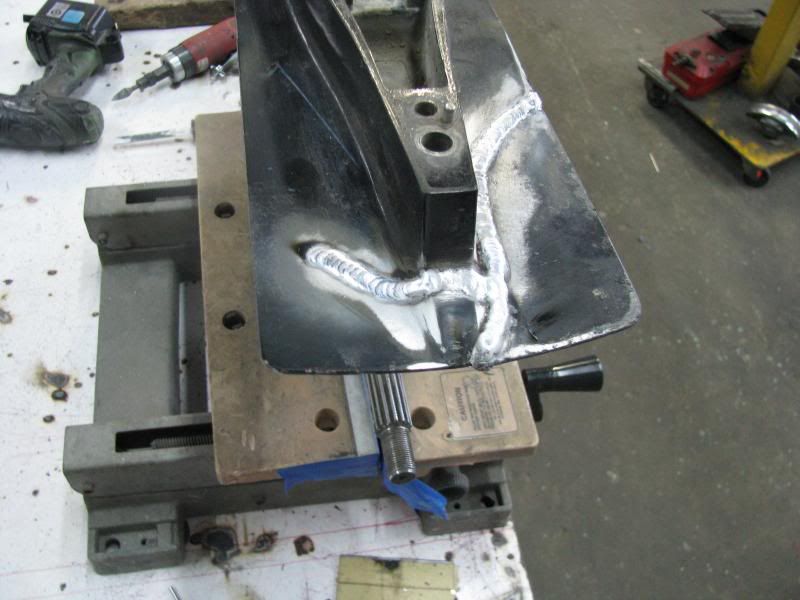
The problem most people make with cast is they try to get pretty beads like on regular aluminum. I fill it until I get all the trash out of the weld zone so that I am not chasing pits and scum pockets etc for hours. I use these high build, fast freezing, fudgey welds if they are to be ground off smooth. All the crap will be on top. If I have to leave the weld zipper, I make it neater.
Miller ABP 330, Syncrowave 250, Dynasty 300 DX.
Honorary member of the Fraternity of Faded Tee Shirts.
TamJeff
  • Posts:
  • Joined:
    Tue Dec 04, 2012 4:46 am

This is probably the one I should have posted. If it's too many pictures, I can delete them.

This one shows having to make the missing piece, Including the trim/anode section. I used a router to 'machine' the recess.
Image

There was an odd break near a thinner section at the center. If I had notched the plate to fit up into that hole, it would have been too thick so I left it so that I could taper the thickness off with weld instead. Saves time with the die grinder.
Image

You can see in this photo where I just prefilled the void. The remainder of the regular weld will burn all that in. Keeps shrinkage at a minumum etc.
Image

Blend the root on the back side and grind/sand accordingly.
Image

I was able to finish it pretty closely with what grinding stuff I had on hand to this point, and then I brought in some drum sanders for the dremel to neaten up the small radius the next day, if I remember right.
Image

Hope this helps. Just get rid of all that salt metal before you do anything.
Miller ABP 330, Syncrowave 250, Dynasty 300 DX.
Honorary member of the Fraternity of Faded Tee Shirts.
sgtnoah
  • Posts:
  • Joined:
    Thu Mar 07, 2013 9:02 am

Jeff,

That is some beautiful work! Thank you for posting these multi-photo repair journals that you have done quite a few times.

-- Pete
TamJeff
  • Posts:
  • Joined:
    Tue Dec 04, 2012 4:46 am

The thing about cast, if you have to finish it smooth after the fact, if you weld it neat, there will almost always be a deficit requiring additional passes and it just grows from there on out having to compensate for distortion. Next thing you know, the whole area is a pad of beads requiring a LOT of grinding. You can't really charge a customer for all that fairly. Try to get it in one pass, keeping the grinding localized to the weld itself.

Here, the piece was not a consistent thickness so I thickness profiled it first on the band saw to get it close.
Image

Then a thick bead on the verge of overlap.
Image

And it will usually grind and sand down in two steps. Once over with the milk wheel to get it close to flush, and then some blending with 80 grit on the RO sander and no need for putty.
Image

You can tell by the paint that the part did not get overheated.

Always cut the parts oversize and cap the ends of the weld well beyond the edges. It's much easier to do when the weld is thicker so that it doesn't wash the thin edges away.
Miller ABP 330, Syncrowave 250, Dynasty 300 DX.
Honorary member of the Fraternity of Faded Tee Shirts.
User avatar
  • Posts:
  • Joined:
    Mon Mar 03, 2014 5:44 pm
  • Location:
    East Coast Canada

Thank you very much for the help! I will be sure and post the results if the gentleman gives me the go ahead to do the job for him.
Post Reply