Tig welding tips, questions, equipment, applications, instructions, techniques, tig welding machines, troubleshooting tig welding process
ManSkirtBrew
  • Posts:
  • Joined:
    Thu Mar 11, 2021 5:59 pm

I noticed my stainless welds have not been looking great--gray and wandering. Found some good info (like this) and got to practicing.

I started in the top right, just making a puddle like Jody suggested.
start.jpg
start.jpg (130.37 KiB) Viewed 1384 times
Looked good, so I went on to run a bead with no filler, which also looked fine. Then I added filler, and we get what you see on the bottom right below:
final_product.jpg
final_product.jpg (275.59 KiB) Viewed 1384 times
The puddle wandered all over the place as I added filler. I did my best to keep the tip of the rod in the argon cone. I did one final puddle without filler afterward to make sure it wasn't overheating or contamination in that part of the coupon. You can see that in the bottom left.

I wiped everything thoroughly with acetone before I started, including the filler rod. What else would cause it to blacken up so badly? Can filler rod just be bad, or could it be technique? I know the rod is a little thin for beads this size, but could it cause a problem like this?

1/16" ER308L filler. 1/8" stainless coupon. 3/32" 1% lanthanated tungsten, freshly ground. 100A, 15CFM argon. #8 gas lens.
cj737
  • Posts:
  • Joined:
    Thu Sep 29, 2016 8:59 am

Two things I see: top picture with close-up of your tungsten- tip looks FUBAR. Grind it clean and don’t practice stainless with a tungsten that is NOT crystal clean and surgically perfect.

Second thing- 100 amps is on the limit for 0.125 material with 1/16” filler. It looks like the amperage is too low and you’re having to travel too slowly to accommodate the filler into the puddle.

You can weld stainless with a #8 cup, but a #12 is better especially for flat. If you do jump up to that cup size, increase your gas flow to about 30CFH. With a #8 I’d run closer to 20CFH.
User avatar
  • Posts:
  • Joined:
    Thu Dec 26, 2013 12:41 am
  • Location:
    Laredo, Tx

15 CFH is fine if A) you were using a much shorter tungsten stickout from the cup, or B) you were welding an inside corner type of joint that naturally traps argon and keeps it lingering around longer. I would say either decrease the stickout to half of what you are presenting OR bump it up to 20-25 CFH.

A very critical part that we can't see because we didn't see you actually make the weld bead with the filler is arc-length and torch angle. I would say, chances are high that when you made the single-beads without the filler, you held a very tight arc length, but when you went on and introduced filler, you inadvertently used a much longer arc length and most likely used too much tilt on the torch angle because now you had to see a lot more action going on underneath the cup. Coupled with what I feel is a very low argon flow-rate, led to a gray, oxidized weld bead. I am assuming and going out on a limb here that these are your very first SS TIG beads?
Image
Spartan
  • Posts:
  • Joined:
    Fri Mar 06, 2020 8:59 pm

Too much heat into the part. There's a very real downside to those little coupons that people sell on the internet....they saturate with heat incredibly quickly, especially SS.

Increase your travel speed and get bigger coupons.

And practice, practice, practice.
tweake
  • Posts:
  • Joined:
    Mon Dec 18, 2017 4:53 am
  • Location:
    New Zealand

Spartan wrote: Thu Jul 15, 2021 11:05 pm Too much heat into the part. ........
Increase your travel speed .......
as spartan mentions there to much heat in the material, which is caused by going to slow.
the reason for going to slow is amps is a bit low and filler is to small.
tweak it until it breaks
ManSkirtBrew
  • Posts:
  • Joined:
    Thu Mar 11, 2021 5:59 pm

Thanks for the suggestions, all. No, it's not my first time doing stainless, but I am new to using a gas lens, which is why I sat down to practice.

So I grabbed a pack of coupons to try out all of your suggestions. I figured I'd try them one at a time and see the results. Science!

I used a fresh coupon for each bead and welded on a hunk of aluminum that I cooled every few beads. I was also extremely careful about maintaining a consistent arc length, to the best of my abilities, as well as torch angle. Each coupon got a green Scotch-brite and acetone before use.

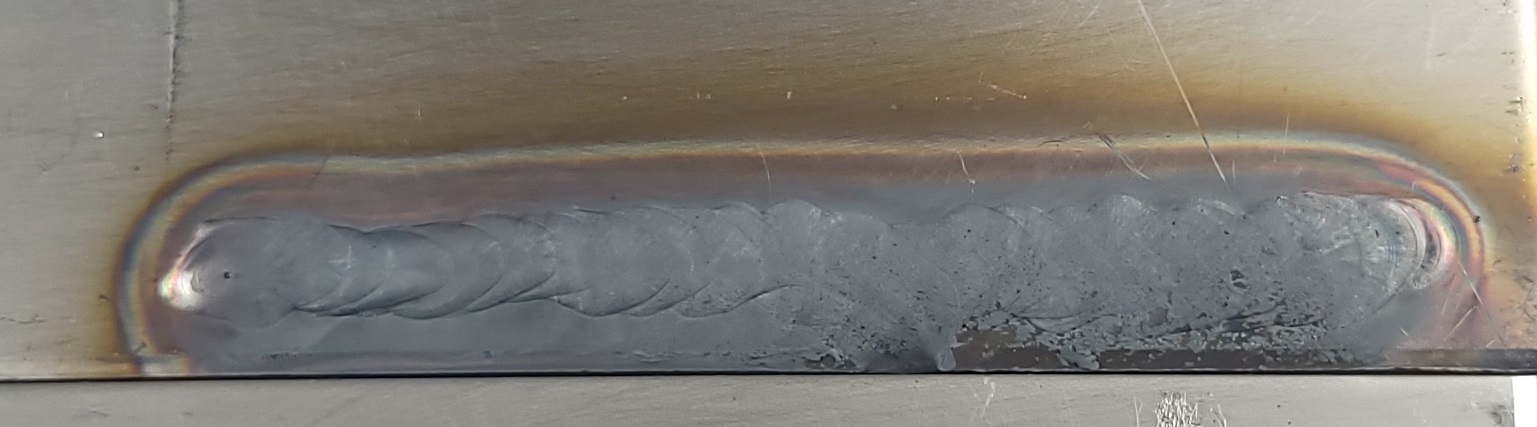
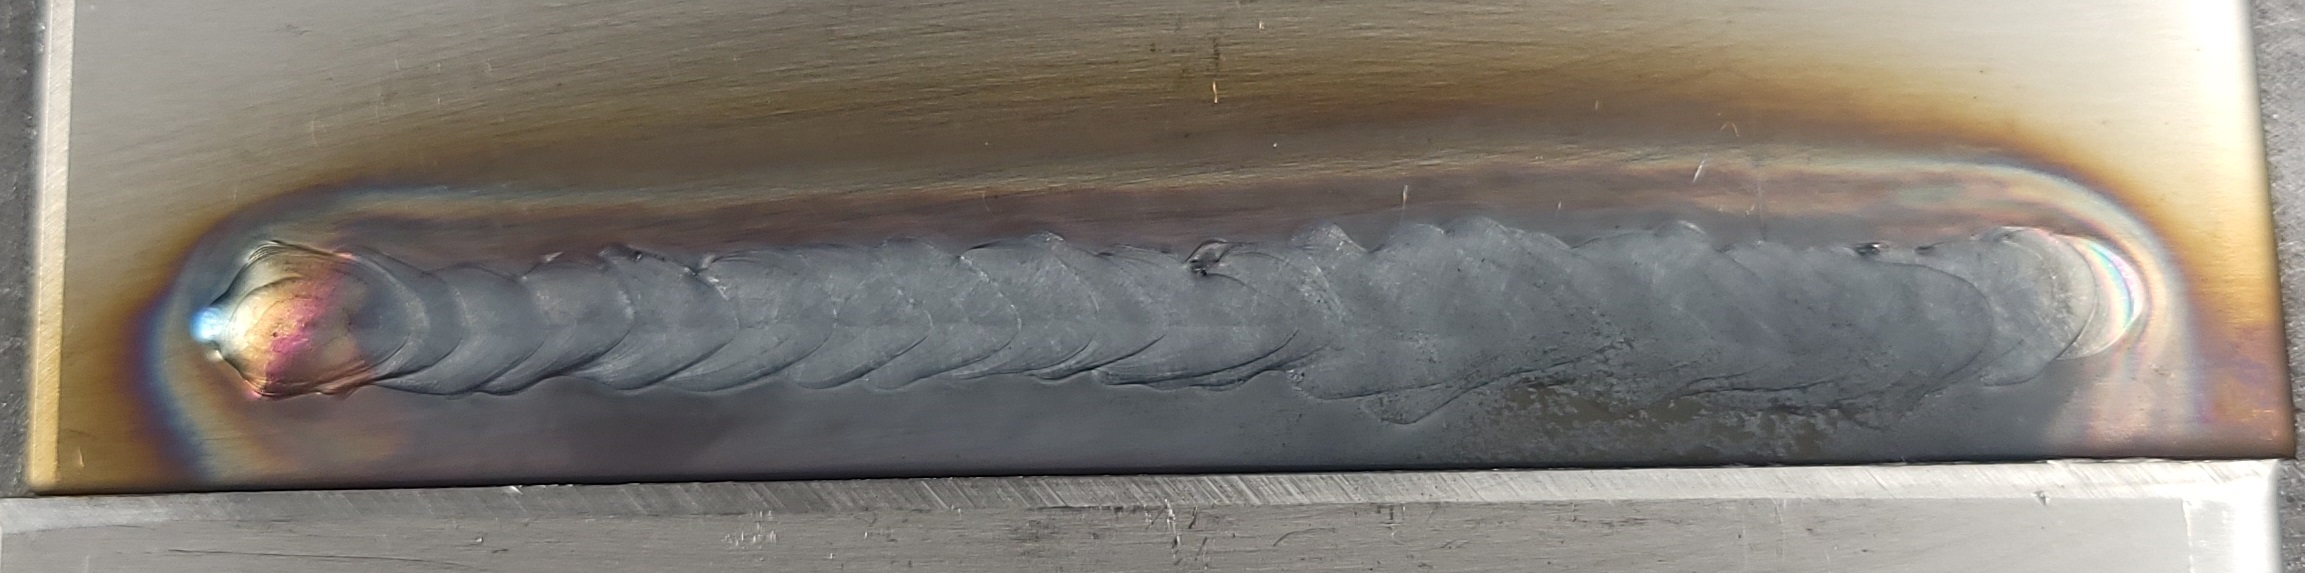
First, the control bead with no settings changed. 100A, 15CFM, 1/2" stickout, no filler.
20210716_103406.jpg
20210716_103406.jpg (50.76 KiB) Viewed 1320 times
20210716_105518.jpg
20210716_105518.jpg (99.17 KiB) Viewed 1320 times
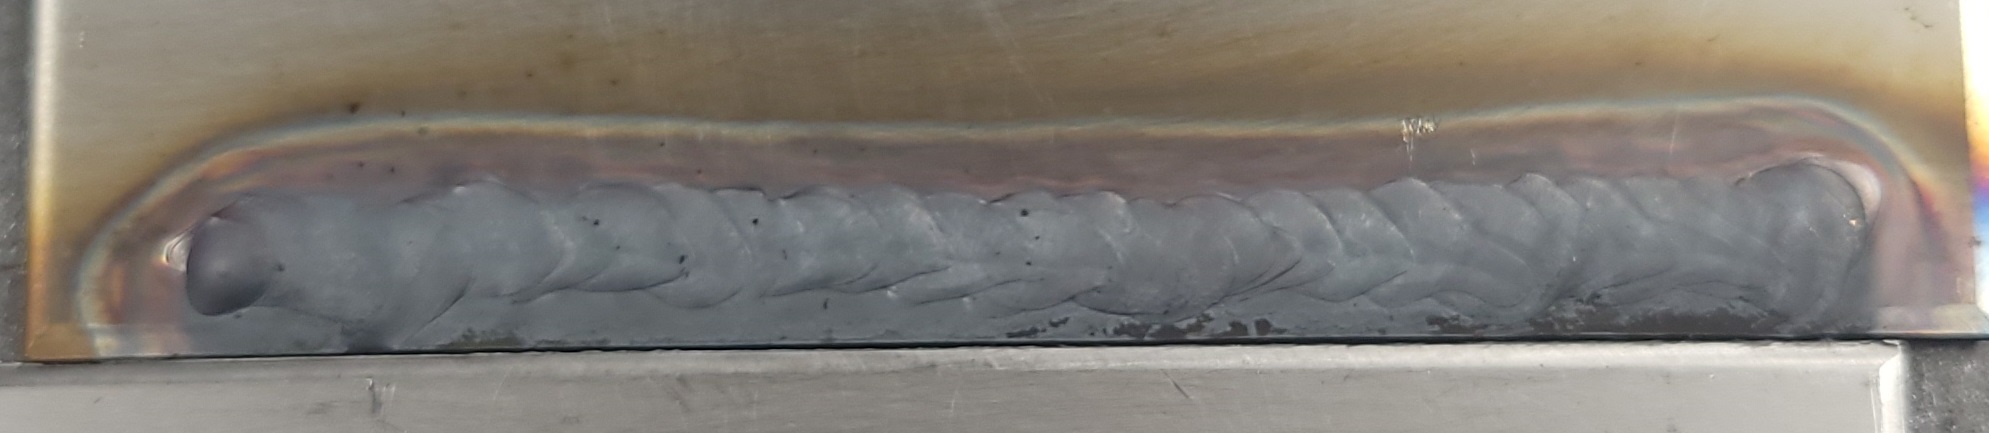
First suggestion: filler too small. Moved to 3/32" ER308L.
20210716_105521.jpg
20210716_105521.jpg (152.45 KiB) Viewed 1320 times
Second: too much stickout. Reduce to 1/4".
20210716_104321.jpg
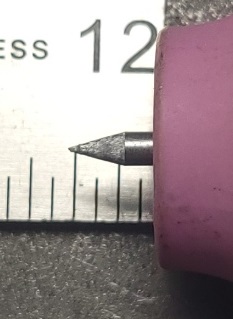
20210716_104321.jpg (21.89 KiB) Viewed 1320 times
20210716_105524.jpg
20210716_105524.jpg (161.96 KiB) Viewed 1320 times
Third: more CFM. Gas up to 30CFM.
20210716_105527.jpg
20210716_105527.jpg (207.38 KiB) Viewed 1320 times
Fourth: not enough amperage. Move up to 120A.
20210716_105530.jpg
20210716_105530.jpg (321.69 KiB) Viewed 1320 times
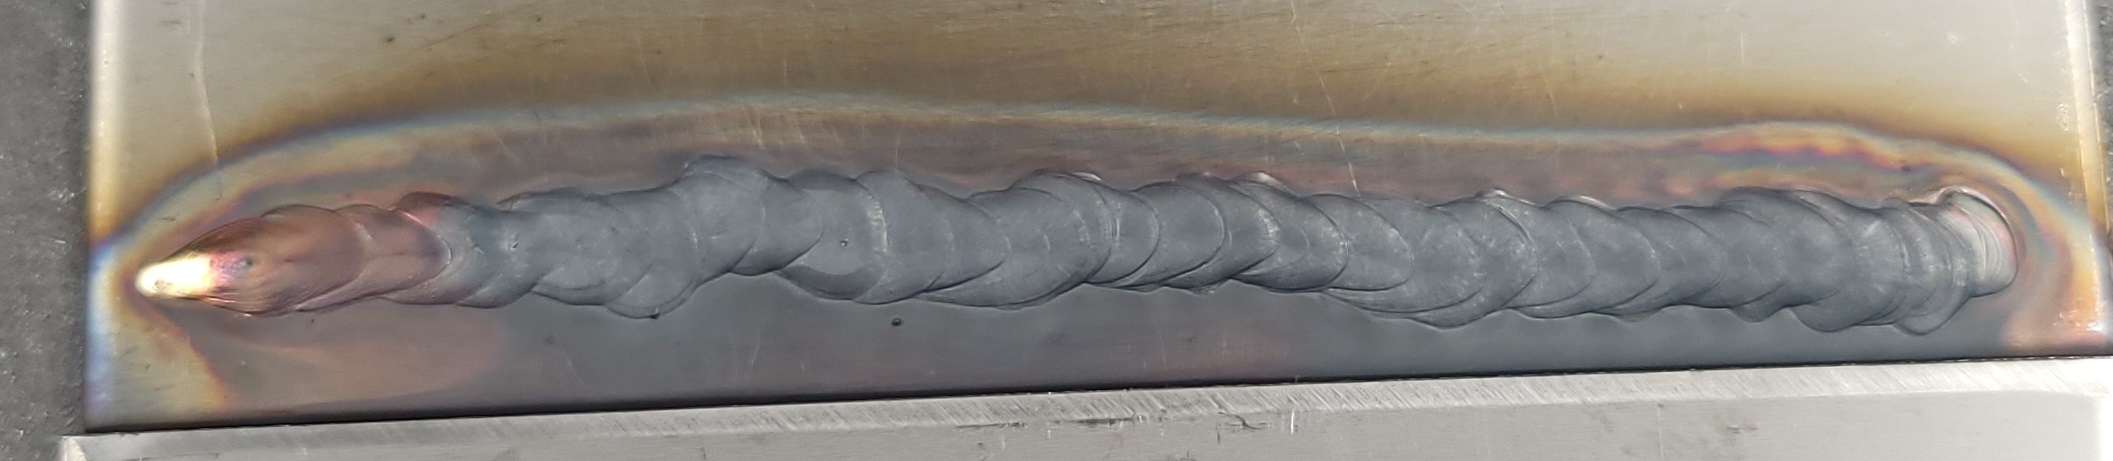
I noticed the beads have elongated, pointy ends, which reminded me of a video where Jody said that means too much amperage. The googles suggest 2/3 of an amp per thousandth (125 * 2/3 = 83.3), so I went way back to 85A and:
20210716_105543.jpg
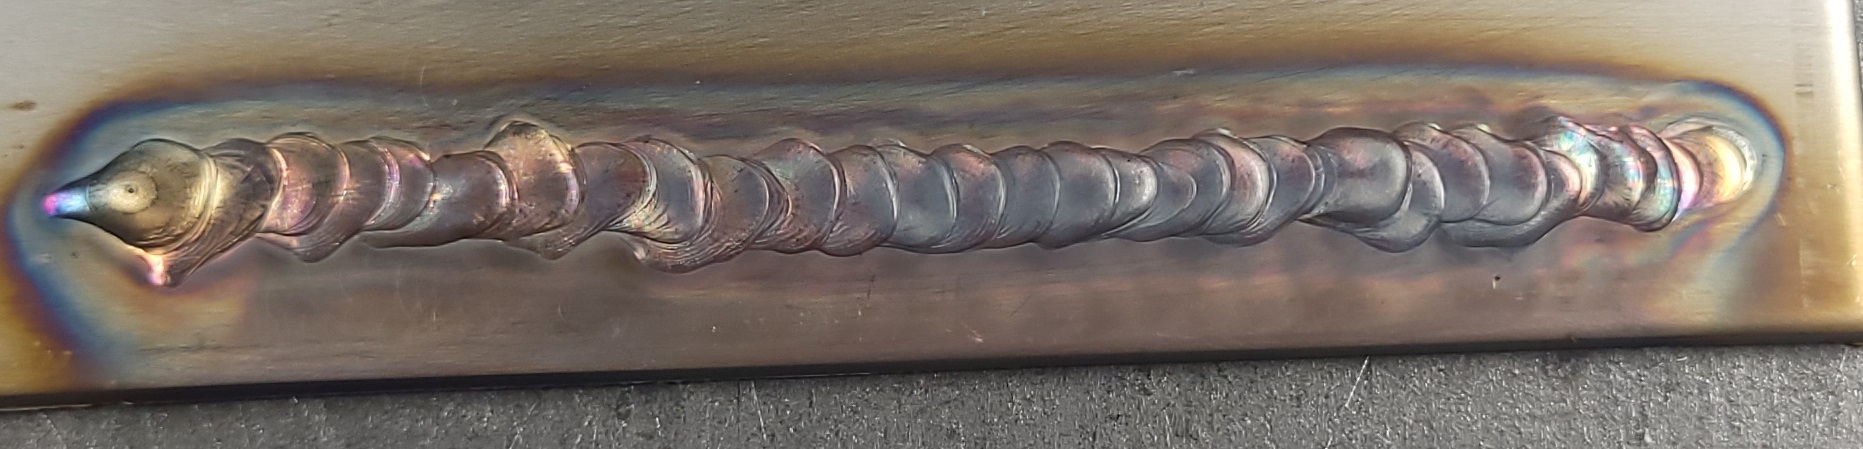
20210716_105543.jpg (247.36 KiB) Viewed 1320 times
So I've still got a ton of practice to do (obviously!) but the results are night and day. The heat affected zone doesn't look any wider than the other beads I did at higher amperages.

I'm left with questions:

Since several folks suggested *more* amperage, is there something I need to practice here? Move faster? Won't that make my puddles even more pointy?

Why is 2/3 of an amp per thou the rule of thumb if folks are telling me 100A is barely enough?

Thanks again for all your advice.
cj737
  • Posts:
  • Joined:
    Thu Sep 29, 2016 8:59 am

So what you are beginning to understand is that welding is as much art as it is science. Travel speed, amperages, equipment becomes very personal. For some, they could weld IG welds with a coat hangar and a battery crossed up. Others, they need every conceivable advantage of technology and gear to turn out good-looking welds.

When I autogenously weld .125 stainless, I run 93 amps, no pulse. Maybe I foot pedal it a bit, but... Once I start introducing filler, you have to increase amps. The filler cools the puddle rapidly.

To Jody's point about "pointy" beads being too much heat, you can also interpret that as "too slow of travel". Heat with stainless is a function of time spent more than simply amperage used. Pointy beads can also be a good indicator of a poor torch angle, insufficient filler, etc. Unless someone is standing over your shoulder watching you, mostly we are making educated guesses by the outcomes we see.

Set your phone up to film you (don't worry about the puddle/arc shot). Watch your torch angle, body position, arms and hands as you move. See if you begin tilting unknowingly while welding. 30CFH for a #8 is way too much gas. You're apt to cause turbulence more than improve the shielding.

Your "third picture" shows a very inconsistent filler amount which means you must alter your travel speed to wet it in between each bead. The longer you loiters the more cooked your beads will be. Stainless requires to set it right and Go! You don't get a lot of chances to fix it later.

Find the recipe that works for you and then spend time under the hood making it muscle memory. You'll get it soon enough.
Post Reply