Tig welding tips, questions, equipment, applications, instructions, techniques, tig welding machines, troubleshooting tig welding process
Kodokan
  • Posts:
  • Joined:
    Thu Nov 04, 2021 2:05 am

Time to start working on penetration.

Ran a bunch of beads on 1/16 inch steel with the home torch. Cranked up the amps. Did these non-stop, so the metal got very hot. Got penetration, but have a way to go, before making good dime stacks on the back of the weld. Usually, if I get good penetration, the bead isn't convex enough on the top. Will keep practicing.

Image

Image
Kodokan
  • Posts:
  • Joined:
    Thu Nov 04, 2021 2:05 am

If you look at the last pic of aluminum practice, there's no cleaning/brushing off the oxide layer. Takes longer than welding, so I was skipping it. Didn't realize how important it is.

On tonight's aluminum, I scrubbed everything. Wasn't going for good looking beads. Just wanted to work on penetration. Went from 65 amps to 100 amps on 1/16" aluminum.

Feels like I'm on the right track.

Image

Image
Kodokan
  • Posts:
  • Joined:
    Thu Nov 04, 2021 2:05 am

Burner frame for the hot air balloon, and a third hand which I simply hold with a vise-grip. I rest the magnetic cricket on the vise grip so the small piece being held is grounded.

Image

Made a jig to hold up the burner frame while I TIG braze the struts to the basket. Then, I'll remove the jig and braze to the frame.

Image
tweake
  • Posts:
  • Joined:
    Mon Dec 18, 2017 4:53 am
  • Location:
    New Zealand

nice going, keep it up :D
tweak it until it breaks
Kodokan
  • Posts:
  • Joined:
    Thu Nov 04, 2021 2:05 am

Thanks, tweake.

The 2 metal sculptures are fun because I don't expect them to look good. I do expect to learn something about TIG brazing, though. Sometimes, when I light up on the tips of these little rods, they just disappear. Then, I have to bridge the gap with bronze filler, which is way more challenging.

Caught an issue with my custom fuel tank drawings. On the lower section, the sides sit on top of the bottom plate, but the front doesn't. In order to have a uniform weld all the way around, I have to extend the bottom plate under the front plate.

A bigger issue is that I'm using flat pieces that meet at various angles. So, if the pieces are cut out with a 90 degree cut, when the pieces come together, there will be a gap. If the gap is on the outside of the tank, it's easier to deal with. If the gap is on the inside, I need to make sure it's welded while there is still access to the inside.

If I could measure the angles, and have the pieces cut with an angled edge, that would be ideal. We'll see what kind of fabrication help I can get. It's always tough when every piece is a one-off or two-off.

Might take some time, but I think if worse comes to worse, I could cut the aluminum tank pieces by hand. Hardest part is buying sheet aluminum online that isn't warped.
tweake
  • Posts:
  • Joined:
    Mon Dec 18, 2017 4:53 am
  • Location:
    New Zealand

its been a long time but i think the trick with tig brazing is to light up on the filler not the work. your not heating the work to melt the filler, your melting the filler to pour onto the work.

tank design i would need to see the design.
however, i prefer to weld each side of the join, because my usual product is dirty (not fuel) and if crap gets into a join it can become a stress riser. plus aluminium doesn't handle vibrations all that well. so i like the joins well filled. lots more baffles than with steel tanks.
also i like to do the bottom first and the top last. ie make a tub and cap it. the top doesn't take much load, tanks are rarely filled to the brim, so its less critical.

how well you do the design and fit up makes a big difference to the welding.
tweak it until it breaks
Kodokan
  • Posts:
  • Joined:
    Thu Nov 04, 2021 2:05 am

Thanks, tweake. Will post some of the fuel tank drawings.

Been around 100F degrees every day. By the time I get to school, I'm too hot to weld. Takes me over an hour to cool down.

Messed around with a sculpture for a while. Ended up grinding the harness struts too short, and started on new ones.

Only laid down 3 beads last night. Here are 2. Starting to get some decent penetration.

Image

Image

Looking for a small rechargeable fan.
Kodokan
  • Posts:
  • Joined:
    Thu Nov 04, 2021 2:05 am

Sorry I haven't posted for a while. Had a 2 week break between quarters at school. Didn't even touch my home torch over the school break.

This is the fan I've been using. Works great!

Image

New semester started, but only had 2 classes where I could work. First class, I had to help someone get started with TIG. Next, I did a challenge to see what I could make in one class.

Image

Image

Yep. Was watching a "Forged in Fire" marathon that day. Found a couple of rusty scraps in the garage to use. Took about 1 1/2 hours. Sharp on both sides. Never tried anything like this before. Did all the brazing with the TIG torch.

I think, next class, I'll bring it in and chop about an inch off the handle, and add a skull crusher.👍
User avatar
  • Posts:
  • Joined:
    Thu Dec 26, 2013 12:41 am
  • Location:
    Laredo, Tx

Kodokan wrote: Fri Sep 16, 2022 11:54 am Sorry I haven't posted for a while. Had a 2 week break between quarters at school. Didn't even touch my home torch over the school break.

This is the fan I've been using. Works great!

Image
So long as it doesn't blow away the shielding gas, looks nice and compact!
Image
Kodokan
  • Posts:
  • Joined:
    Thu Nov 04, 2021 2:05 am

Yeah. When I lower the shield, I turn the rechargeable light on, and the fan off.

Before I raise the shield, light goes off and fan goes on.

Light is awesome, but don't look at it without protection. It's super bright!

Husky 1500 Lumen LED Rechargeable. Highly recommend it.

Image
Kodokan
  • Posts:
  • Joined:
    Thu Nov 04, 2021 2:05 am

Dug out a washer and bolt from my scraps for the skull crusher. Not a traditional skull crusher, but cool for my prison shank style.

Image

Came out okay, but I realized it's too long, and could get stuck in a zombie skull. :mrgreen:

Image

Cut it down to a more traditional size.

Image

This project will never be a keeper. It was a challenge to see what I can do in one class. Now, I'm just having some fun with it. I don't have a clue if this mild steel (I think) is hardenable steel, but I might try a quench, using an O/A torch.

If I had anticipated doing more work on the shank, I would have welded, instead of brazing. Just chose brazing because it looks cool.
cj737
  • Posts:
  • Joined:
    Thu Sep 29, 2016 8:59 am

You’re running too hot on your SilBr which is why your beads are indistinguishable. So either lower the heat and move more slowly, or stuff a lot more filler in (even upsize the rod if needed).
Kodokan
  • Posts:
  • Joined:
    Thu Nov 04, 2021 2:05 am

Yeah, you're right. I was practicing TIG brazing beads for a while, but lost some technique when I had almost a month off.

When my beads on this look janky, I've been using the TIG torch like am O/A torch. Been running the torch a second time over the beads and smoothing out the bronze. Thus, no dimestacks.

I was rushing because I wanted to complete it in one class.

I'm having fun with this one, and it would be cool to try to make a nice one with beautiful bronze dimestacks. Need to get more basic practice in first. I'll keep your advice in mind, thanks! I could definitely use some larger filler rod.
Kodokan
  • Posts:
  • Joined:
    Thu Nov 04, 2021 2:05 am

Heated the blade to that bright salmon color with a rosebud tip, and quenched in oil. Not sure what type of oil was in the quench tank, but it was very light and clean, like vegetable oil.

Image

File skates over the blade, and makes a nice high-pitched sound. I do believe it worked! :mrgreen:
Kodokan
  • Posts:
  • Joined:
    Thu Nov 04, 2021 2:05 am

Getting back to basics. Started doing some aluminum butt welds, focusing on penetration.

Have a long way to go, but improving slowly. Was able to go non-stop, start to finish, on about half the beads- that's new. Still have to stop and re-start sometimes to adjust my torch hand, or the filler rod.

Got some penetration on all my welds, but need to work on consistency. Also, my starts, stops, and spot welding need a lot of improvement.

Got a mix of convex, flat, and concave beads. I started noticing a small divot in the weld pool before it sinks down. That helps. Also getting better at filling up the depression fully with filler before moving on.

My travel speed is definitely too slow. Having decent results, but I'm sure the coupons would be very warped, if I wasn't using a welding/purge fixture.

Getting better at staying on-line, and not veering off in the wrong direction.

Front sides:
Image

Back sides:
Image
cj737
  • Posts:
  • Joined:
    Thu Sep 29, 2016 8:59 am

Don’t need a purge for aluminum, only Ti and other exotics.

Convex beads are an indication of insufficient heat (too low on the pedal or too fast with your travel- you decide). You can weld aluminum slowly, in fact it’s better. Take your time but control the heat so when you add filler, loiter until the puddle gets to the width and height you seek, then move. Lots of people make the mistake of getting a puddle on aluminum and then tearing off because they forgot to reduce/fade the heat while welding.

If you were to weld 1/8” coupons that were 4” long, I’d set my machine for 150-160 amps. I’d get my puddle and dip, get my bead right, then dip and move and wait. By the 6th dip, I bet I’m down around 105 amps to keep my puddle and beads under control. A sinking puddle is good indication you’re getting the penetration you need. Better to gap the joint slightly instead of trying to drive filler all the way through. For practice I get why you’re doing it, but in reality, for material that thin, full-pen is not likely. For full pen joints, you’d be thicker and beveled edges (or gapped joints). Just saying… don’t fret not being able to do something that isn’t “real”.

Your latest pieces look really good and would certainly be suitable for use in the real world.
Kodokan
  • Posts:
  • Joined:
    Thu Nov 04, 2021 2:05 am

Thanks, cj. Will definitely take your advice. Should mention, I was just using the purge fixture to hold the coupons, not actually purging with argon.

I think the reason the instructors are big on penetration is because most students are focused on certification. I guess it takes a strong weld to pass the tests.

I've got a stack of aluminum coupons with various quality of beads from my practice. Thought I would test some, and see how they hold up. There's a big press they use. I think it's 20,000 lbs of pressure.

I throw away the worst beads, and save the better ones. For testing, I started with the worst ones that I kept.

First 3 pretty much just snapped in half.

Image

Next 3 ripped apart on the weakest part of the welds.

Image

Image

Last 3 held together pretty well.

Image

Image

Still hanging on to my best ones for a while. Functionally, they're probably okay. Need to work on consistency, and better appearance.
Kodokan
  • Posts:
  • Joined:
    Thu Nov 04, 2021 2:05 am

Haven't had much cool stuff to post lately.

Trying to figure out some better technique. Did some padding on aluminum sheets last night. The sheets are 1.5" x 6" and I covered at least 7 sheets. I was looking at the beads at the end of the night, and realized I welded over 25 feet of aluminum. The welds aren't beautiful, but should get better if I do more of this.
Kodokan
  • Posts:
  • Joined:
    Thu Nov 04, 2021 2:05 am

Started messing around with the frequency control. Need more practice to figure it out.

Been mostly trying to lay beads with consistency. Slowly improving.

Still have to try fun stuff, once in a while. First try weaving a weld. Need to tighten up the dimes, they're hardly overlapping. The double and triple weaves were done in one pass. Not good, but it's a start.

Image
Kodokan
  • Posts:
  • Joined:
    Thu Nov 04, 2021 2:05 am

Still practicing hands & foot pedal control.

Image

Slowly getting better.

Image
Kodokan
  • Posts:
  • Joined:
    Thu Nov 04, 2021 2:05 am

Still trying to have fun with welding.

First try weaving a butt weld.

Image

First try weaving a butt braze.

Image
Jeff2016
  • Posts:
  • Joined:
    Thu Mar 10, 2016 4:09 pm

Hi Kodokan,

Looks like you're still having fun! And, trying new things.

Being pretty much a beginner, too... I'm curious what you find the most rewarding (or "fun") metal to work with as you improve your skills.

Still doing most of your welding at school?

Great progress!

Jeff
Kodokan
  • Posts:
  • Joined:
    Thu Nov 04, 2021 2:05 am

Thanks, Jeff2016.

For me, titanium is the best. Problem is that the coupons/scraps are just too expensive for much practice/learning.

So, next best is aluminum, and that's what I use the most. .065 is much less forgiving than .125, but the .065 is free at school- so that's what I use the most.

Lately, I've been using (5) 1.50" x 6.00" coupons to make these pieces. (4) fillet welds + (4) outside corner welds. Then, I run beads or weaves on the sides.

Image

Image
Jeff2016
  • Posts:
  • Joined:
    Thu Mar 10, 2016 4:09 pm

Hi Everyone,

I have seen Kodokan post in while. I miss watching his progress.

Jeff
User avatar
  • Posts:
  • Joined:
    Sat May 24, 2014 5:55 pm
  • Location:
    Pittsburgh, PA

I think it's not that TIG is so hard, it just gives you an almost unlimited amount of control and more optiions, that can't just be learned quickly. Not that say, MIG welding properly is easy... it's just that it seems easy when a beginner learns MIG. Push the torch, drag the torch, one handed operation, press the button, lay a bead. With MIG, it can seem like you're doing well but you aren't, as it tends to hide mistakes more easily. TIG on the other hand, doesn't hide a thing... it tells you immediately when you're doing it wrong. When you're doing MIG, it's like it's telling you, "Sure, why not... not bad, looks fine... keep going!". But with TIG, it's like telling you, "NO! NO! Oh FFS, stop that, just put the torch down! What's wrong with you?!". TIG can be tough on the ego, you need to be thick skinned around TIG. TIG is more honest than MIG... MIG lies. :D

It's like the difference between flying a plane, and driving a car. Most anyone can learn how to operate a car pretty quickly. But it takes hundreds and hundreds of hours to learn how to fly a plane. A car, if you're driving poorly (like most drivers out there), will still usually get you to your destination... A plane, won't even let you get off the ground, much less fly around if you suck at it. It's not that flying a plane is hard, it just has a much bigger learning curve, and takes a lot more practice.

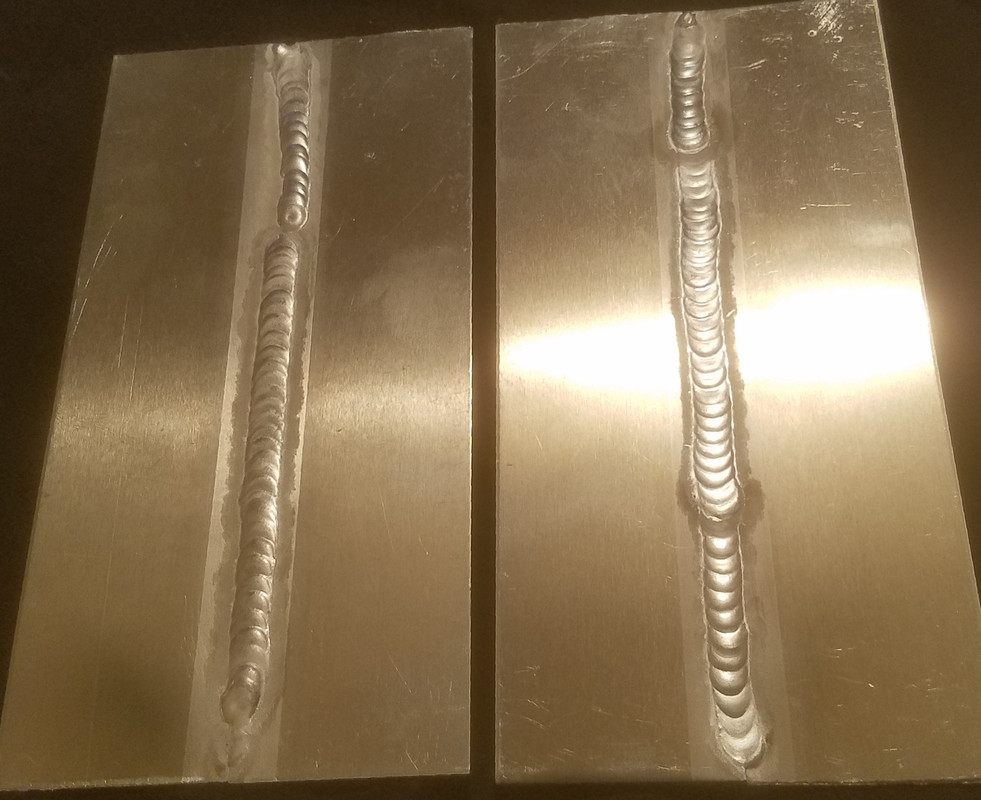
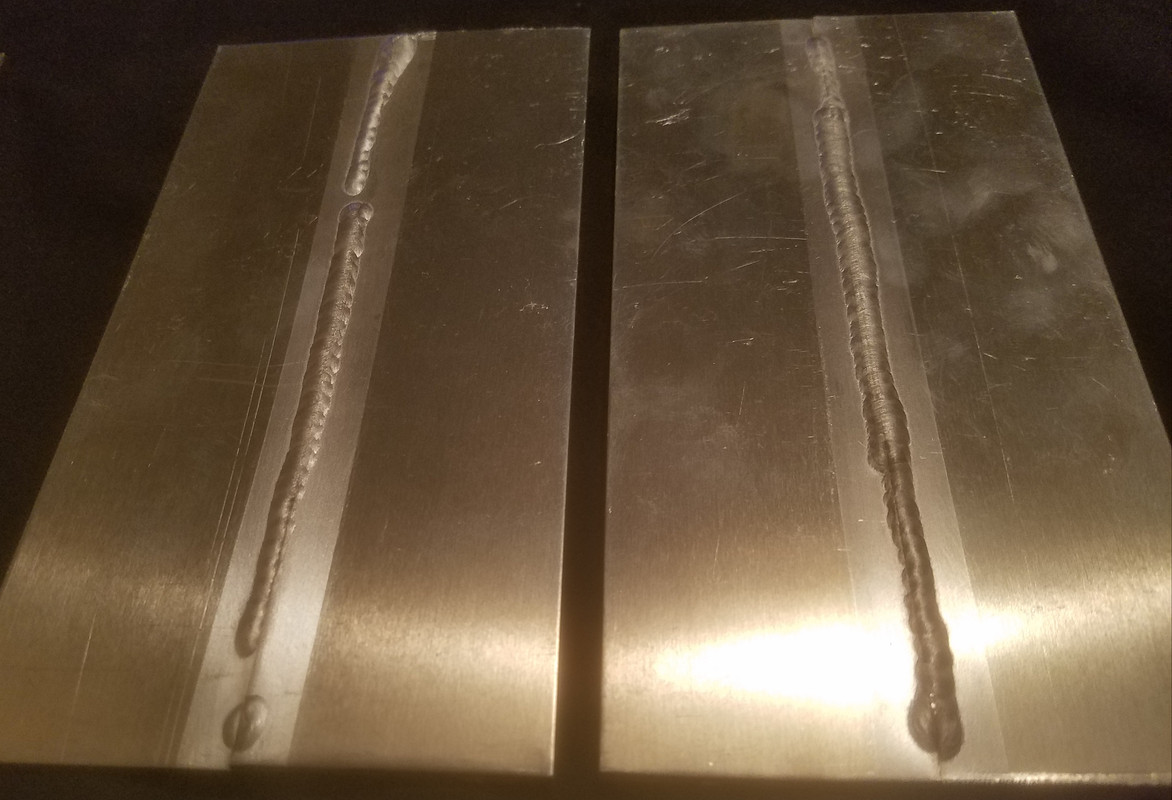
There are tons of great tips given in this long thread, but sometimes we forget the simplest tips... Here are a couple of mine....

1) Be comfortable. If you're not comfortable it's gonna be that much harder. Do whatever it takes to get into a comfortable position (seating, wrist support, angle of viewing, etc.)
2) Relax! Don't forget to breath. You're not doing brain surgery.
3) Limit caffeine. Stay away from coffee, energy drinks, sodas that are full of caffeine. It's pretty impossible to TIG when your hands are shaking.
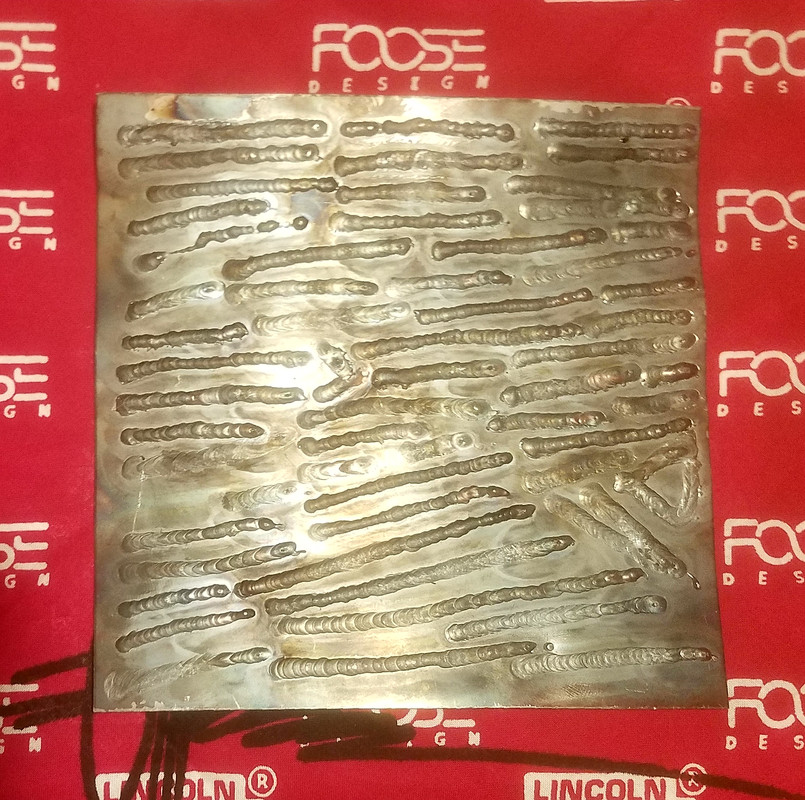
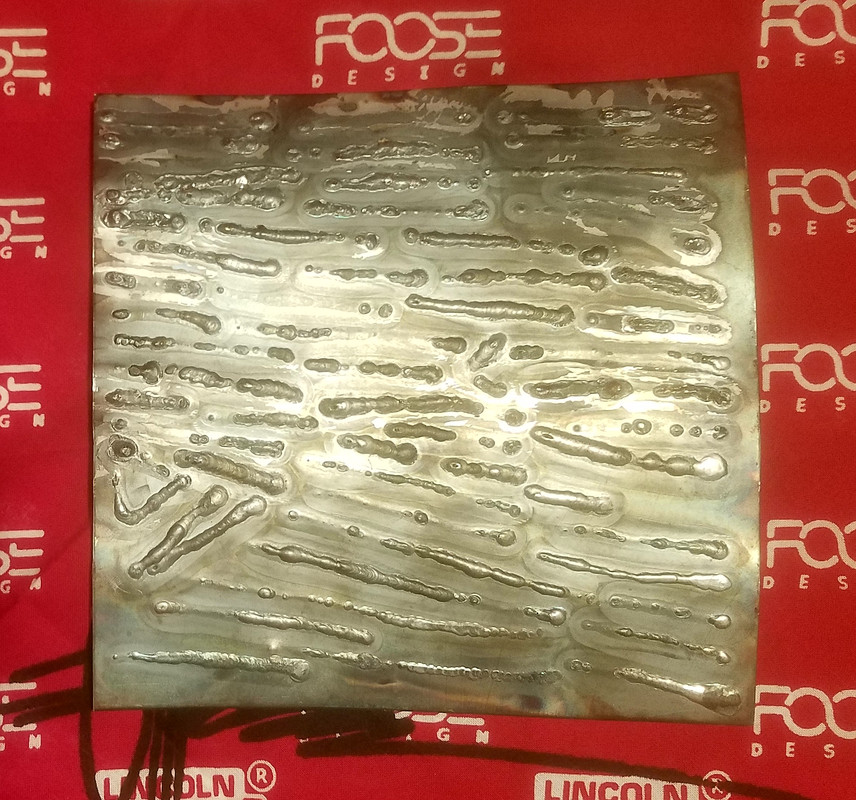
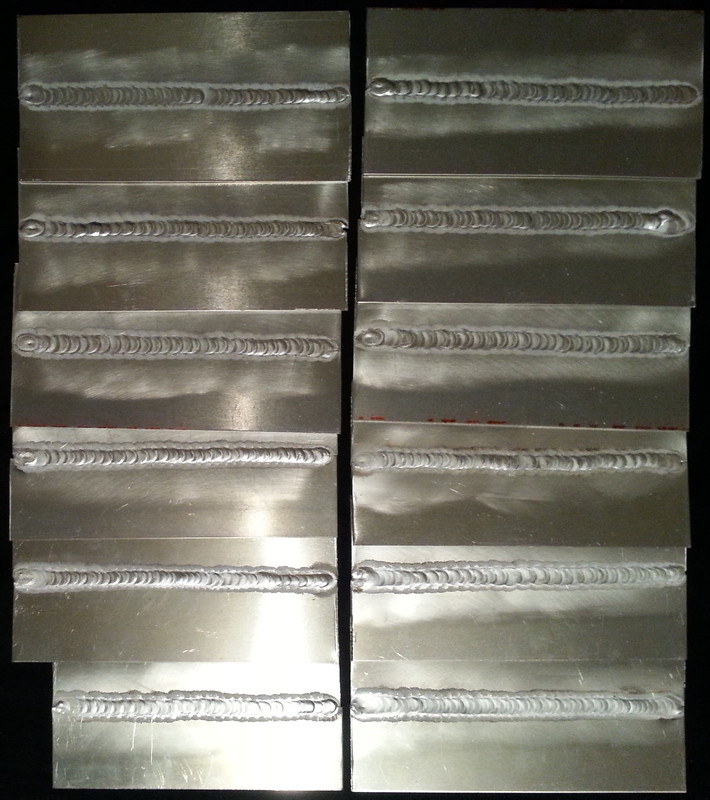
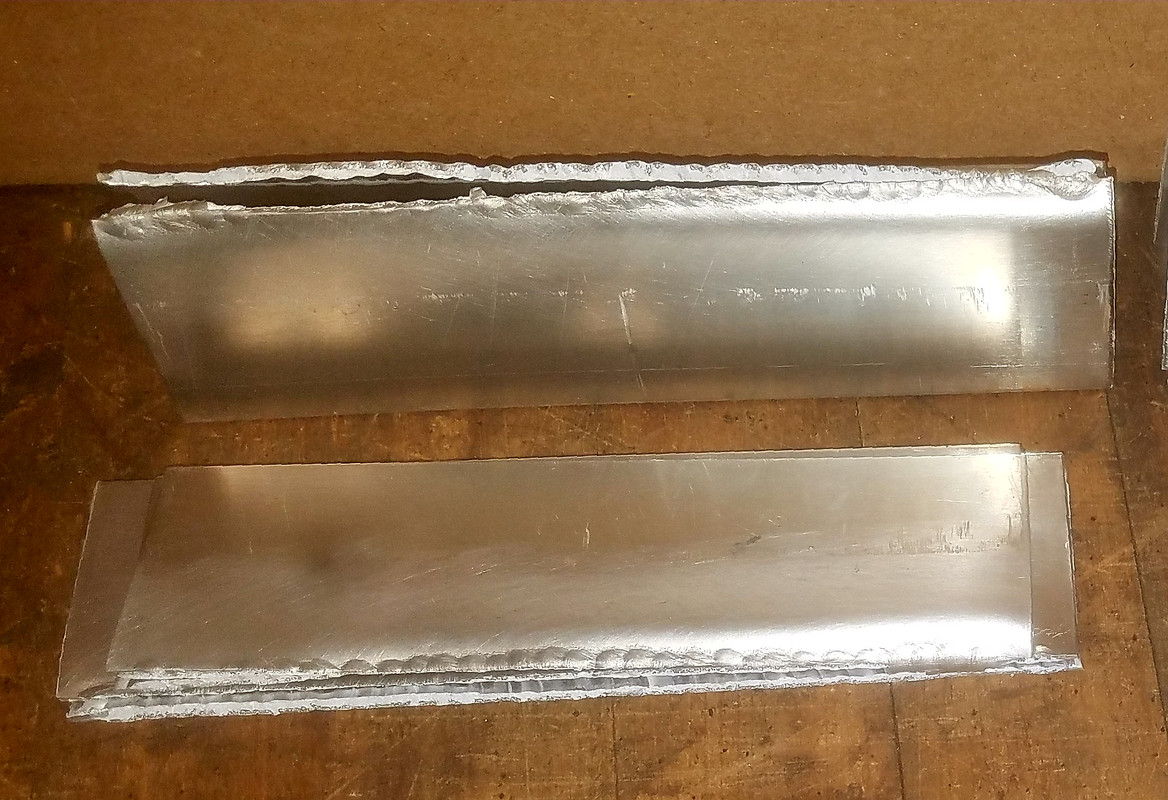
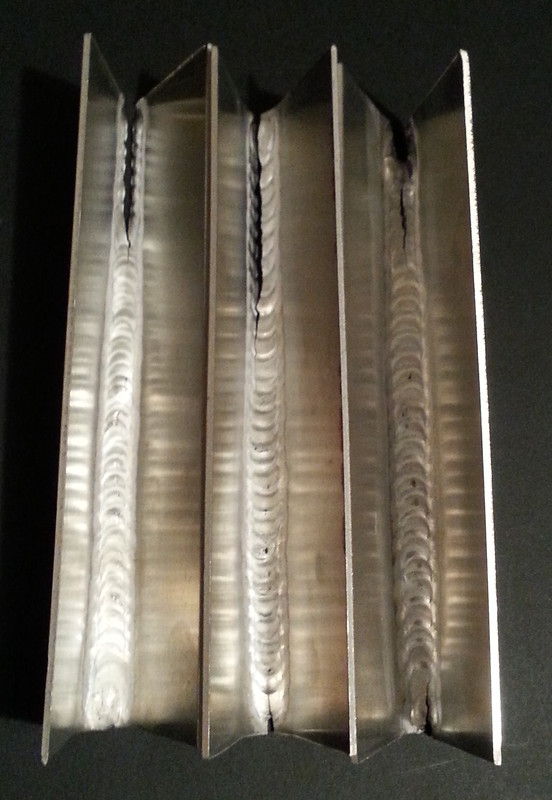
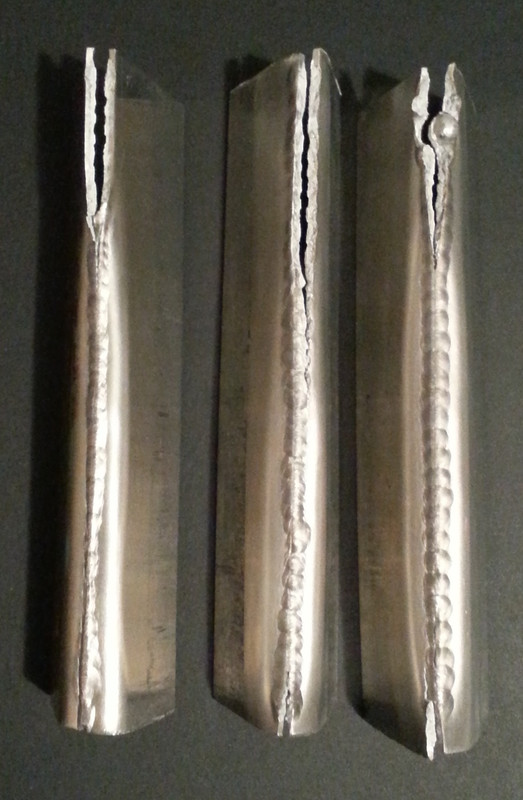
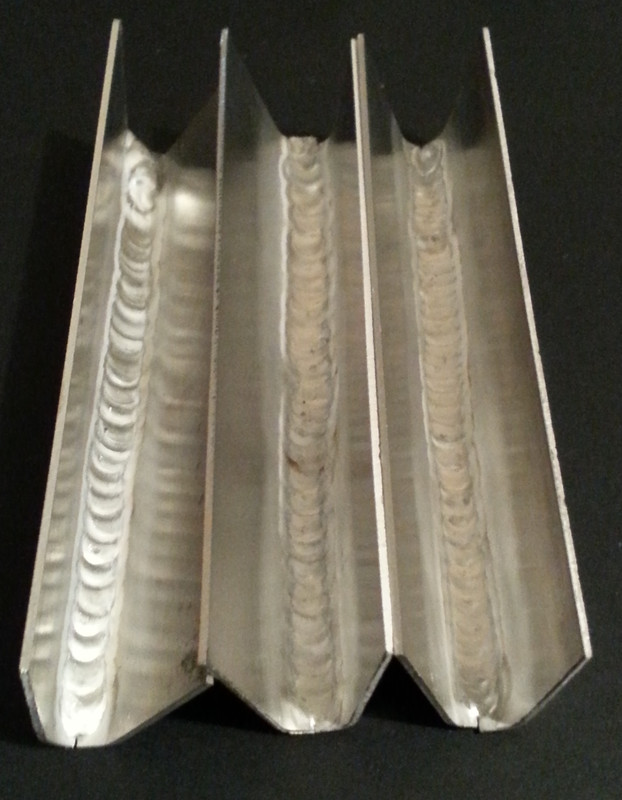
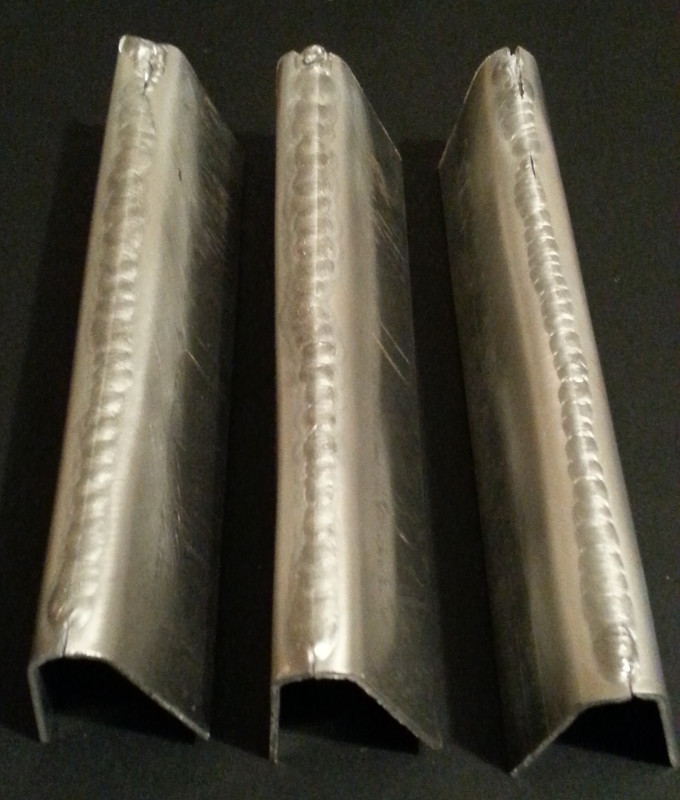
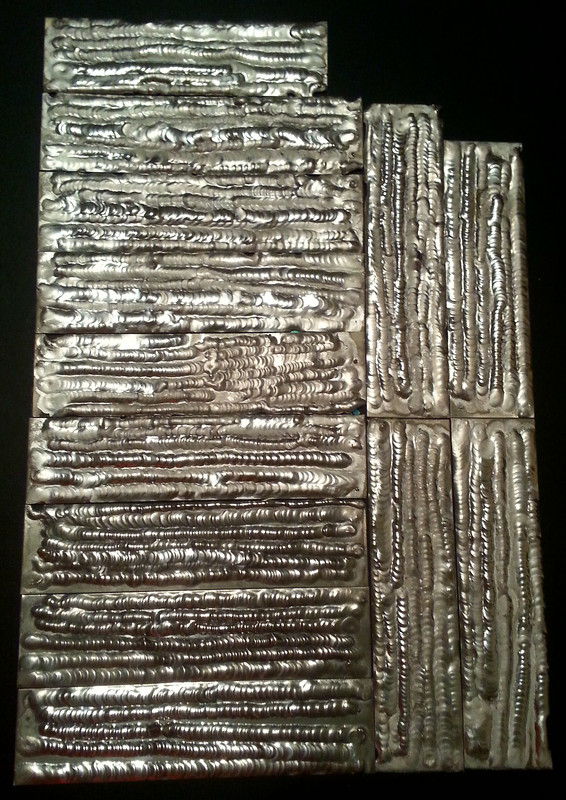
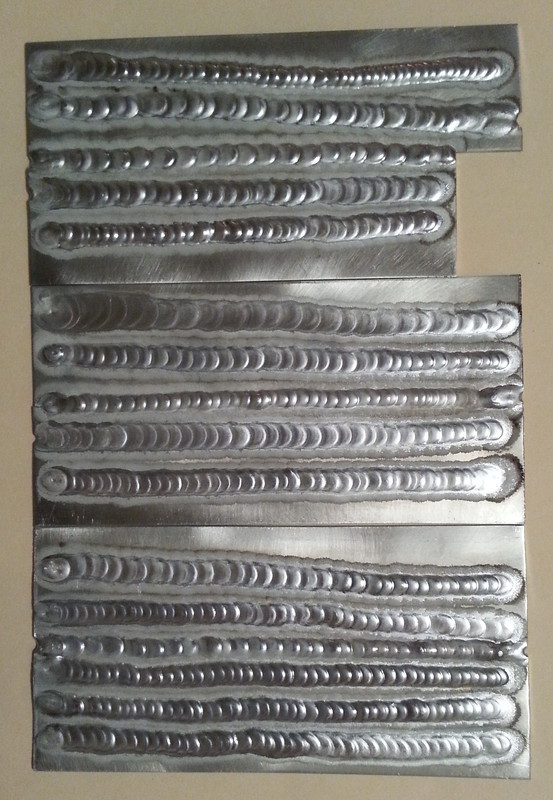
4) Practice, practice, practice.... then after you practice a lot, practice some more.

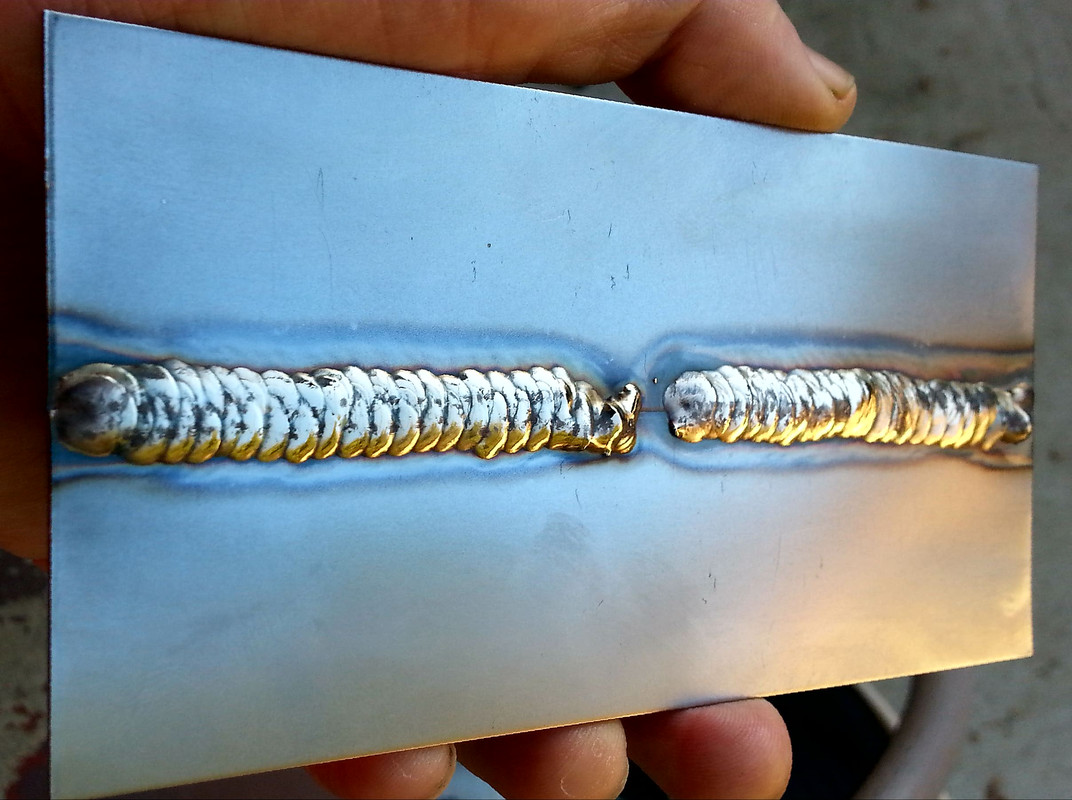
Also TIG can be daunting if you learn on your own through trial and error, there will be a lot of tail chasing trying to figure out what you're doing wrong. Going to welding school is the way to save yourself a lot of grief, but for many, it's just not an option. Working in a shop TIG welding would be another way to learn more easily, as the experienced co-workers give you tips about what you're doing wrong that are priceless, but again... not an option if you can't pass the welding test to get the job in the first place. But luckily you've got the internet and this great site (both the videos and the forums)... take pics when you're having issues, take notes of your settings and materials used, and swallow that pride and post it. Every experienced welder welded like crap at one time, so we all have a ton of sympathy. Just hang in there and keep at it. Before you know it, you'll be flying that F-16.
can't believe it took me this many years to buy a diamond wheel for my bench grinder... what a difference
Post Reply