What welding projects are you working on? Are you proud of something you built?
How about posting some pics so other welders can get some ideas?
LS Customs
  • Posts:
  • Joined:
    Tue Feb 23, 2016 11:56 pm

GreinTime wrote:
LS Customs wrote:will be polishing the tanks, when done and having them anodized
If you used 4043, the weld bead will show up blackened/shitty looking for reference. Clear tinted powder in whatever color you desire may be a better option.

Sent from my SM-G900V using Tapatalk
motox wrote:LS
nice job good welds.

GT is right on.
use 5356 if you want to anodize
better match.
craig
thanks... yes, i used 5356 filler...
GreinTime
  • Posts:
  • Joined:
    Fri Nov 01, 2013 11:20 am
  • Location:
    Pittsburgh, PA

LS Customs wrote:
GreinTime wrote:
LS Customs wrote:will be polishing the tanks, when done and having them anodized
If you used 4043, the weld bead will show up blackened/shitty looking for reference. Clear tinted powder in whatever color you desire may be a better option.

Sent from my SM-G900V using Tapatalk
motox wrote:LS
nice job good welds.

GT is right on.
use 5356 if you want to anodize
better match.
craig
thanks... yes, i used 5356 filler...
Just making sure man, I've seen uninformed people get mad at their anodizing guy when it doesn't look right.

Sent from my SM-G900V using Tapatalk
#oneleggedproblems
-=Sam=-
LS Customs
  • Posts:
  • Joined:
    Tue Feb 23, 2016 11:56 pm

GreinTime wrote: Just making sure man, I've seen uninformed people get mad at their anodizing guy when it doesn't look right.

Sent from my SM-G900V using Tapatalk
no problem, i did know this ahead of time, but others who stumble upon this thread may not and i appreciate it, none the less..
Rick_H
  • Posts:
  • Joined:
    Sat Feb 08, 2014 1:50 pm
  • Location:
    PA/MD

Looks good, Ive seen much much worse from good alum welders....lol That's a cool project, was a N2O junkie in the past with 600hp from a Wilson 2 stage plate :o :mrgreen: How much will you put the mini bike 35 or 50, I assume a dry kit?
I weld stainless, stainless and more stainless...Food Industry, sanitary process piping, vessels, whatever is needed, I like to make stuff.
ASME IX, AWS 17.1, D1.1
Instagram #RNHFAB
LS Customs
  • Posts:
  • Joined:
    Tue Feb 23, 2016 11:56 pm

Rick_H wrote:Looks good, Ive seen much much worse from good alum welders....lol That's a cool project, was a N2O junkie in the past with 600hp from a Wilson 2 stage plate :o :mrgreen: How much will you put the mini bike 35 or 50, I assume a dry kit?
thanks... gonna start with 25...that little engine has a lot going on in it too.. titanium valves, billet internals, etc... and it is a wet kit
GreinTime
  • Posts:
  • Joined:
    Fri Nov 01, 2013 11:20 am
  • Location:
    Pittsburgh, PA

Oh man, this thing is going to be fucking sweet lol

Sent from my SM-G900V using Tapatalk
#oneleggedproblems
-=Sam=-
  • Posts:
  • Joined:
    Mon Jul 18, 2016 2:07 pm
  • Location:
    Mesa, AZ

Maybe you should talk to these two guys and see if they want to race ;)

https://www.youtube.com/watch?v=G4riS9DKvx8
Lincoln Electric AC225
Everlast PowerPro Multi-Process TIG/Stick/Plasma 256Si
Everlast W300 WaterCooler
Optrel e684x1
22+ Year Security Engineer developing cool shit and stoppin hackers :)
Boomer63
  • Posts:
  • Joined:
    Fri Sep 12, 2014 11:52 am
  • Location:
    Indiana near Chicago

The work LOOKS GREAT!! Good job! Equally, or maybe even more important it the finish work that you did!! Really an amazing build!

Thanks for sharing!
LS Customs
  • Posts:
  • Joined:
    Tue Feb 23, 2016 11:56 pm

entity-unknown wrote:Maybe you should talk to these two guys and see if they want to race ;)

https://www.youtube.com/watch?v=G4riS9DKvx8
lol... i have another project i would use (car), to race a car with... but to be honest, in the 1/8 especially, this one may give the typical car a run for their money...
GreinTime wrote:Oh man, this thing is going to be fucking sweet lol

Sent from my SM-G900V using Tapatalk
Boomer63 wrote:The work LOOKS GREAT!! Good job! Equally, or maybe even more important it the finish work that you did!! Really an amazing build!

Thanks for sharing!
thanks very much!

Image
LS Customs
  • Posts:
  • Joined:
    Tue Feb 23, 2016 11:56 pm

the mini me to this one... i made this tank out of card board and had my friend weld it up for me... not done with it either... as this was before i found out i had cancer and before i had the tig welder etc... but sitting like this today... going to finish both... around the same time... not that into mini bikes, but pretty much the same way with all the silly projects i get into...
Image
LS Customs
  • Posts:
  • Joined:
    Tue Feb 23, 2016 11:56 pm

did all the laser cutting programming, etc... i learned how to operate the laser and how to use cad.. when i first built this bike, a couple years ago... i am always into a car project, harley or other silly stuff... so knowing how to program and make parts, helps and saves a ton of time and money... i have since, progressed to doing 3d cad etc
Image
LS Customs
  • Posts:
  • Joined:
    Tue Feb 23, 2016 11:56 pm

Image

Image

i didnt weld the really short/larger diameter tank, friend wanted me to add bungs to it... that came from mooneyes, or somewhere else... the polished tank is the first aluminum i welded and came out nice for the first time sitting down at the welder... made end caps for that...

just playing with the positioner and trying different speeds etc.... trying to be proficient and consistent at feeding wire at an increasingly faster speed, without compromising fusion, etc...

the filler cap bung for the tank with the trispoke looking cap, was the last thing i welded and i was able to feed the wire and weld it at a pretty fast pace, with proper fusion and dipping at a faster rate... very small bead also... so getting more comfortable as i sit down to practice each time
Image
User avatar
  • Posts:
  • Joined:
    Sat Nov 29, 2014 6:30 pm
  • Location:
    Farmington, MN

Very nice!!!
I hope my learning curve is equally as steep!
User avatar
  • Posts:
  • Joined:
    Sat Aug 01, 2015 8:38 am
  • Location:
    The Land Down Under

Beautiful work.

LSC, if you are new to this and that is the standard of work you are turning out, it's fair to say you probably have more natural talent in your toenail clippings than I have in my whole bod.

Well done, and thanks for posting lots of pics. I could look at stuff like this all day long.


Kym
LS Customs
  • Posts:
  • Joined:
    Tue Feb 23, 2016 11:56 pm

Wolfgang wrote:Very nice!!!
I hope my learning curve is equally as steep!
MosquitoMoto wrote:Beautiful work.

LSC, if you are new to this and that is the standard of work you are turning out, it's fair to say you probably have more natural talent in your toenail clippings than I have in my whole bod.

Well done, and thanks for posting lots of pics. I could look at stuff like this all day long.

Kym
thank you!

played around in cad for the next few bits i will be welding up... this time tried to take it a little more seriously in hopes to sell the little tanks to help replenish welding materials, etc... also learning a bit more about fusion 360 and getting more comfortable with it as i go along...

Image

Image

i programmed the cap to be a small vent through the top... but fit a filter (1/8' npt) on the bottom to help prevent any vacuum issues with gas coming out the vent... grabbed the small vents from mcmaster car
Image
LS Customs
  • Posts:
  • Joined:
    Tue Feb 23, 2016 11:56 pm

and did a few other "designs" real quick... a couple that will mean something to specific people when they see them... either their favorite team, etc... sent my files off to my machinist (friend with cnc) to cut...

Image

Image

Image
LS Customs
  • Posts:
  • Joined:
    Tue Feb 23, 2016 11:56 pm

Image

Image

i also started playing around with the render functionality of the program... and will explore this on a way bigger scale in the near future with some crazier ideas of mine... most of this small stuff... or mini bike stuff, is simply easier for me to play with... but i am doing all this to be able to practice, while actually accomplishing something... that will translate well into the other hobbies i a into or things people often ask me to help them with that are more involving or expensive... like harleys, and race cars, etc...
LS Customs
  • Posts:
  • Joined:
    Tue Feb 23, 2016 11:56 pm

and a couple of days later, i have my hands on my parts... just waiting for some 4943 to try out (should have within a couple f days)... and will weld these up with that...
Image

Image

Image
LS Customs
  • Posts:
  • Joined:
    Tue Feb 23, 2016 11:56 pm

Image

Image

Image
LS Customs
  • Posts:
  • Joined:
    Tue Feb 23, 2016 11:56 pm

Image

Image

Image

going to make about 6 or 7 tanks and see if anyone will buy them, for a nice price
LS Customs
  • Posts:
  • Joined:
    Tue Feb 23, 2016 11:56 pm

got one welded up...
Image

Image

Image
LS Customs
  • Posts:
  • Joined:
    Tue Feb 23, 2016 11:56 pm

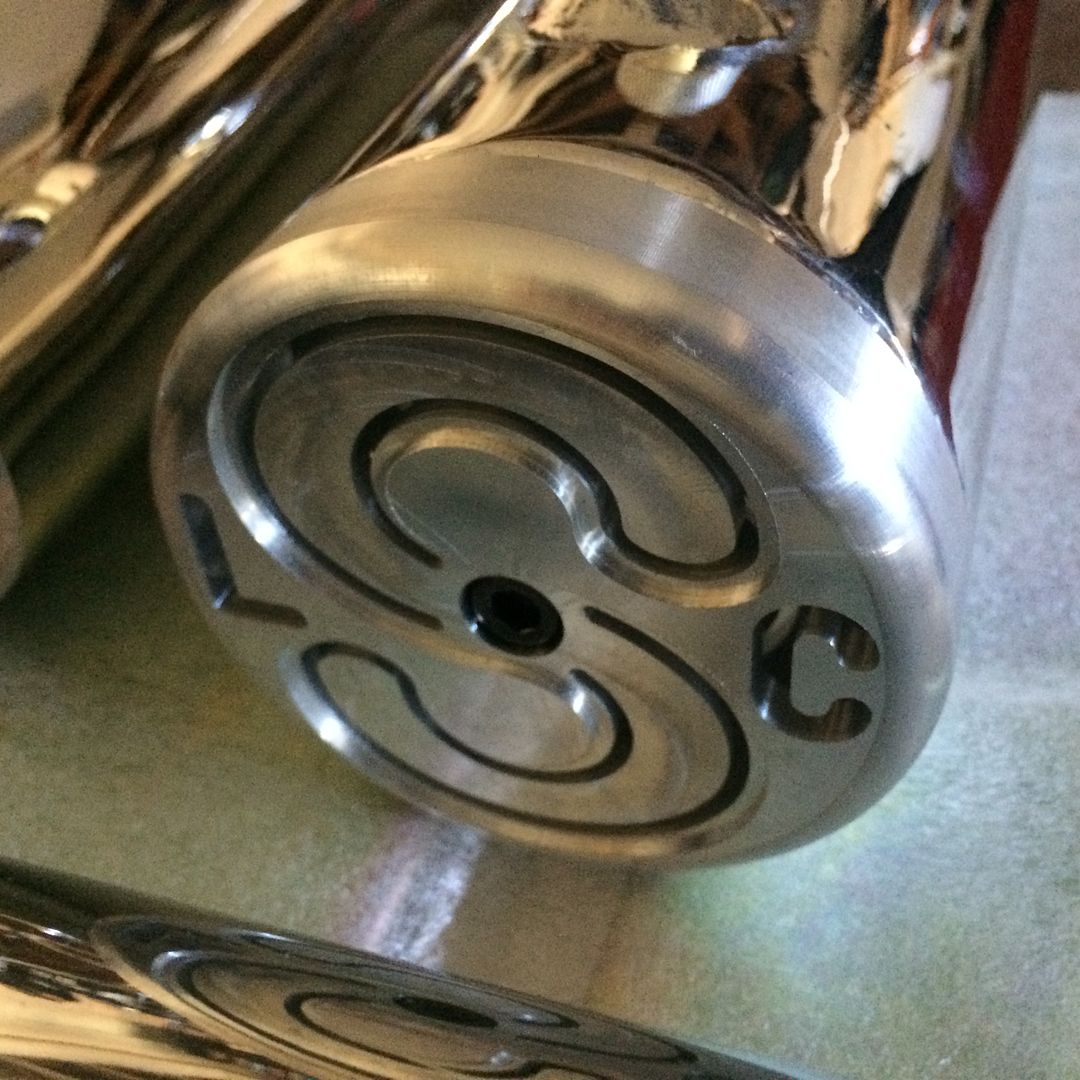
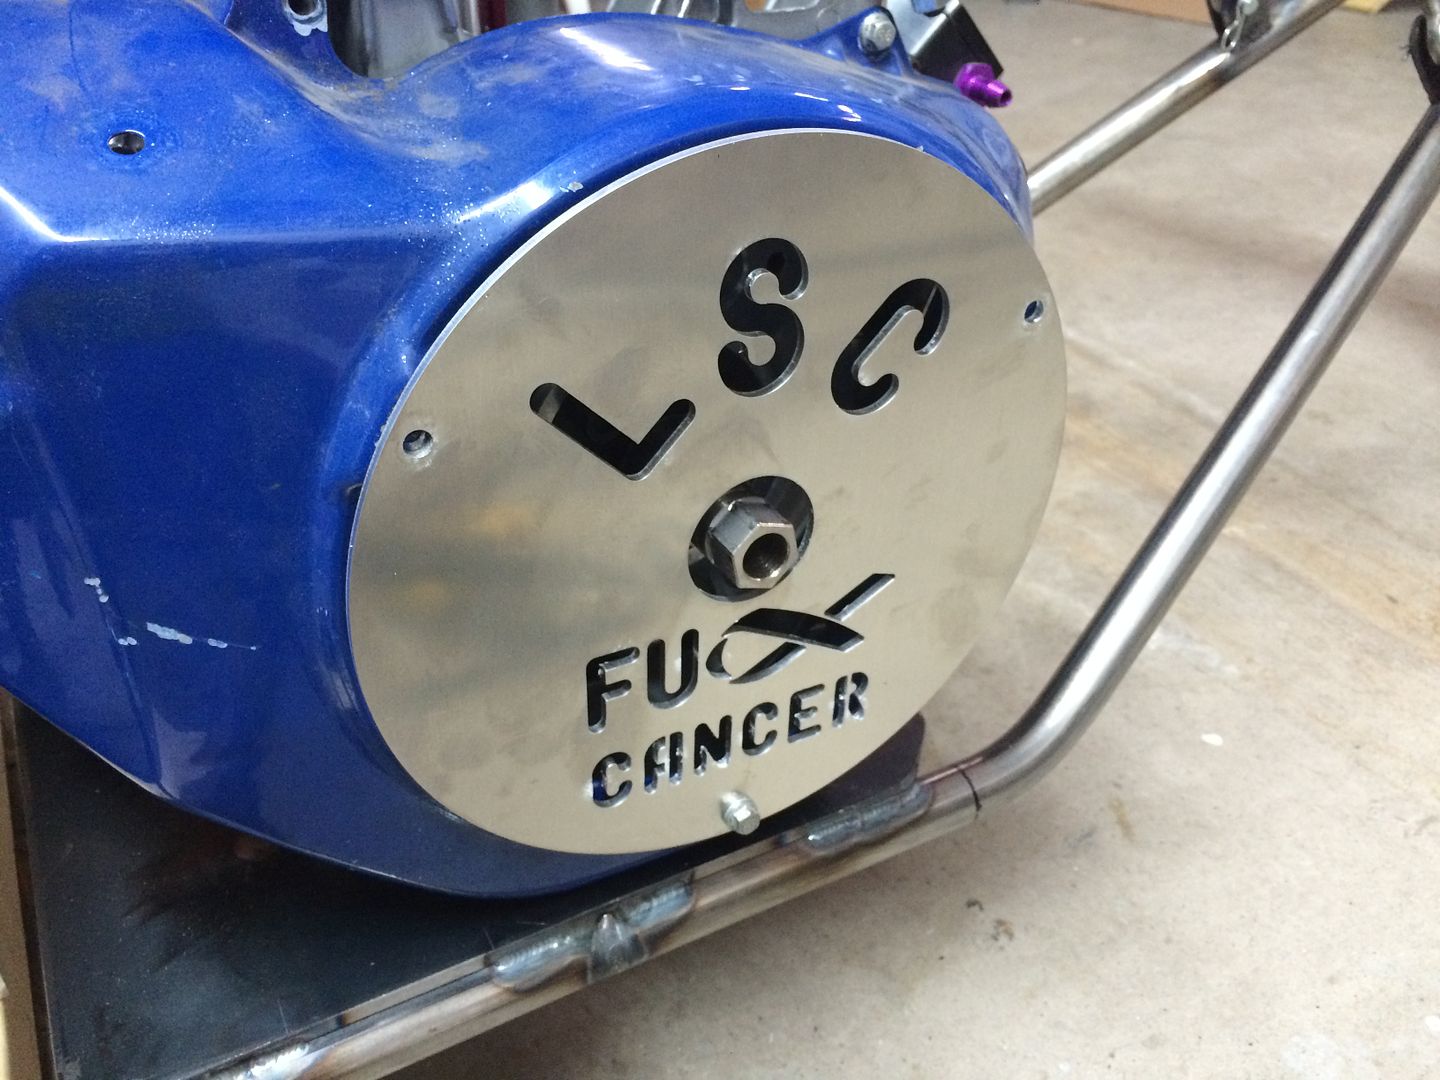
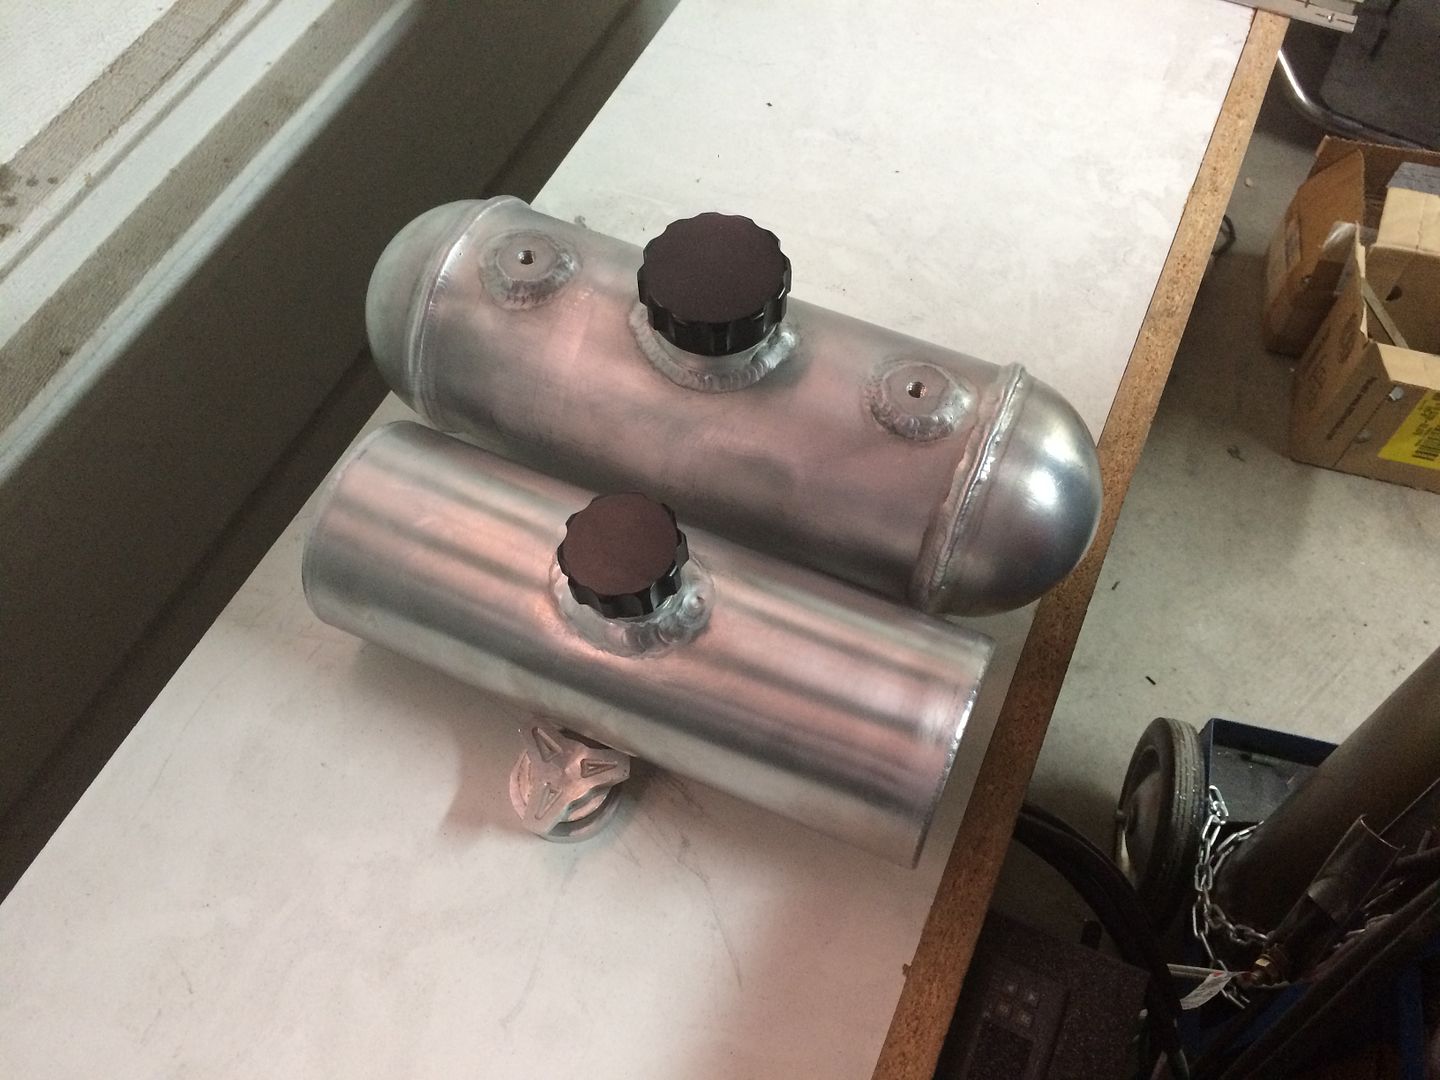
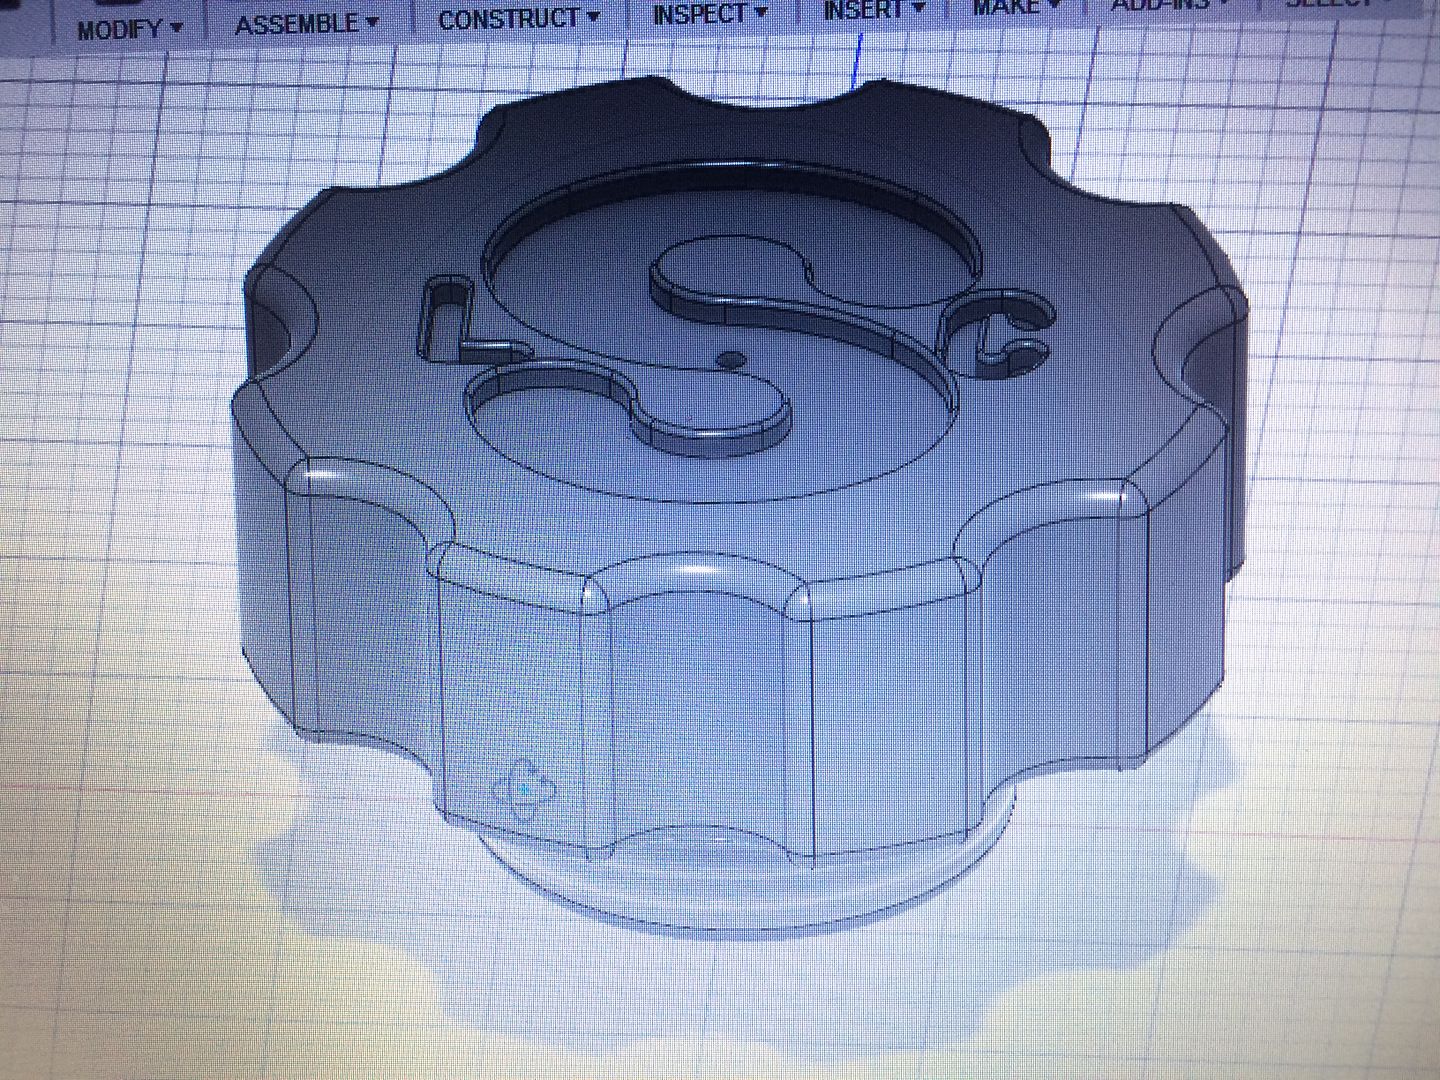
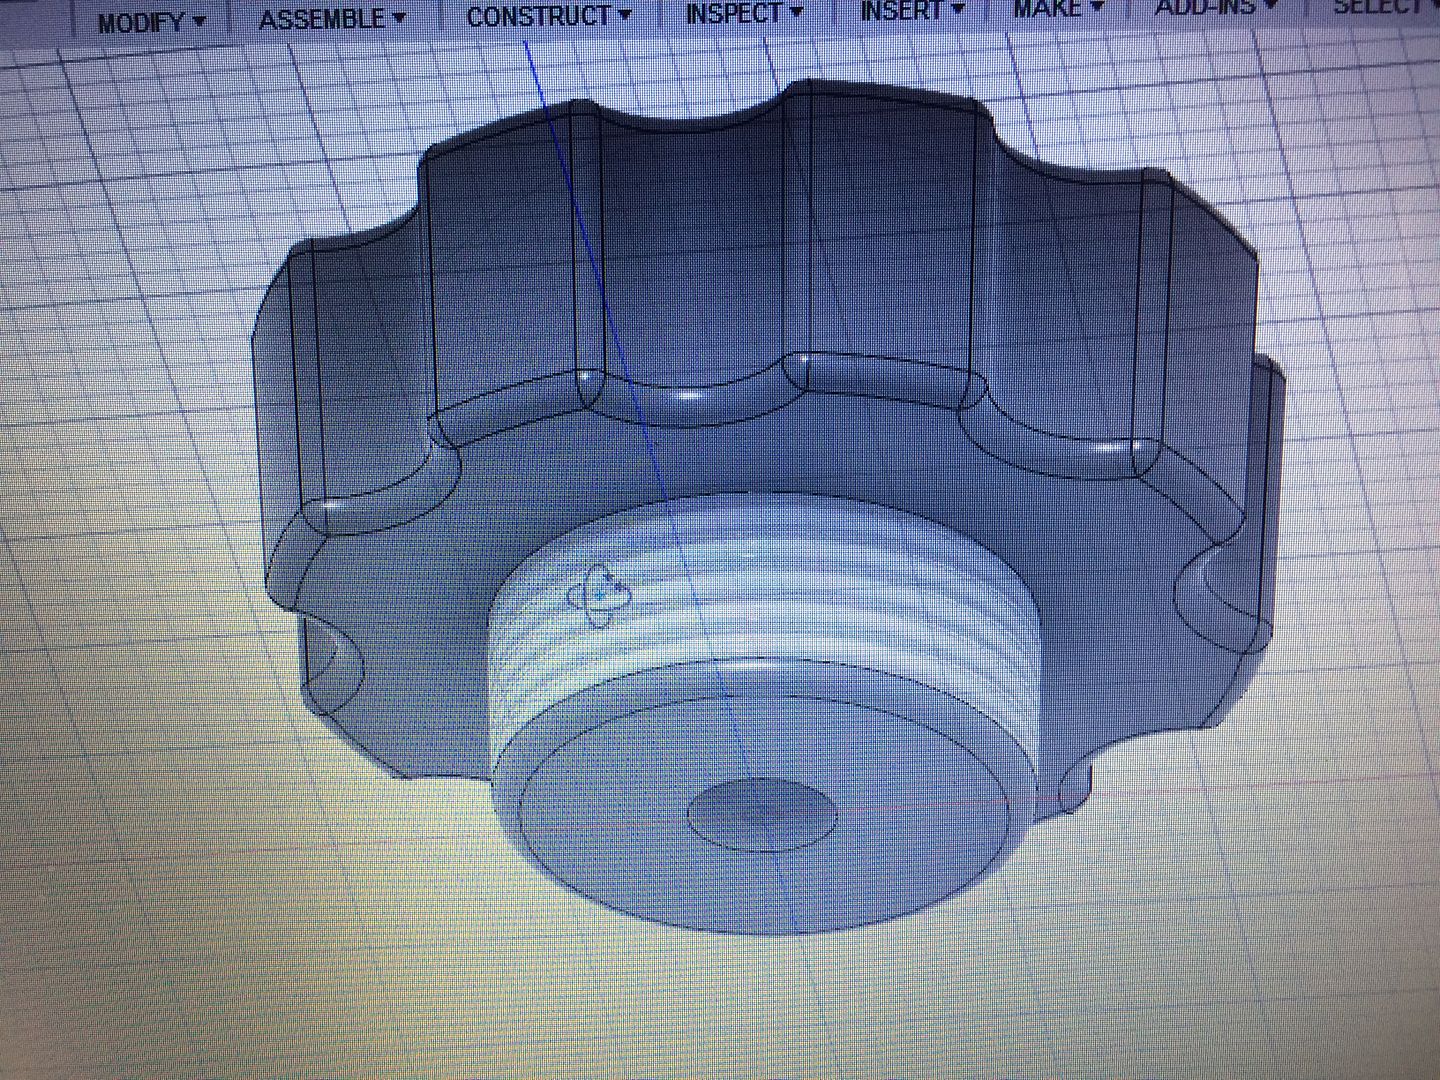
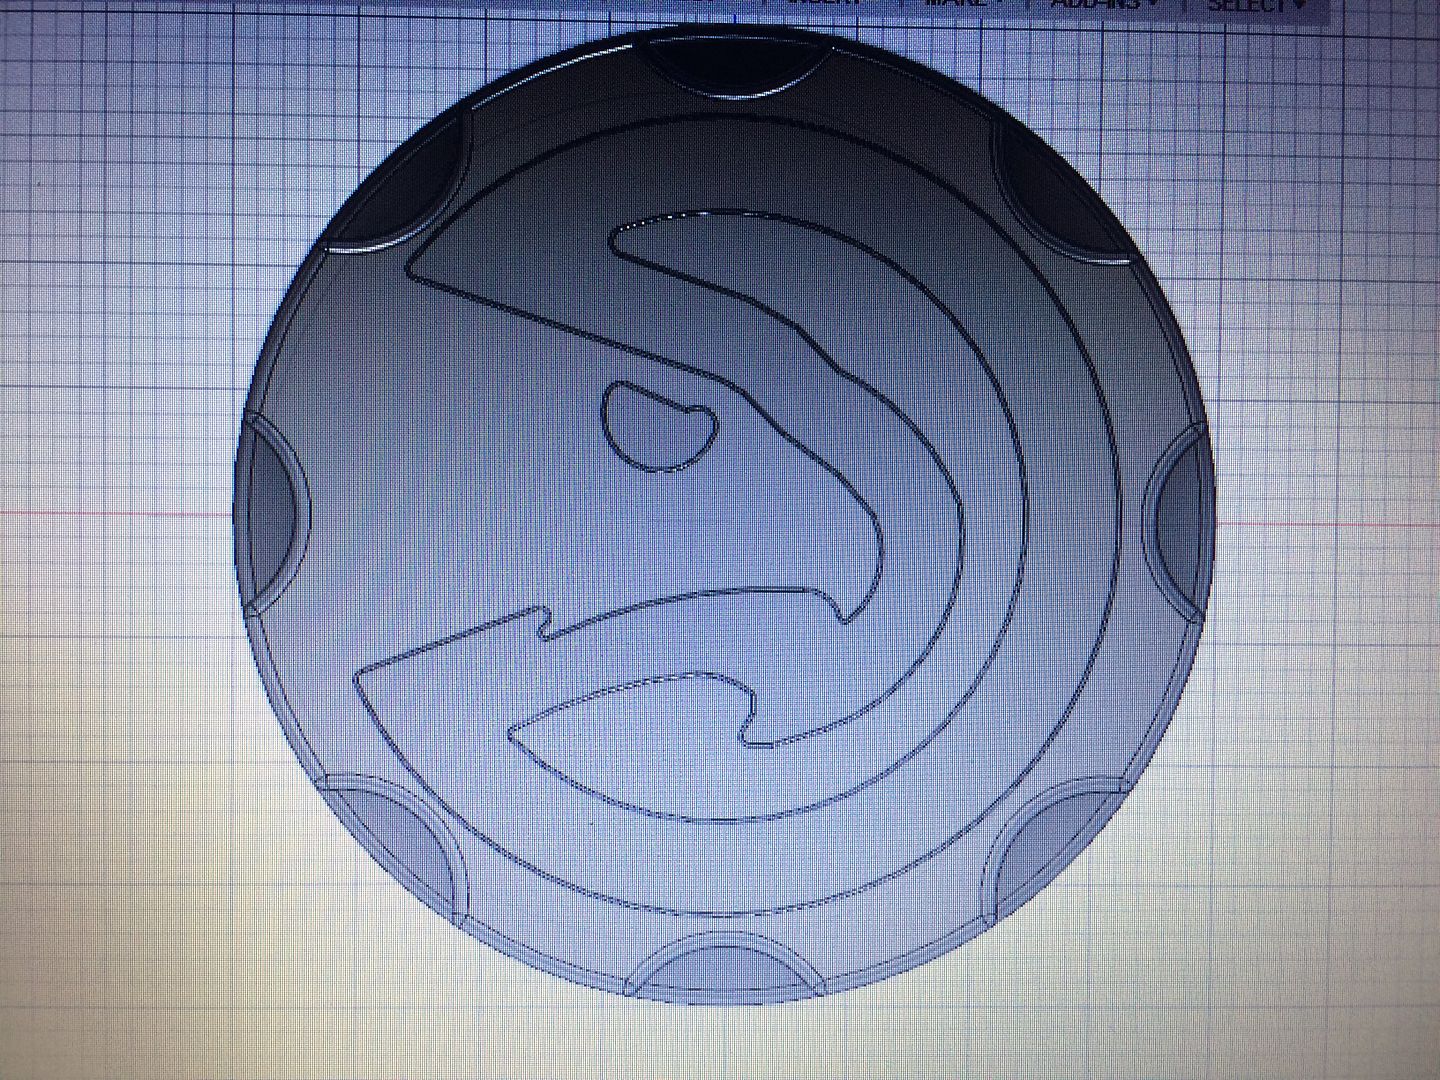
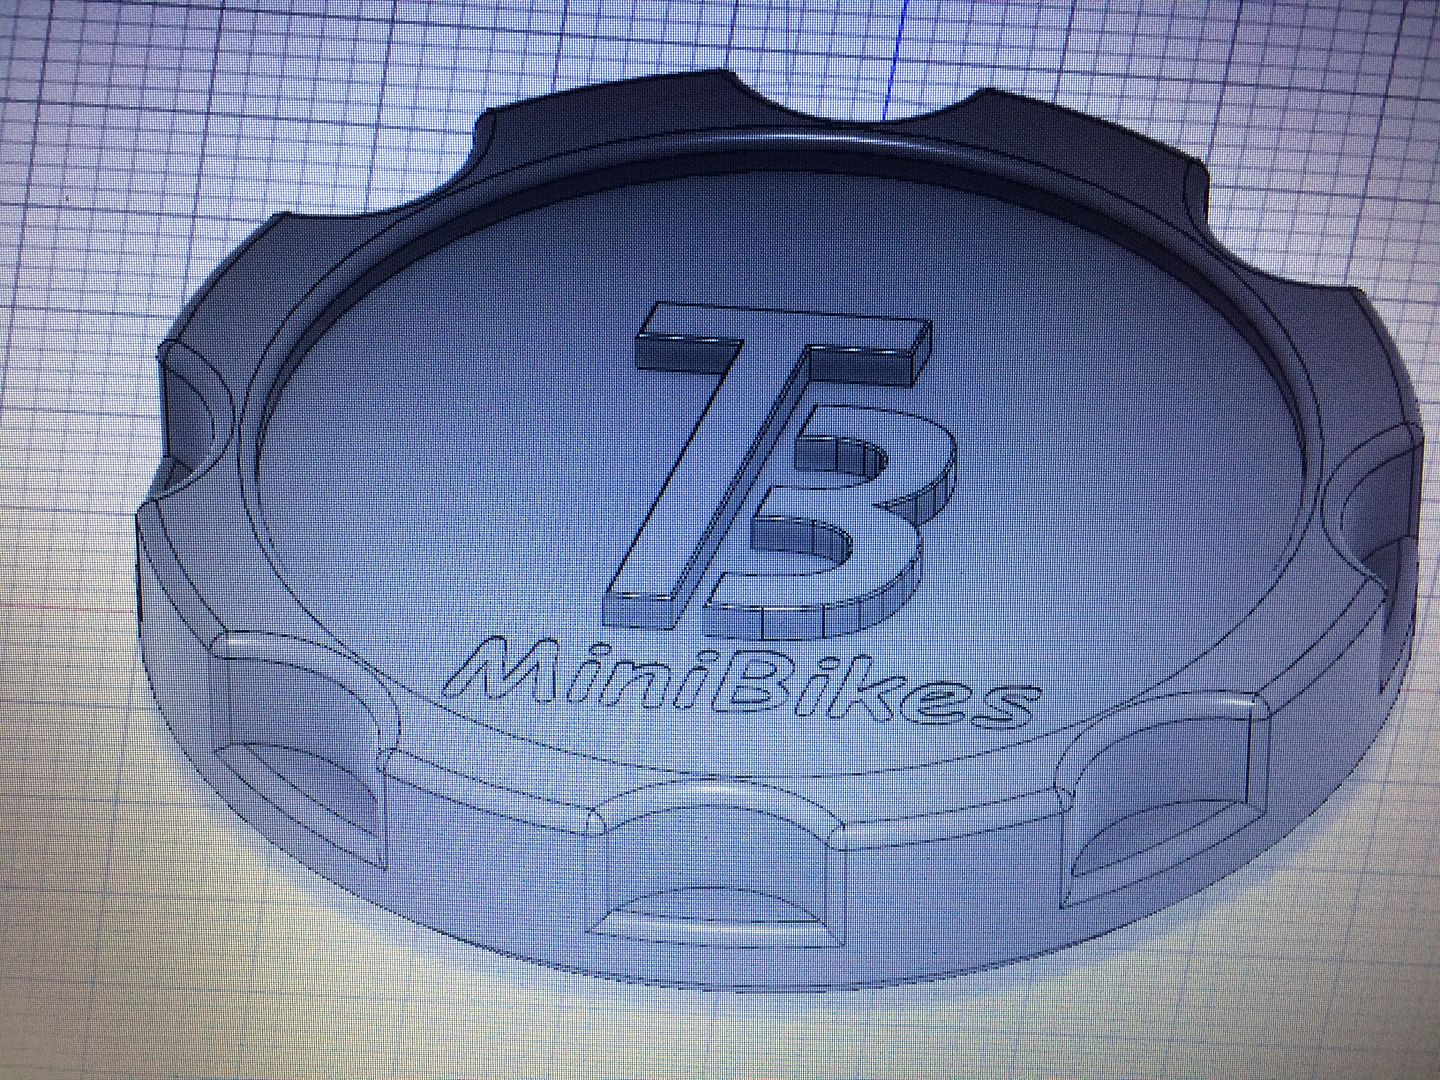
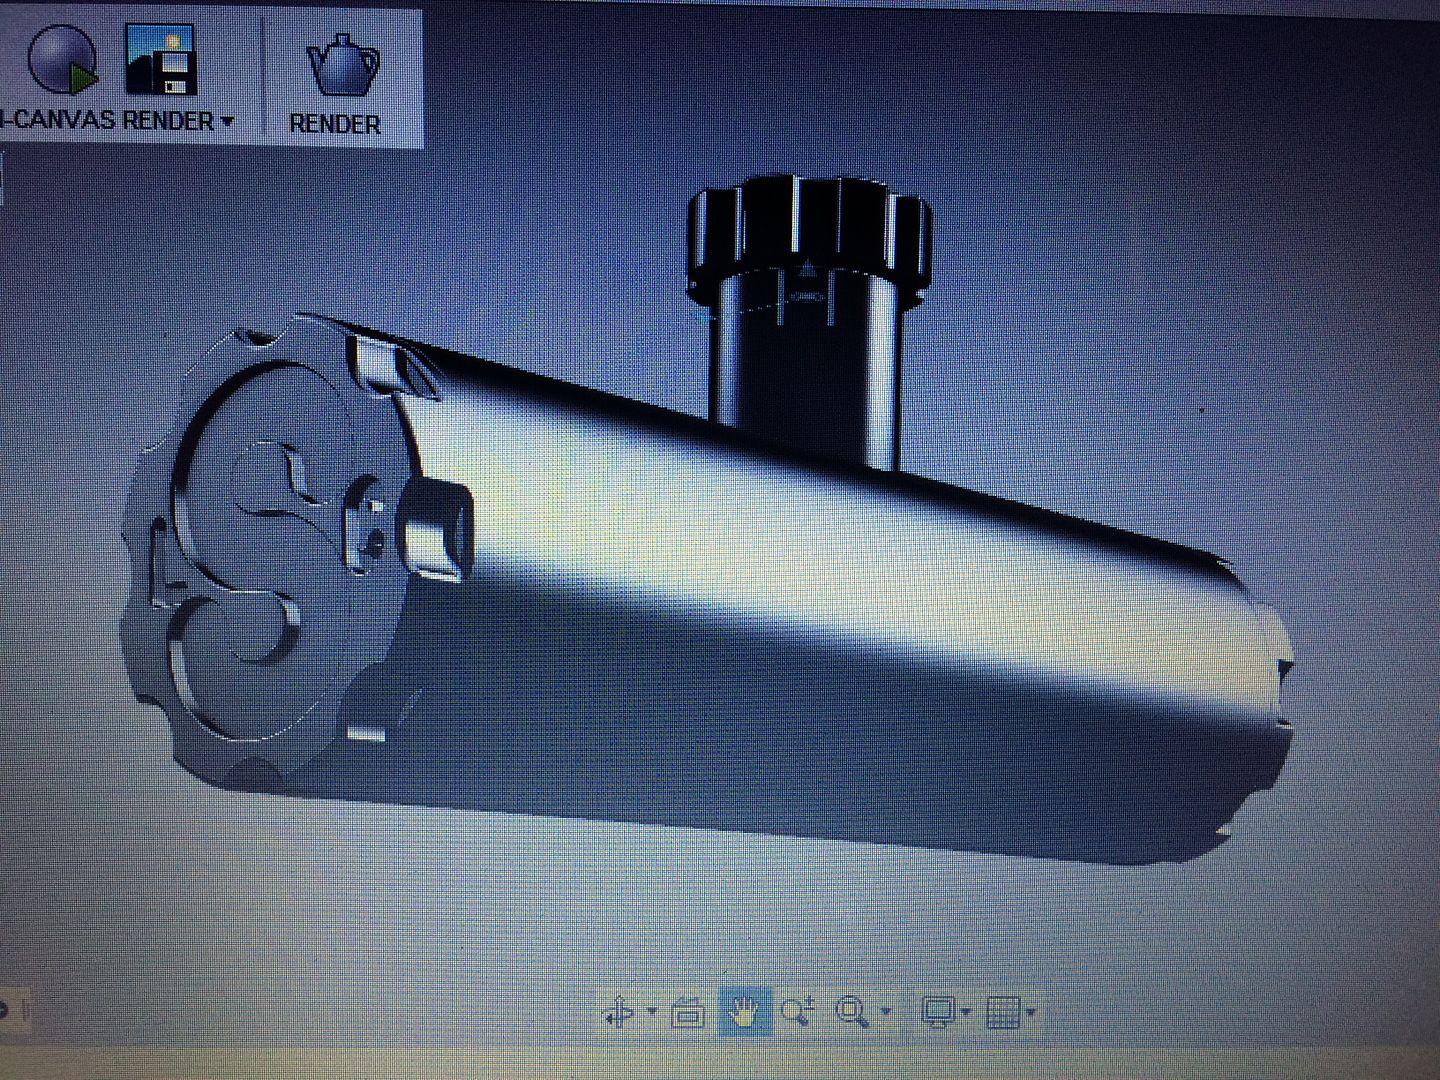
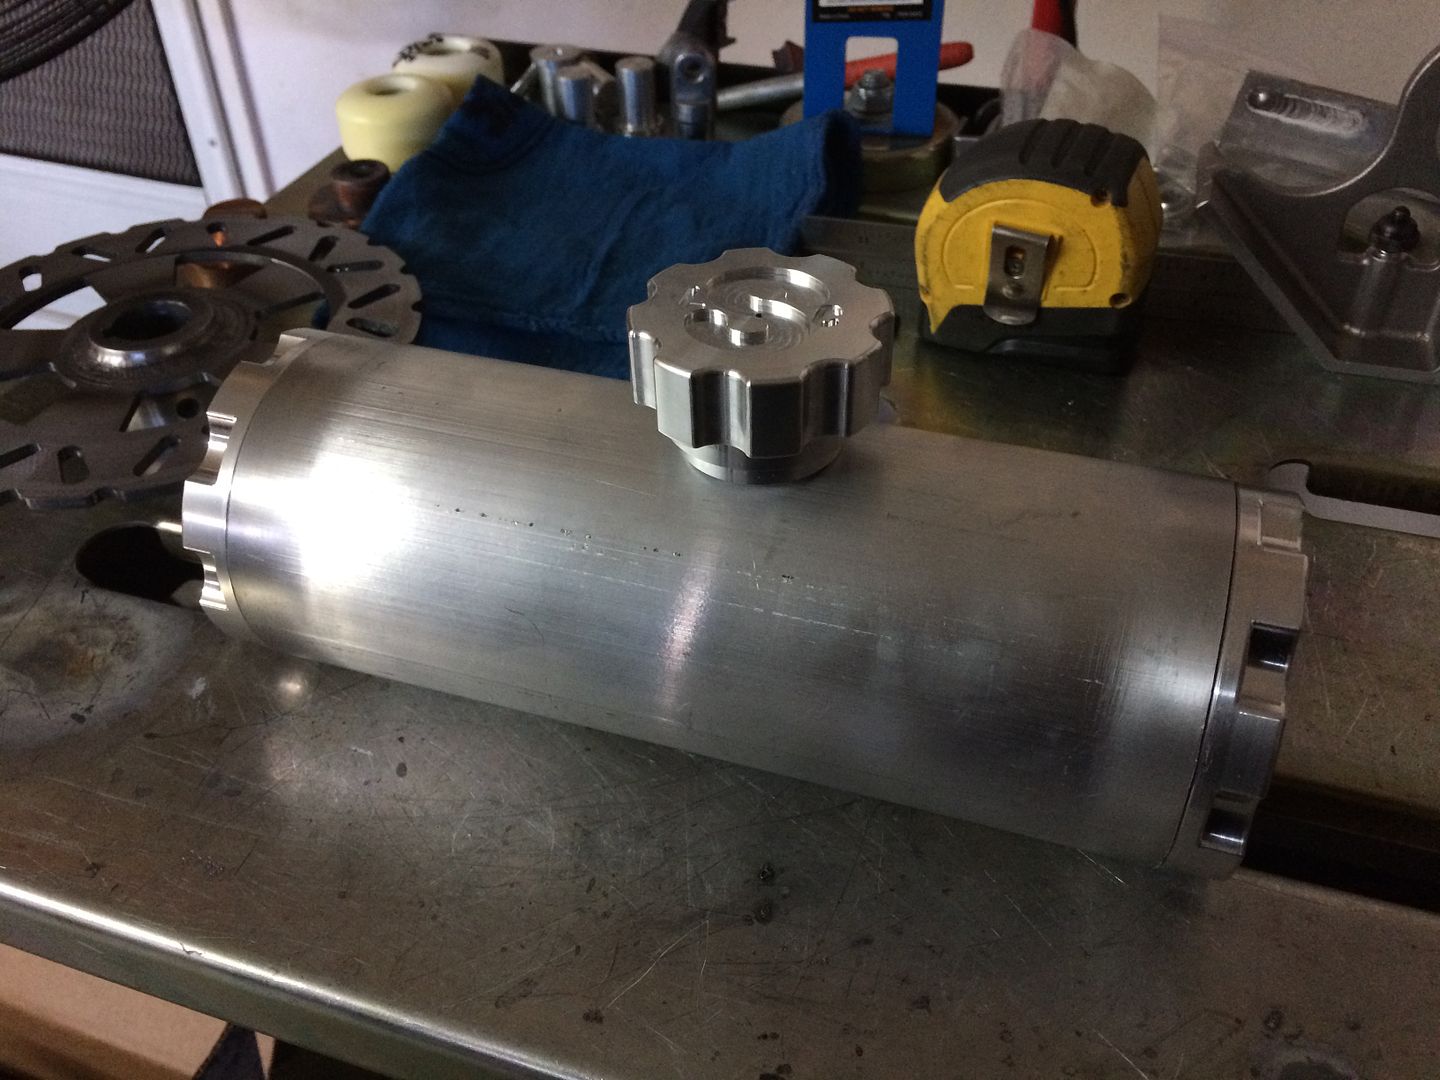
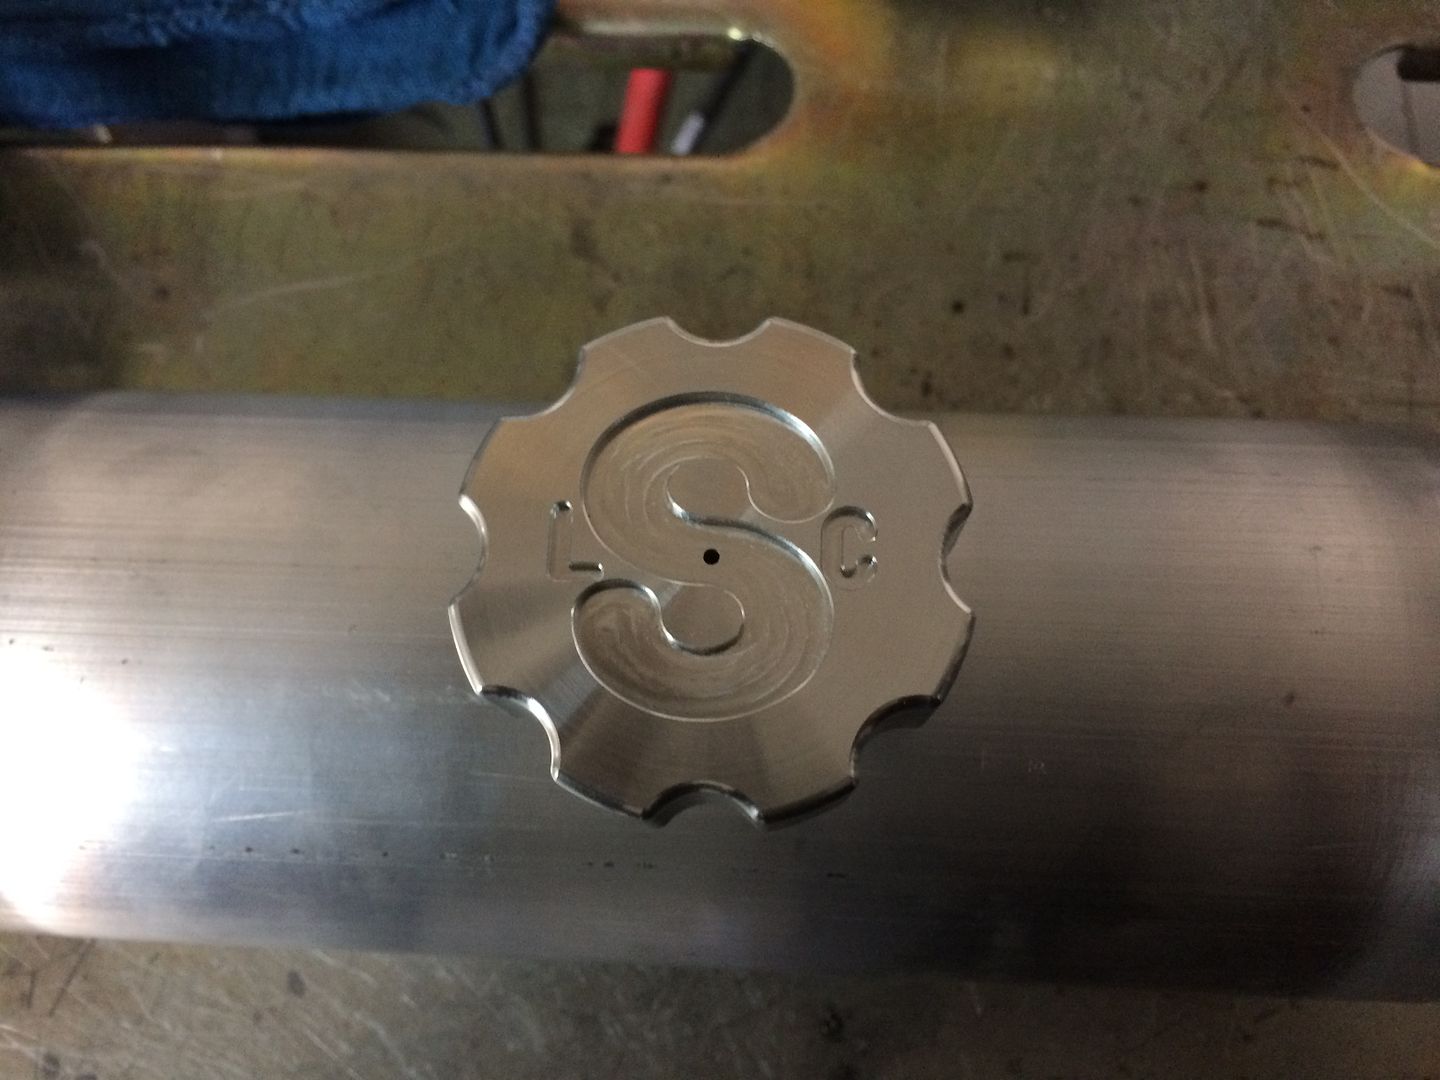
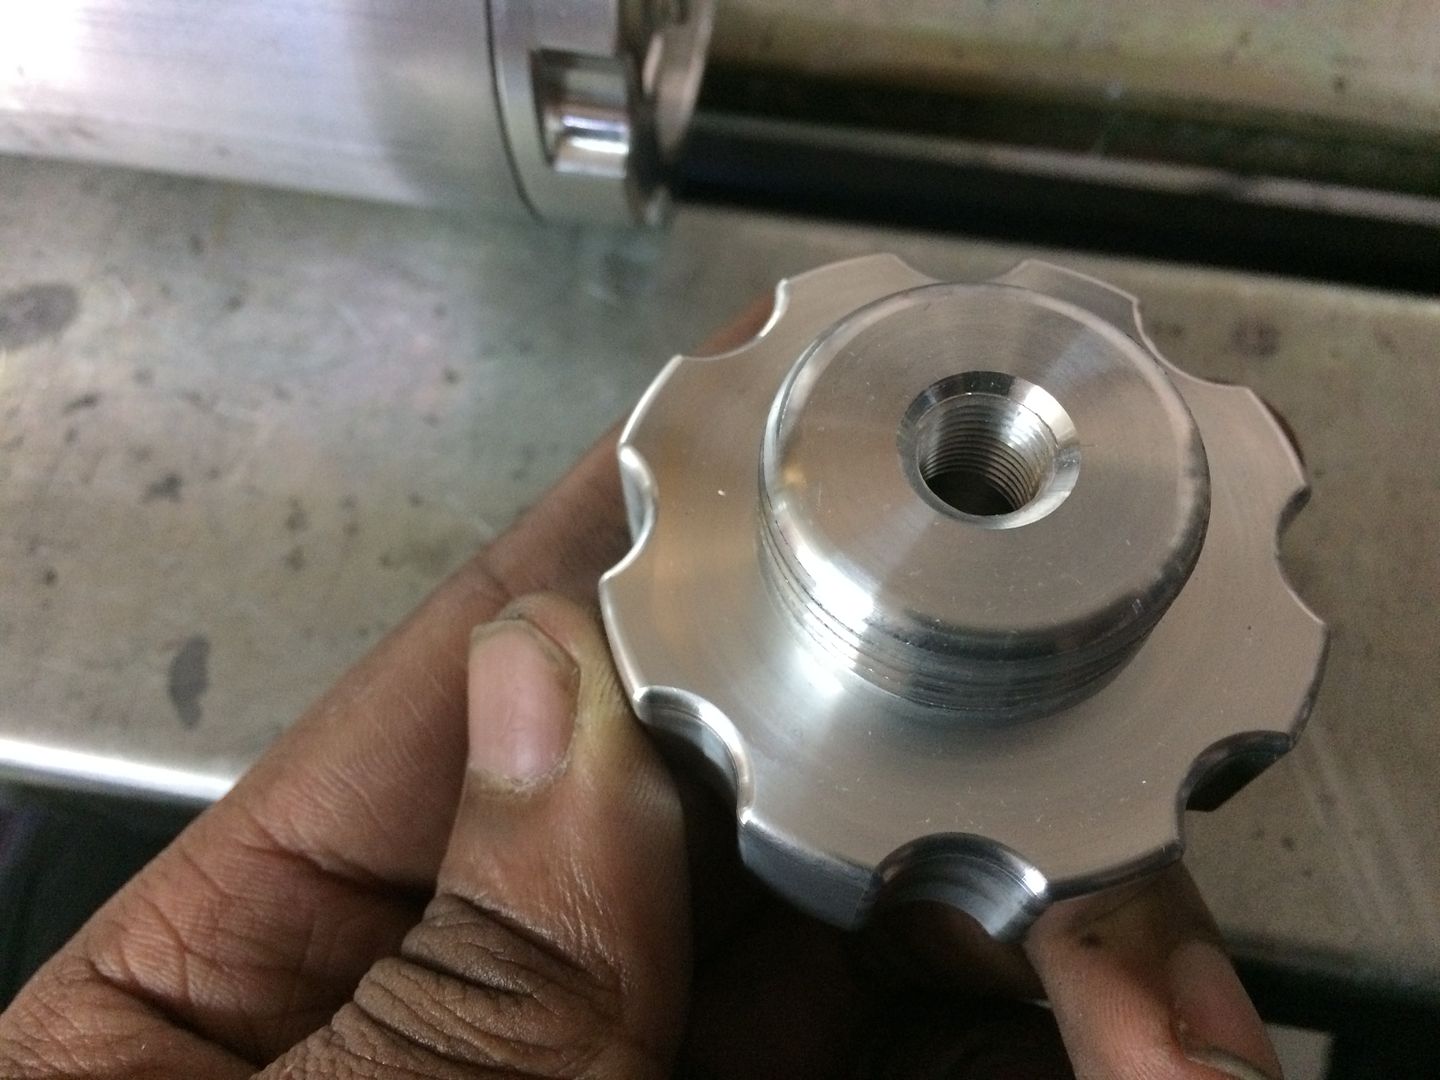
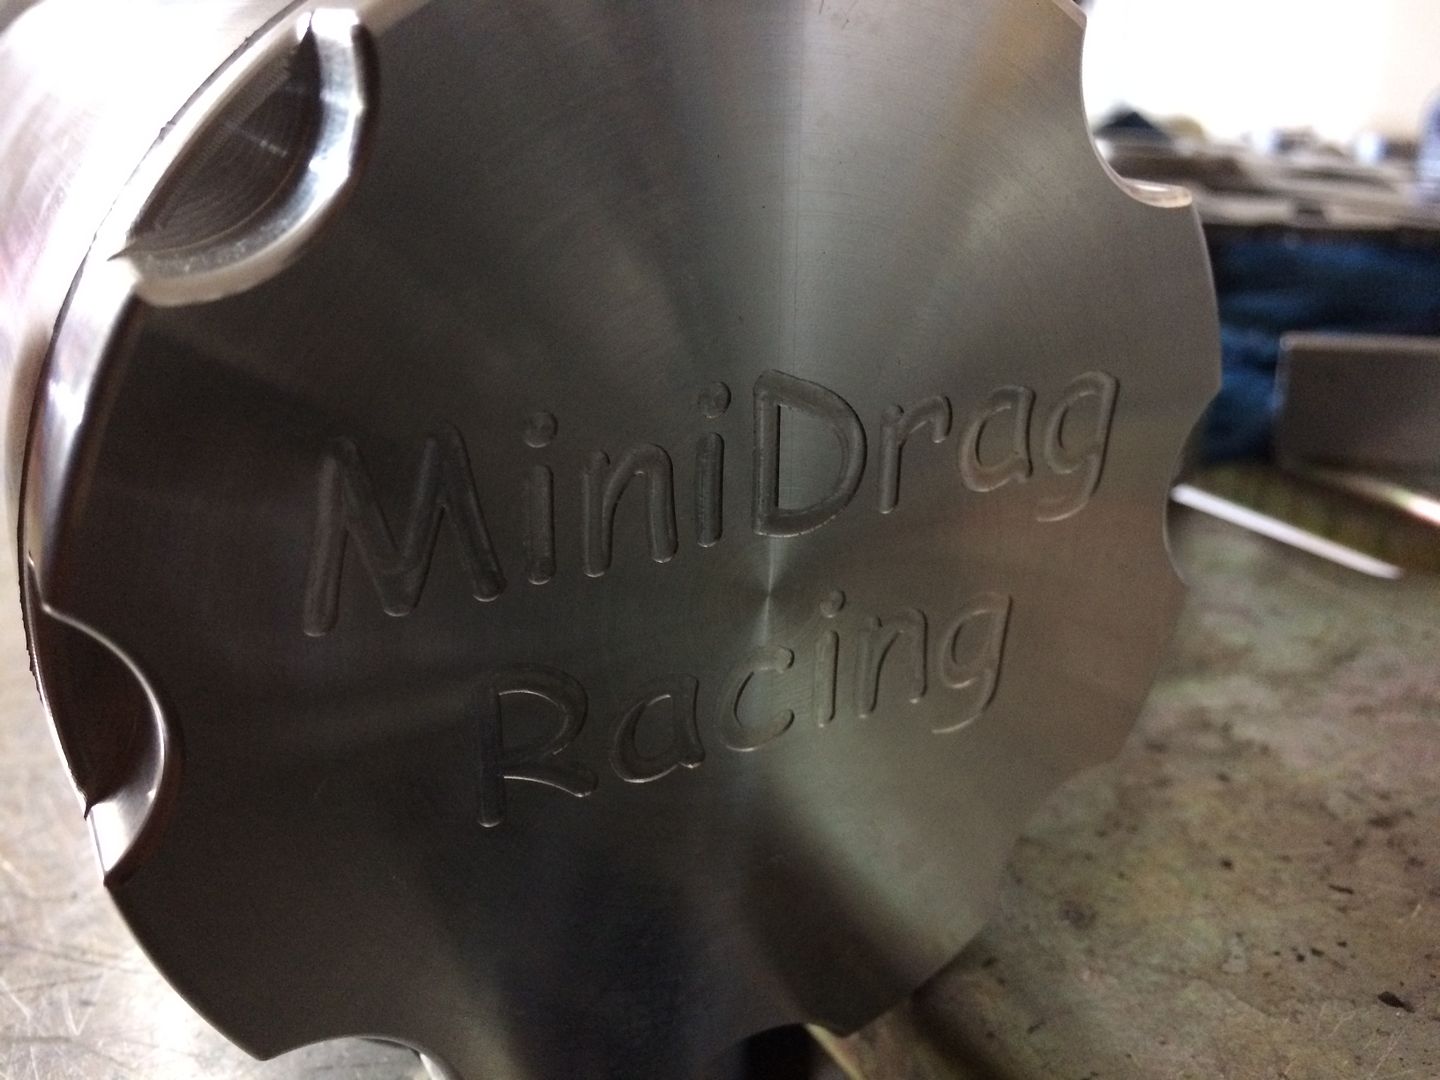
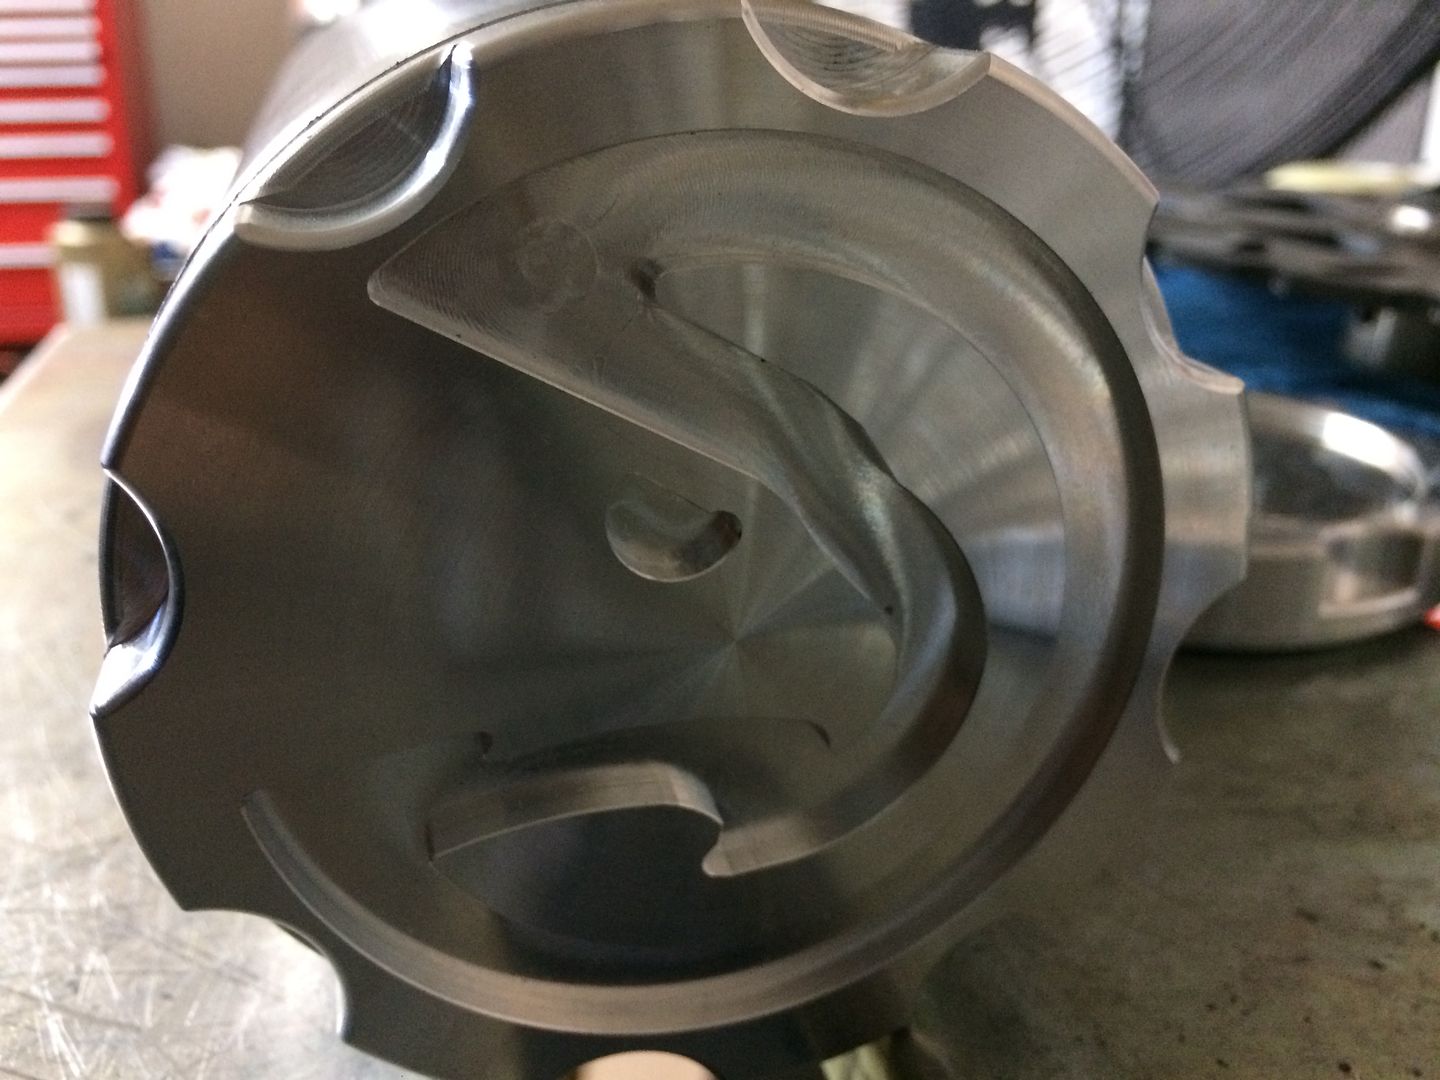
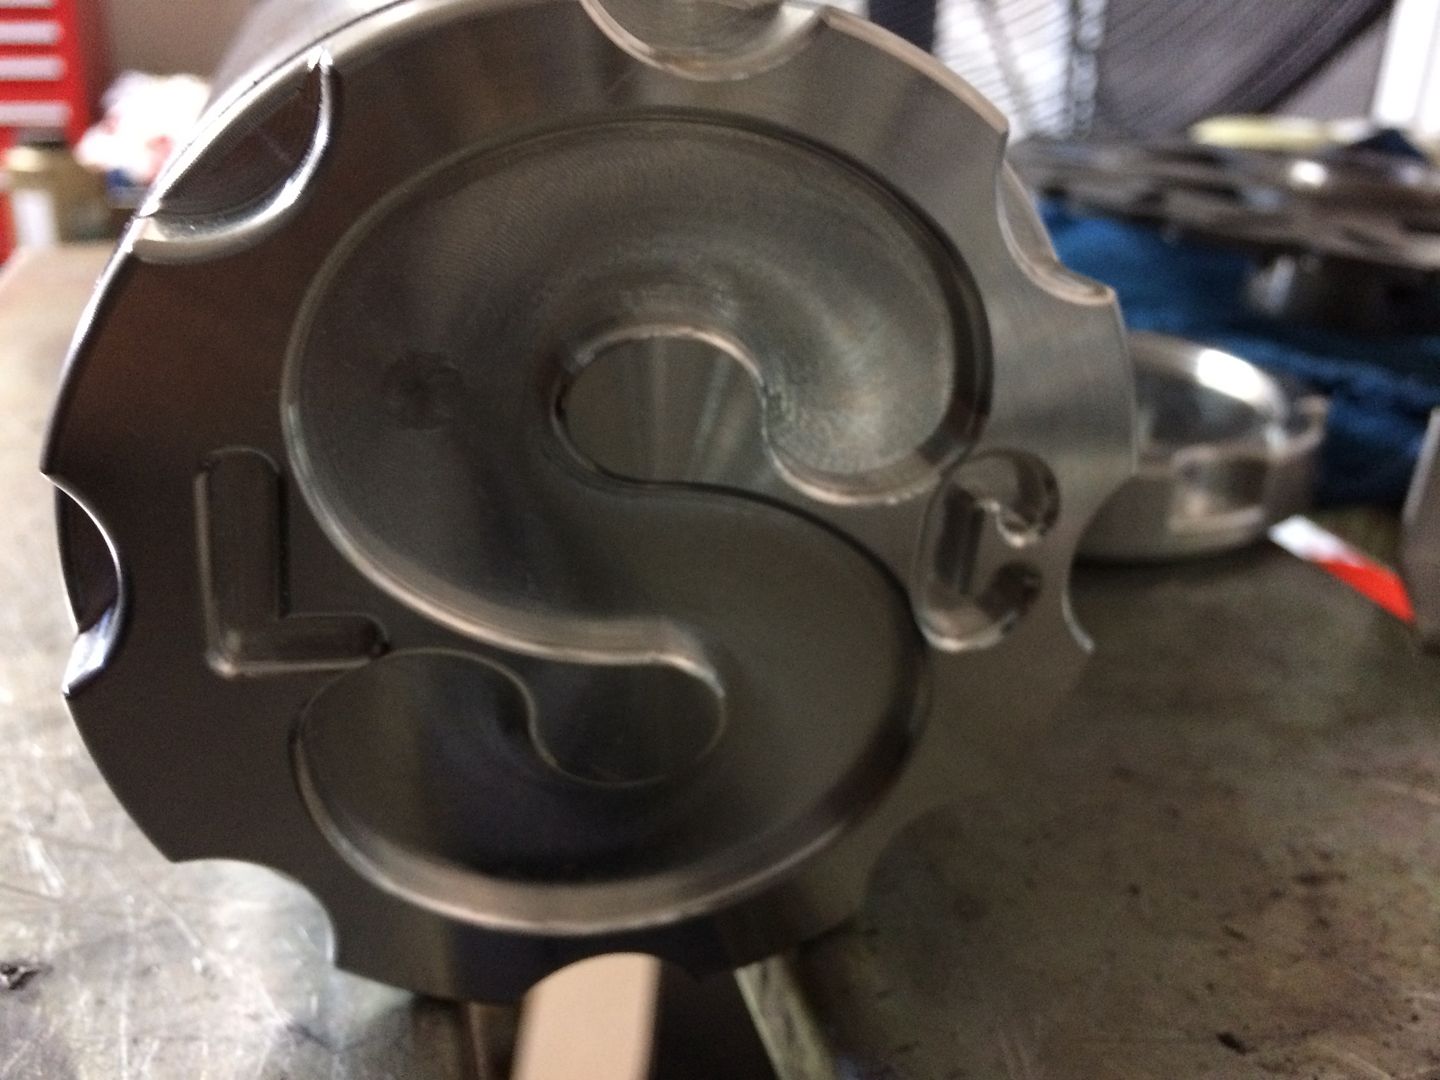
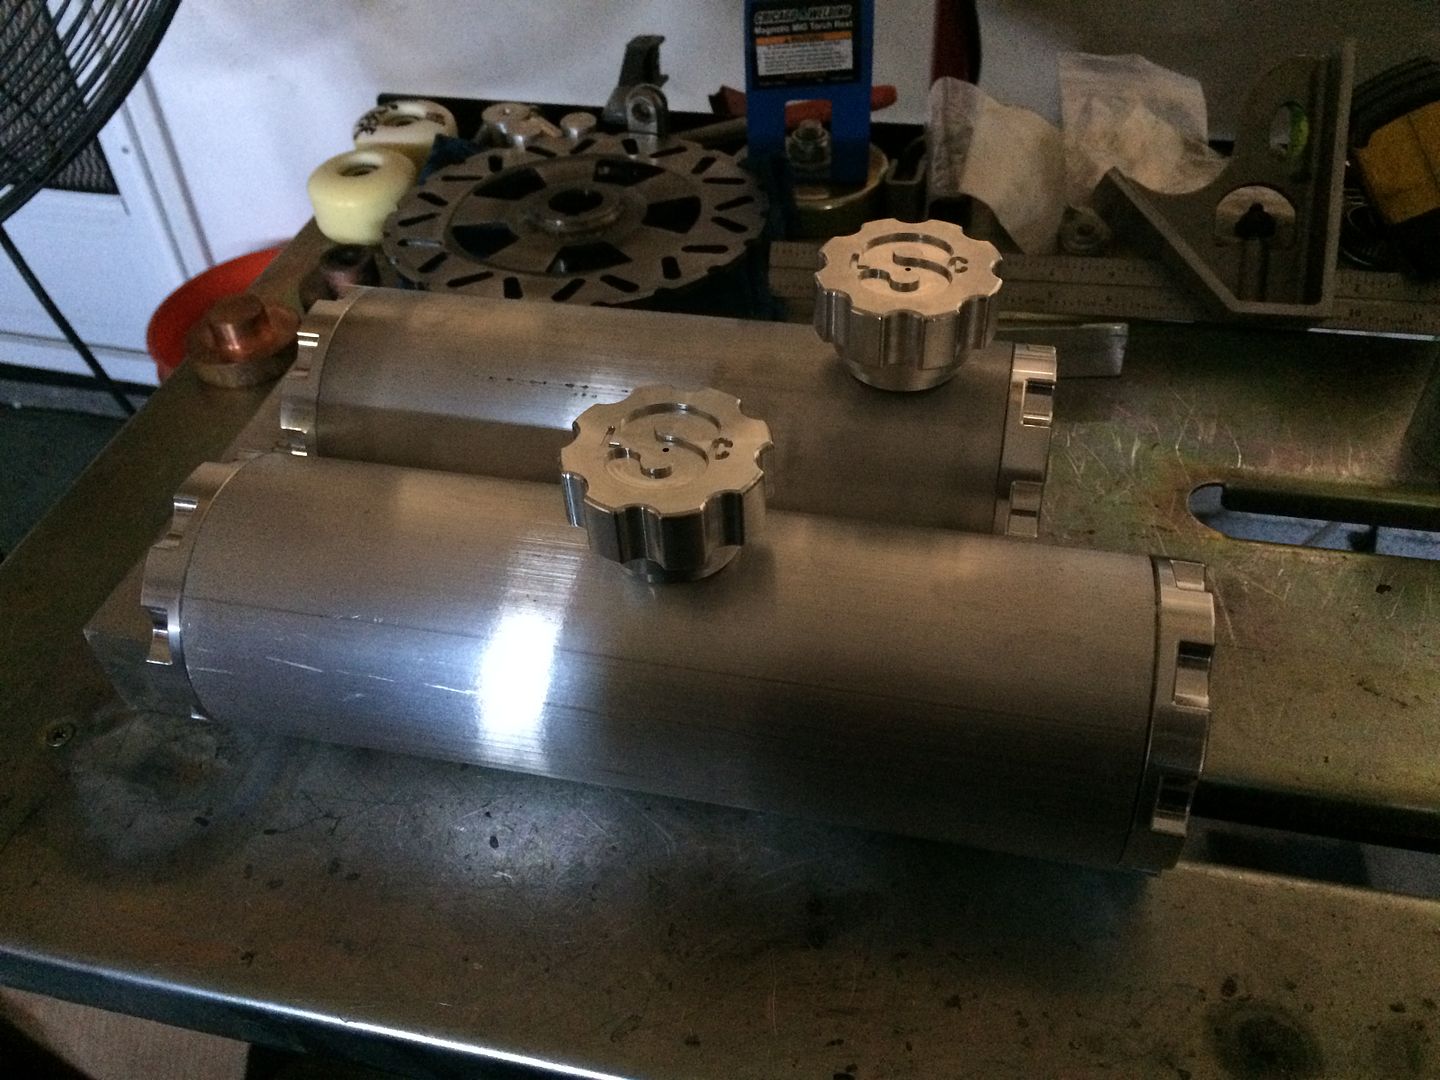
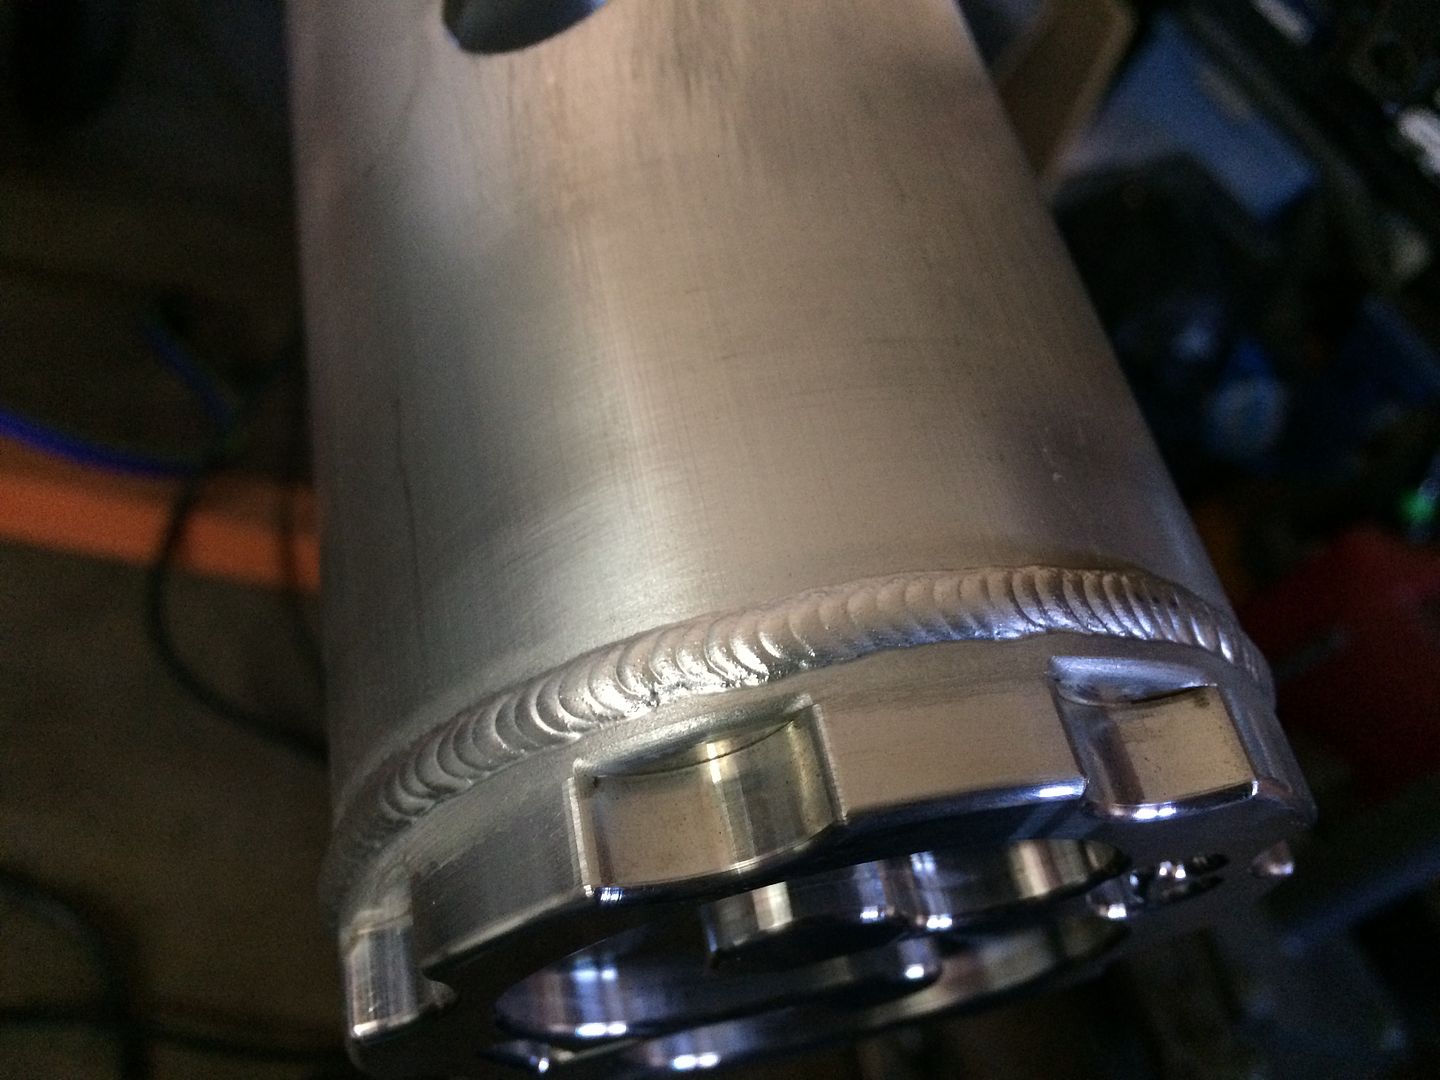
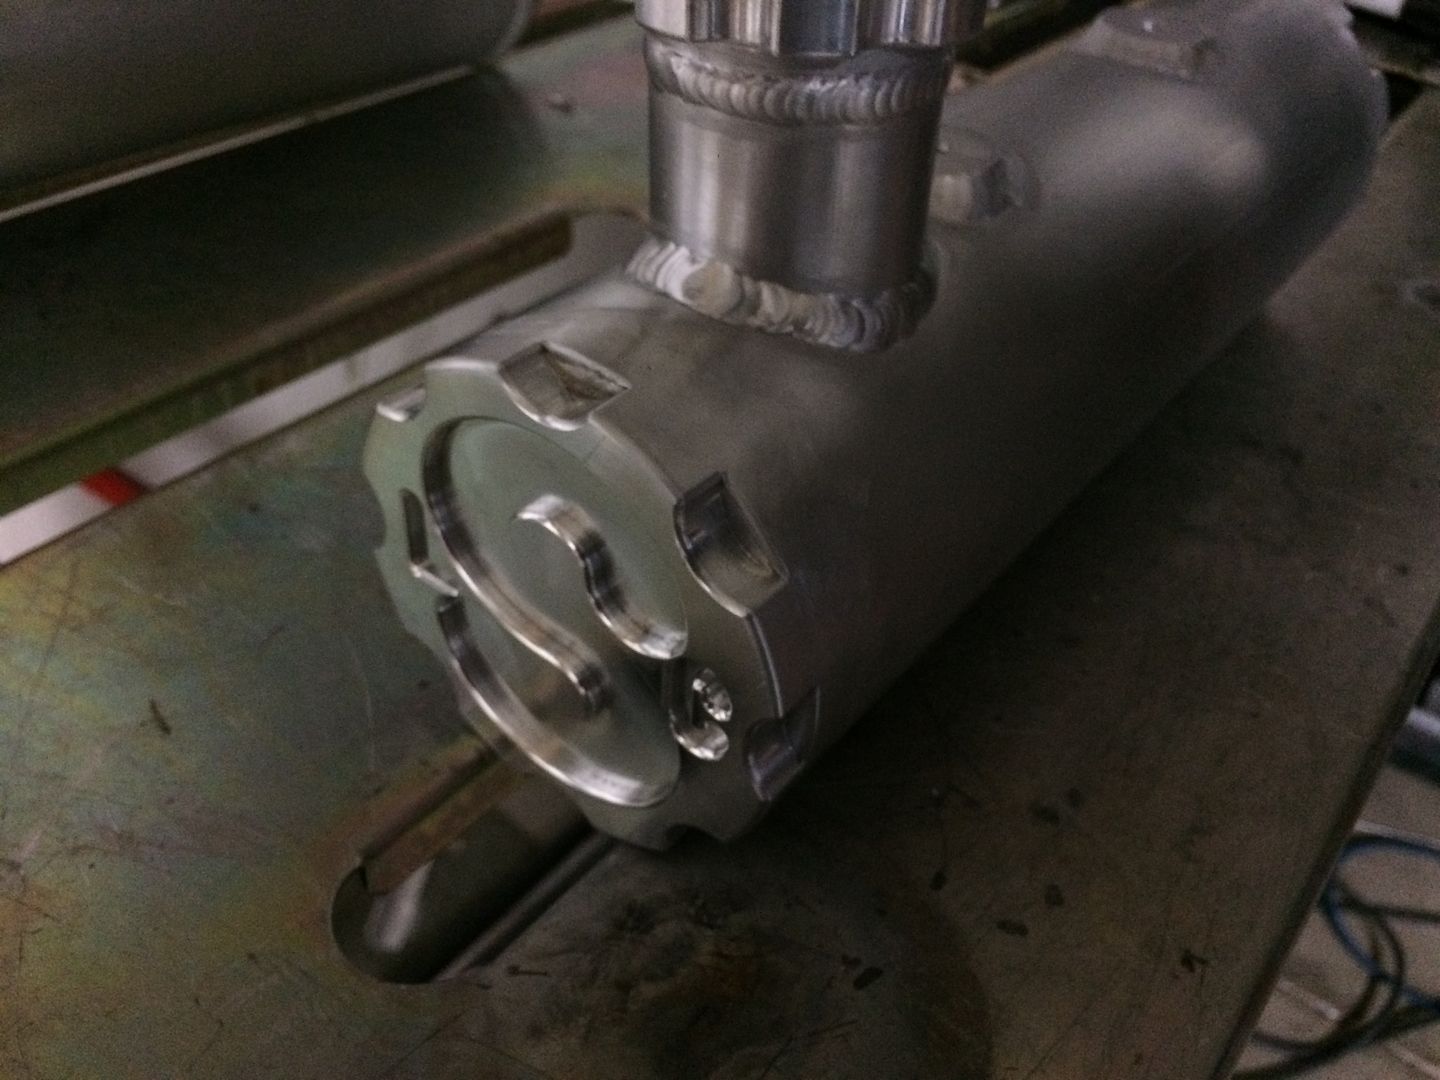
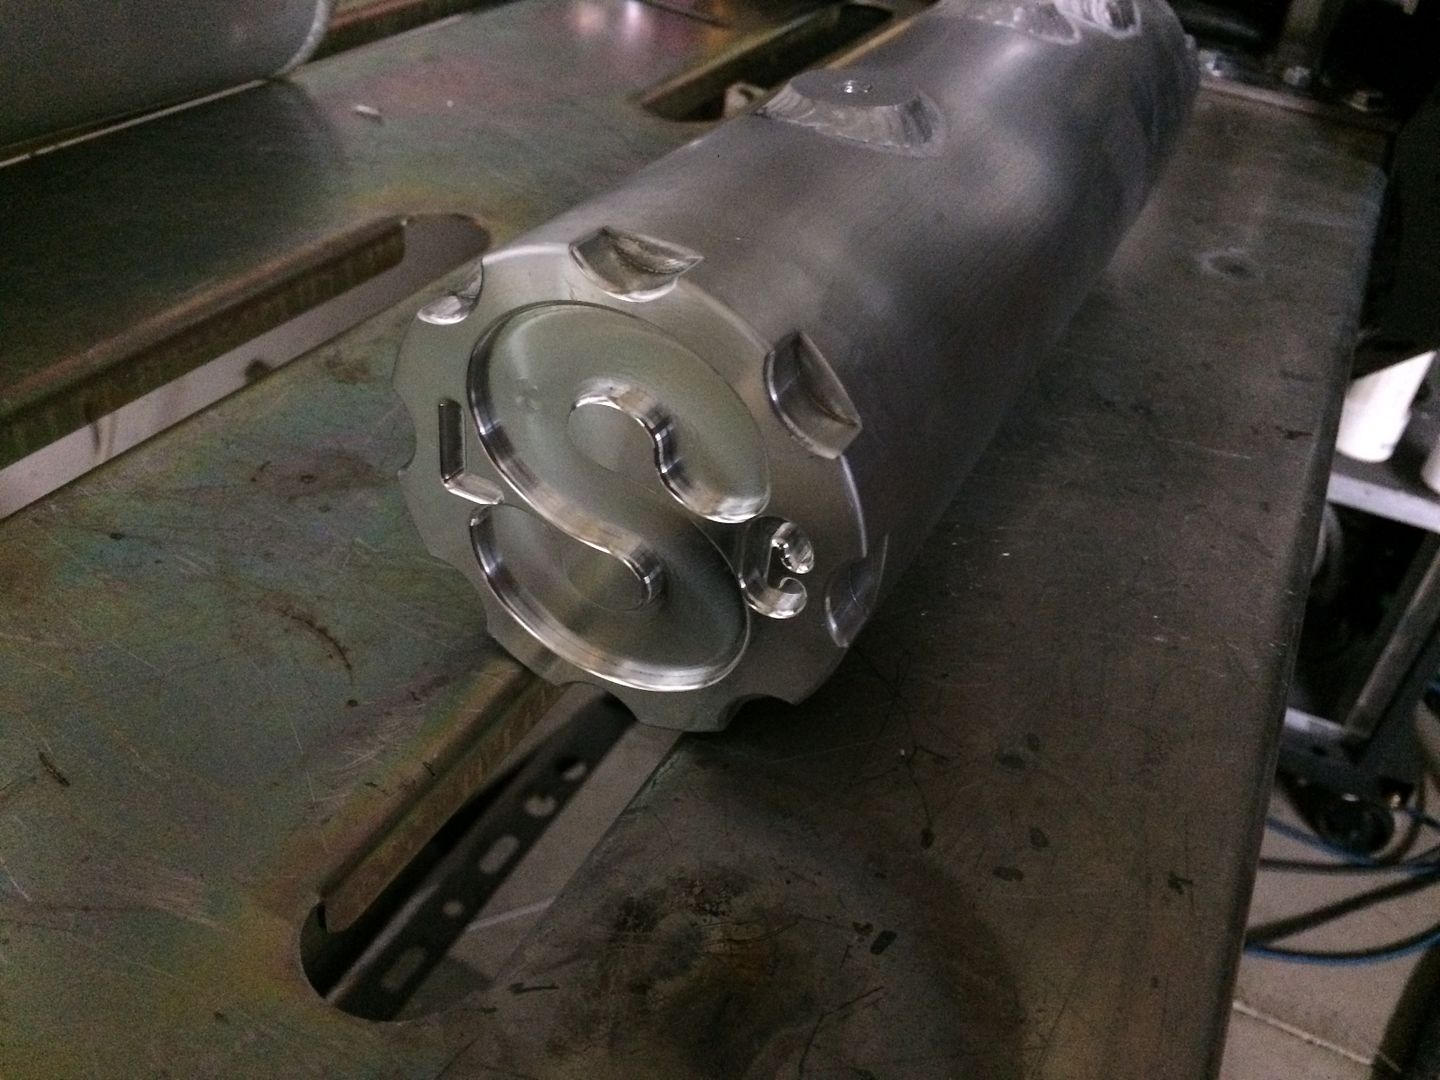
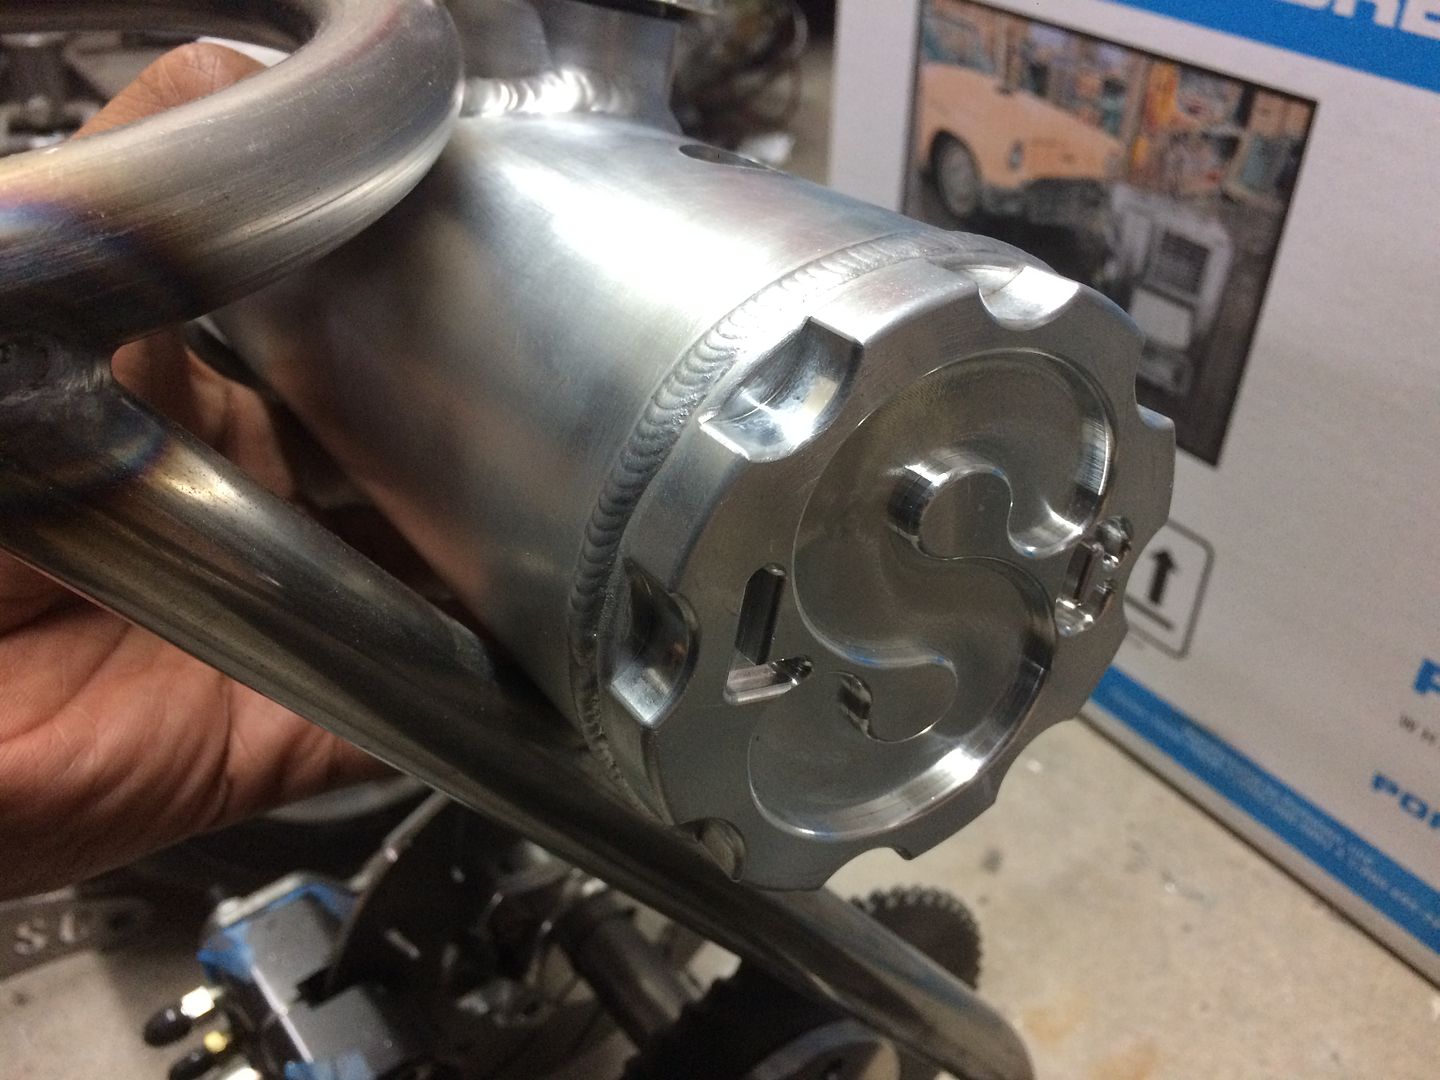
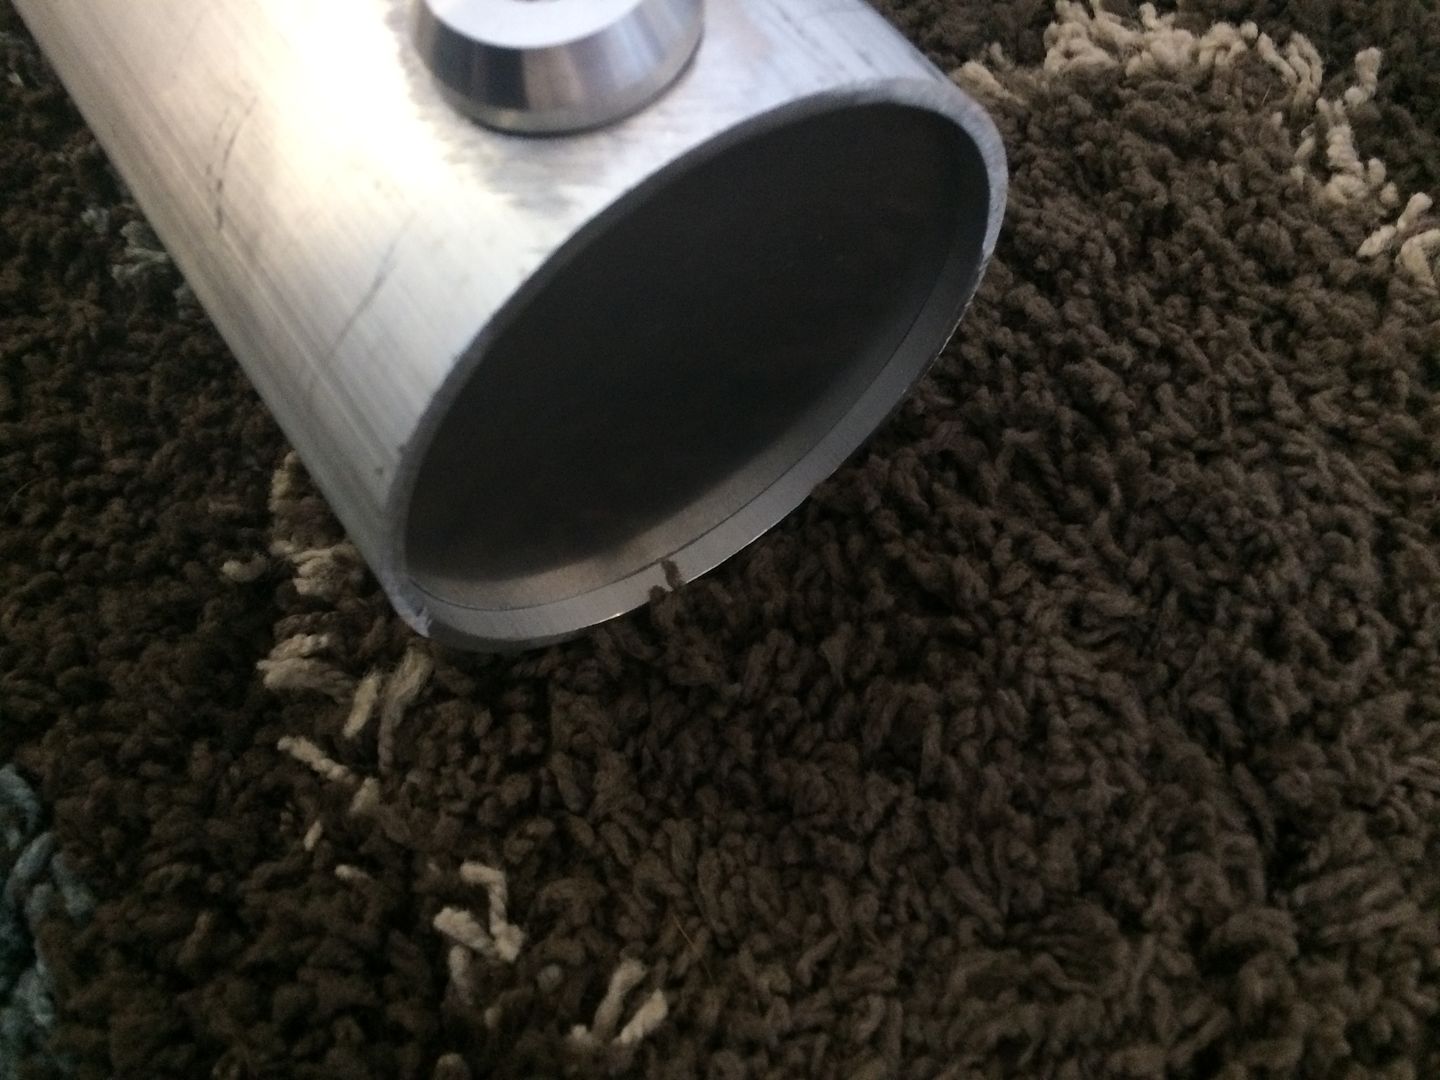
for this set of "tanks" I designed the end caps to match the filler cap... but i had the intention of smoothing out the welds around the end caps to make it appear one piece...

there seems to be info all over the place on this.. i welded this particular tank with 5356... i do have some 4943 coming and will more than likely be using that on anything that will not get a coating, as it is supposedly better/stronger/etc... not sure if it is necessary...

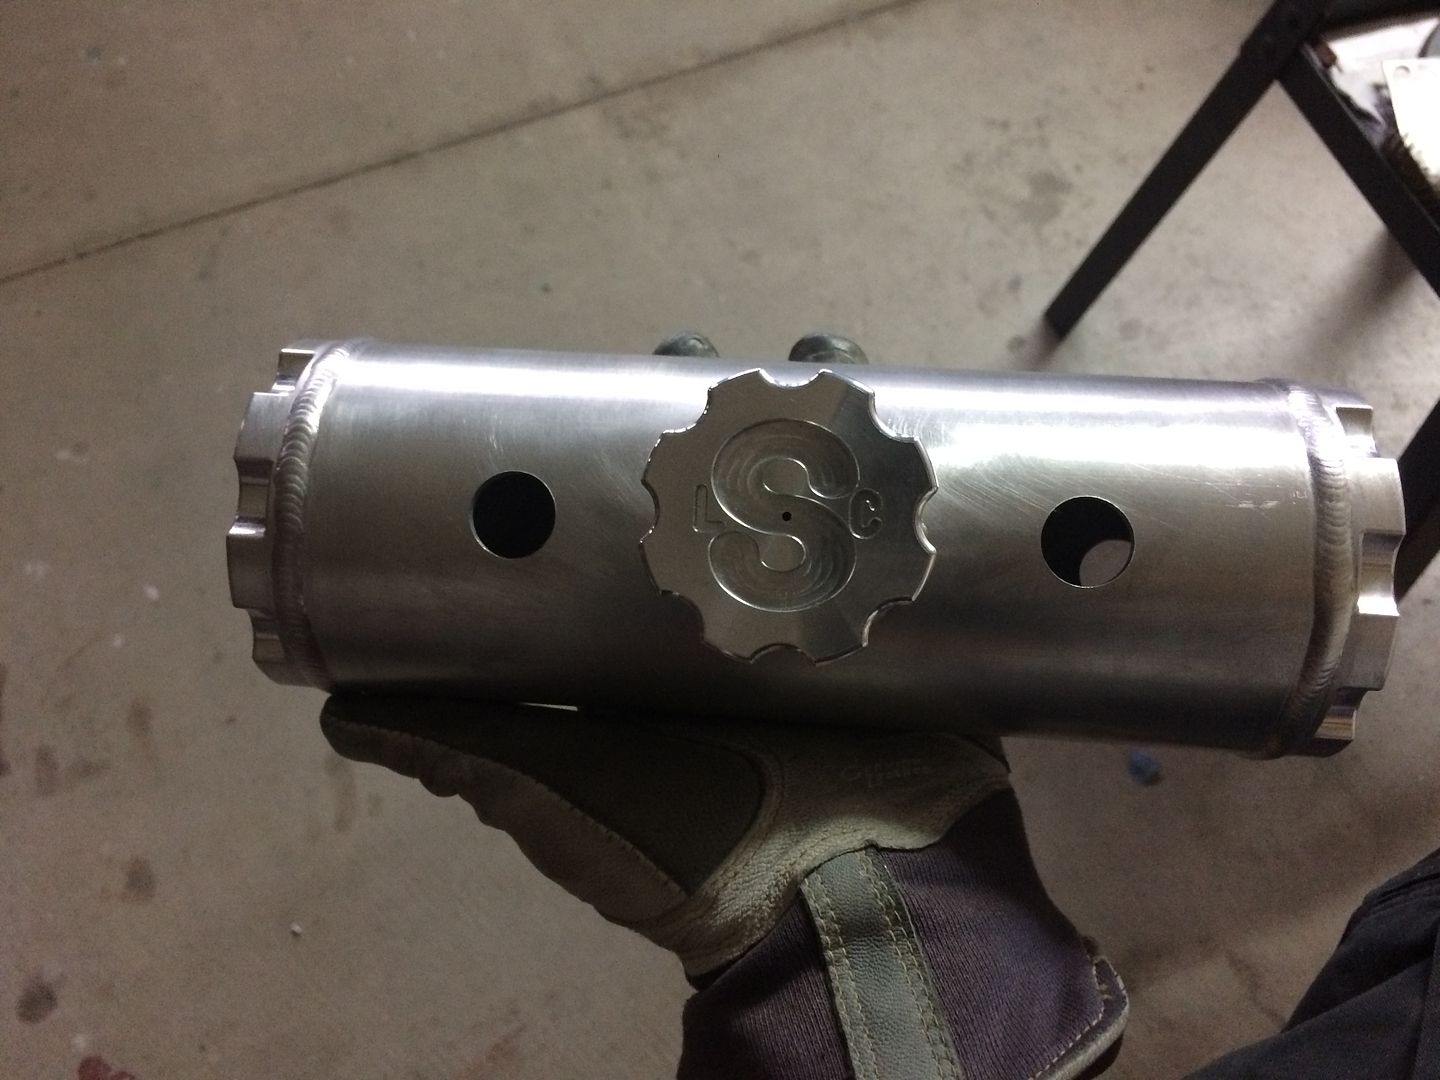
question is, what is the actual "rule" if any, as it relates to grinding/sanding down the welds on something like this... that may hold fuel or oil, etc... is there a way, other than to continue to gain experience and confidence with tig welding, where i can test, or tell if something should crack? is this something that happens right away, or can happen over time and without warning? with proper fusion, i should be able to smooth the weld polish or brush the material for a nice consistent finish and be fairly confident it will not crack? I do and will check for leaks under pressure (i checked this tank for leaks, there are none)... just trying to figure out how to gain confidence in what im trying to do as i go along, without having to wait for something to crack etc, if that makes sense... theoretically and hopefully nothing would... but i would like a way to tell for sure, if possible...

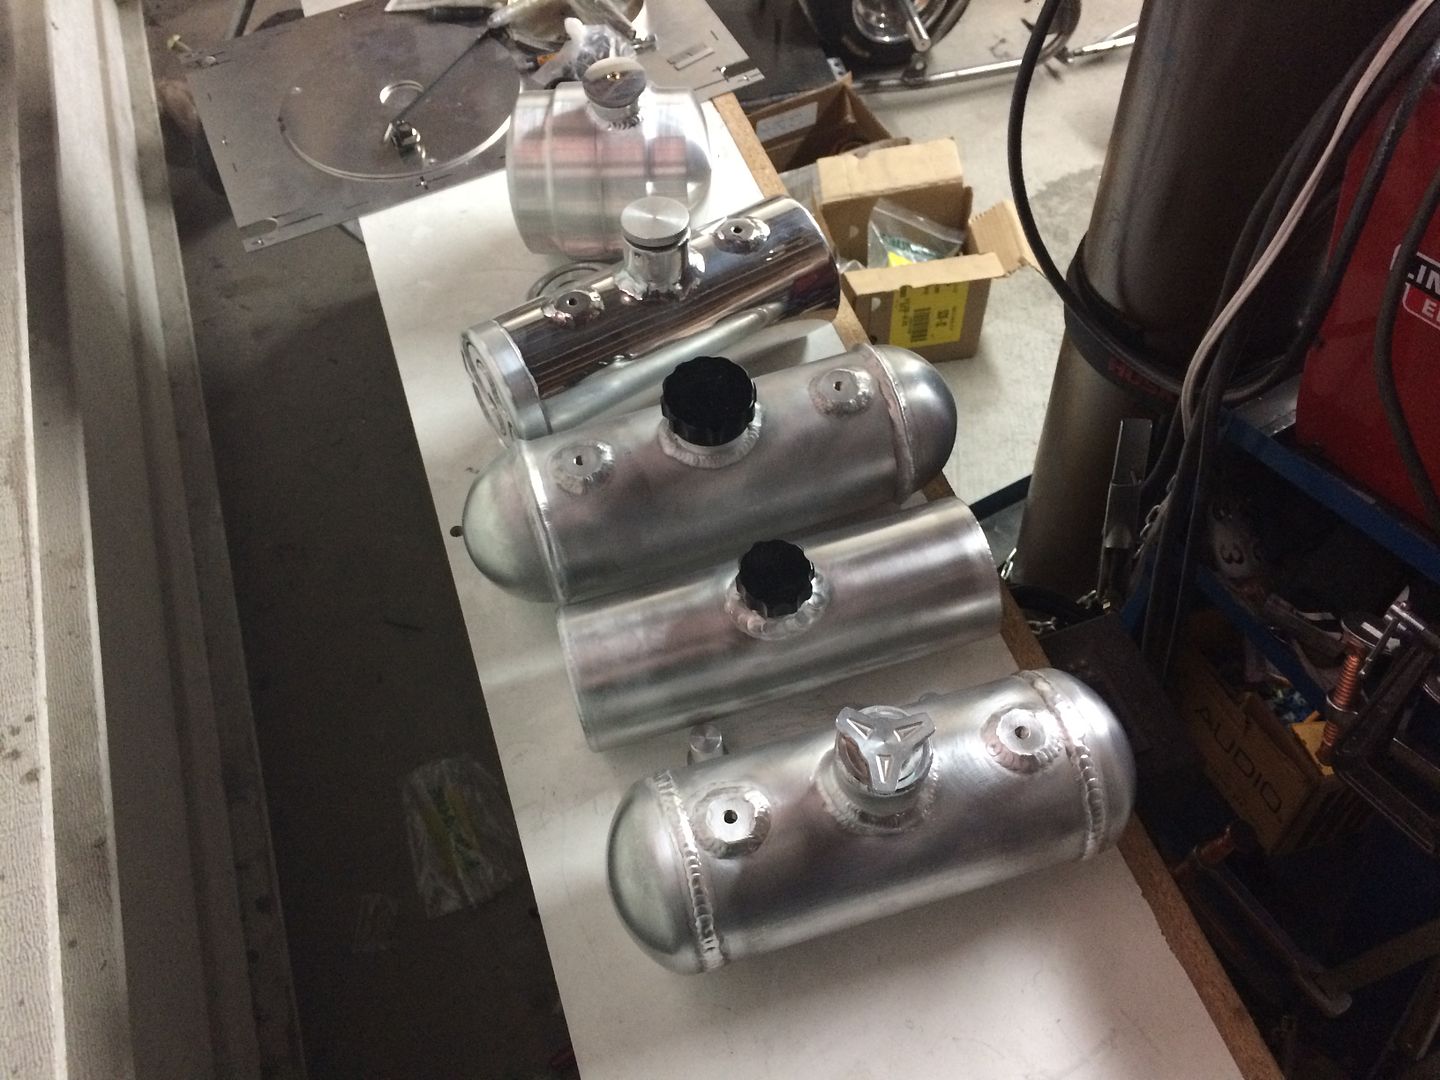
or is the hard fast rule that i should not ever... i have also designed two piece end caps, where the tank would be welded up and welds not touched and end caps bolted on too... but for these next several parts, i wanted to weld the end caps on... i would weld ends on the tank counter sunk, where the end cap would butt up against straight edges on the tank and be a nice uniform seam... i think i will go with this, for future if these go to new homes... but would like to have a decent answer before i smooth any welds off these next few parts...

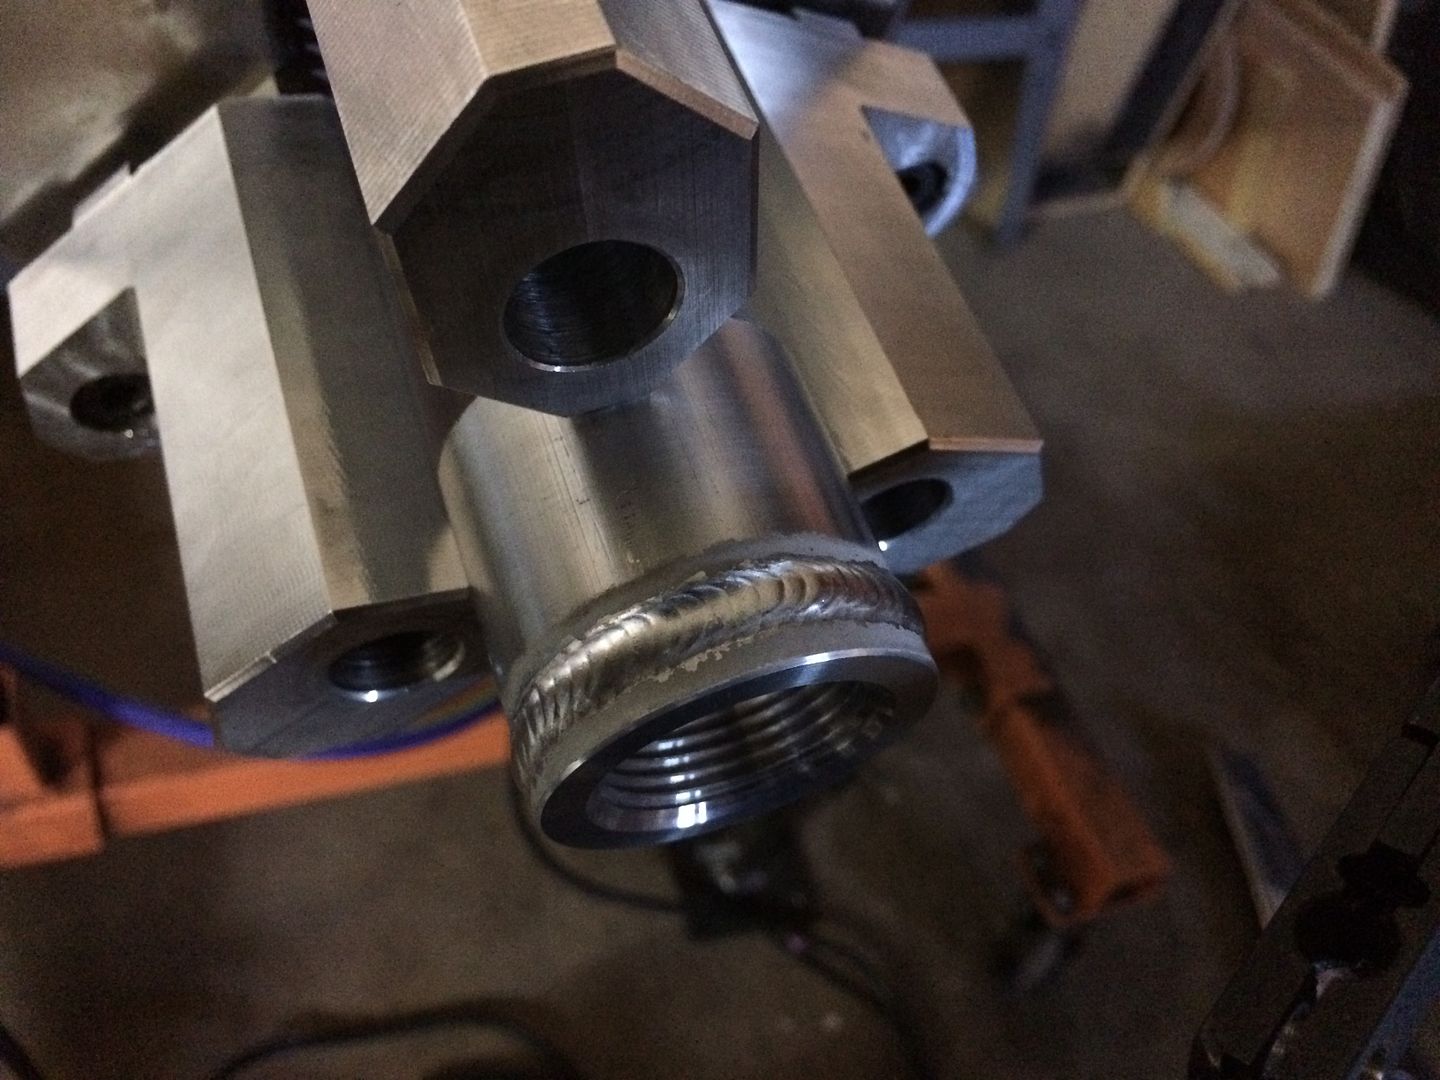
will push a flat end cap in for the future ones and then weld a blind bung to bolt the end cap too, so i dont have to worry about this when building these in the future
Image

and then bolt on the end cap
Image
Poland308
  • Posts:
  • Joined:
    Thu Sep 10, 2015 8:45 pm
  • Location:
    Iowa

If you know ahead of time you are going to grind it flush then it's a good idea to prep it to an open but weld. I.E. a gap and also bevel back the parts as mush as you reasonably can. This will leave lots of weld material even after you blend in the top.
I have more questions than answers

Josh
LS Customs
  • Posts:
  • Joined:
    Tue Feb 23, 2016 11:56 pm

Poland308 wrote:If you know ahead of time you are going to grind it flush then it's a good idea to prep it to an open but weld. I.E. a gap and also bevel back the parts as mush as you reasonably can. This will leave lots of weld material even after you blend in the top.
i thought about that too... i will bevel the rest of the tanks i make with these end caps, and if i do more of them, ill make the end caps set in on the tank ends... and make the caps bolt on... i am doing a custom tank for a friend like that... and should have done them all, it is a pain to smooth all these welds out... in my current (painful) state...

but here it is one roughed in
Image

Image

Image
LS Customs
  • Posts:
  • Joined:
    Tue Feb 23, 2016 11:56 pm

welded another one today.. tried out some 4943...
Image

Image

Image
Post Reply