What welding projects are you working on? Are you proud of something you built?
How about posting some pics so other welders can get some ideas?
Post Reply
av8or1

Fellas-

Gheez, but it has been a while since I have visited the fab forum! Hope that everyone is doing well. And also hope that you, Oscar, are still hanging tough in South TEXAS! Checking my user control panel I see that I hadn't logged in since July 2021! Wow! I posted a conclusion to the skid plate build a few minutes ago, but primarily came back 'round to discuss a more recent mini-fab project.

So I've continued to focus on automotive related projects this past year. At the epicenter of that effort has been the build of my wife's dream car. The good news is that I'm closing in on actually finishing that mega-build. The body is back on the frame, the drivetrain has been reinstalled and I have the thing running. Working on the paint now, then will put on the final touches. Button it up, hand the keys to the wife-eee and move on to the next endeavor, of which there are many to choose. :lol:

Anyway. The extended time required to complete the build for the wife-eee isn't necessarily a bad thing, as it would turn out. That is because a short while ago she was backing out of the driveway in her current daily when she impacted our gate and did this:
taillight 1.jpg
taillight 1.jpg (259.46 KiB) Viewed 13279 times
And the result to the gate was this:
gate repair 1.jpg
gate repair 1.jpg (290.95 KiB) Viewed 13279 times
gate repair 2.jpg
gate repair 2.jpg (308.27 KiB) Viewed 13279 times
gate repair 3.jpg
gate repair 3.jpg (272.34 KiB) Viewed 13279 times
And yes, the gate was wide open, in the event that you were curious. Fortunately this gate is constructed of plain-ol' steel tubing, nothing fancy. Thus repair should involve little more than a cut, weld and finish work. Kind of a pain, but hey, stuff happens. First port-o-call though was her ride, as she and the lil' un were on the way to the store. So ... I had her Crown Victoria back online in less than a half hour, as I just-so-happen to retain a few spare parts. Most of that ~30 minutes was spent searching for the matching part, but I digress. The plan was to address the gate over the holiday break, since the gate was still functional due to the low speed impact. But mostly 'cause I just didn't want to deal with it at that point. :lol:

With the holiday break upon us, I decided to follow-through with my plan by tackling the gate repair. More on that in the next post...
av8or1

I decided to simply cut-and-replace the affected vertical member of the gate. That is, I didn't want to bother with an attempt to straighten the existing one, which could have been done in a variety of ways. Presumably with varying degrees of quality in the result. A couple of friends actually suggested using a crowbar on it ... egad. Uh, no. I have grinders, welders, saws, paint, primer, etc. - all the kruft that you need to fashion a repair. The plan was to take the lil 'un to the metal supply store (a place we have been on several occasions in the past) and have him run through the drill of ordering what we needed. Turn it into a quasi-mini-teaching event for him, if you will. And so that we did. First we opened the gate a tad and supported it with an aircraft chock:
gate repair 4.jpg
gate repair 4.jpg (277.36 KiB) Viewed 13278 times
Then cut-out the affected vertical member:
gate repair 5.jpg
gate repair 5.jpg (307.55 KiB) Viewed 13278 times
I chose to make the cuts at the top, just underneath the horizontal portion of the frame (because there was a slight bend to the member throughout the length of that tube) but just above the upper horizontal frame member at the bottom. The latter was done because there was little damage below that point, so why create additional work for yourself in the form of extra cutting and welding? Granted, there was a small impression just below that line:
gate repair 6.jpg
gate repair 6.jpg (309.76 KiB) Viewed 13278 times
Just below the point of impact. And there was a slight bowing-out of the tube 90-degrees clockwise, with the counter-clockwise side remaining (mysteriously) unaffected. However, with a small crowbar and an automotive body hammer, I was able to work that out rather easily.

With that, the lil 'un and I set out to the metal supply store, as mentioned. We brought the damaged tubing with us. I had him measure the tubing dimensions and thickness. Turned out to be nothing more than 3/4 x 3/4 16ga and 1.5 x 1.5, also 16ga. The supplier had the 3/4 stuff but only had the inch-and-a-half in 14ga. We went with that, what the heck. And of course it only comes in 12 or 24 lengths, but fortunately they had a drop of the 1.5 x 1.5 @ 9' so we opted for that instead. Anyway we brought it home and busted out all of the tool-ery that we'd need:
gate repair 7.jpg
gate repair 7.jpg (309.21 KiB) Viewed 13278 times
av8or1

So the gate design has the 3/4" tubing on one side, aligned in the center of the larger tubing. While I had decided to weld in a section of the larger tubing within the existing stuff, I didn't see any reason to follow suit with the smaller variant by welding here:
gate repair 9.jpg
gate repair 9.jpg (222.42 KiB) Viewed 13278 times
And here:
gate repair 10.jpg
gate repair 10.jpg (274.31 KiB) Viewed 13278 times
I mean, why all that work? It's simply stitch welded (and "loosely" at that - where "loosely" means that there aren't many stitch welds):
gate repair 8.jpg
gate repair 8.jpg (272.16 KiB) Viewed 13278 times
So why not just cut the thing off in its entirety and weld on a full-length piece from the replacement stock (of which there is 12')? And so that is the direction we elected to take. Disappointingly when we cut off the smaller tubing, we verified what I had expected would be true:
gate repair 11.jpg
gate repair 11.jpg (241.59 KiB) Viewed 13278 times
Which is that the outfit that built the gate didn't use any weld-thru during their construction process. Rather, they simply mated the components together and threw on a few stitch welds. Granted, what you see is only surface rust and not much to be concerned with. However, being the particular individual that I am, I would have preferred that they follow a more thorough procedure. But maybe it's just me. I digress.
av8or1

Proceeding forward ... we cut a section from the new 1.5" stock just a smidge long such that it would be a tad of a form fit. Installed that into position:
gate repair 12.jpg
gate repair 12.jpg (322.96 KiB) Viewed 13278 times
Welded, grinded and primered:
gate repair 13.jpg
gate repair 13.jpg (254.26 KiB) Viewed 13278 times
Then had to leave it there for the night. Unfortunately that is the condition in which the gate remains a few days later, as that very night I came down with something that left me unwilling to do anything I normally do; projects, whatever. Went in for a Covid test, still awaiting results. Don't think that I have that, but decided to verify anyway.

That said, the remainder is clean-up kinda stuff. Should be straightforward enough. Will post pictures afterward. Today is the first day I've even felt like doing anything, to include touching the laptop.

So that's the latest from Central TEXAS. I hope that everyone had a great holiday season and I wish you the best in 2022! Y'all take care!
Last edited by av8or1 on Mon Jan 03, 2022 3:31 pm, edited 1 time in total.
BillE.Dee
  • Posts:
  • Joined:
    Mon Nov 27, 2017 8:53 pm
  • Location:
    Pennsylvania (Northeast corner)

Hello av8or1, New Year to you and the family. I'm always watching your posts. Sorry about the "illness" and the wait for the results.
What type of welder do you use for the repair at the end of the drive. I'd like to get something for "distant" repairs from the shop and still kicking around the thought. Stay safe and get feeling well.
Bill
av8or1

Hi BillE-

I remember you also, hope that you and yours have been doing well to include the holiday season! Thank you for the well wishes. The Covid results came back negative today, so all is well that ends well. :)

The welder I used on this project? Oh boy, just pure, plain-Jane, bone-simple, nothing-fancy, get-er-done stuff. The Century FC 90 Flux Core:
fc 90.jpg
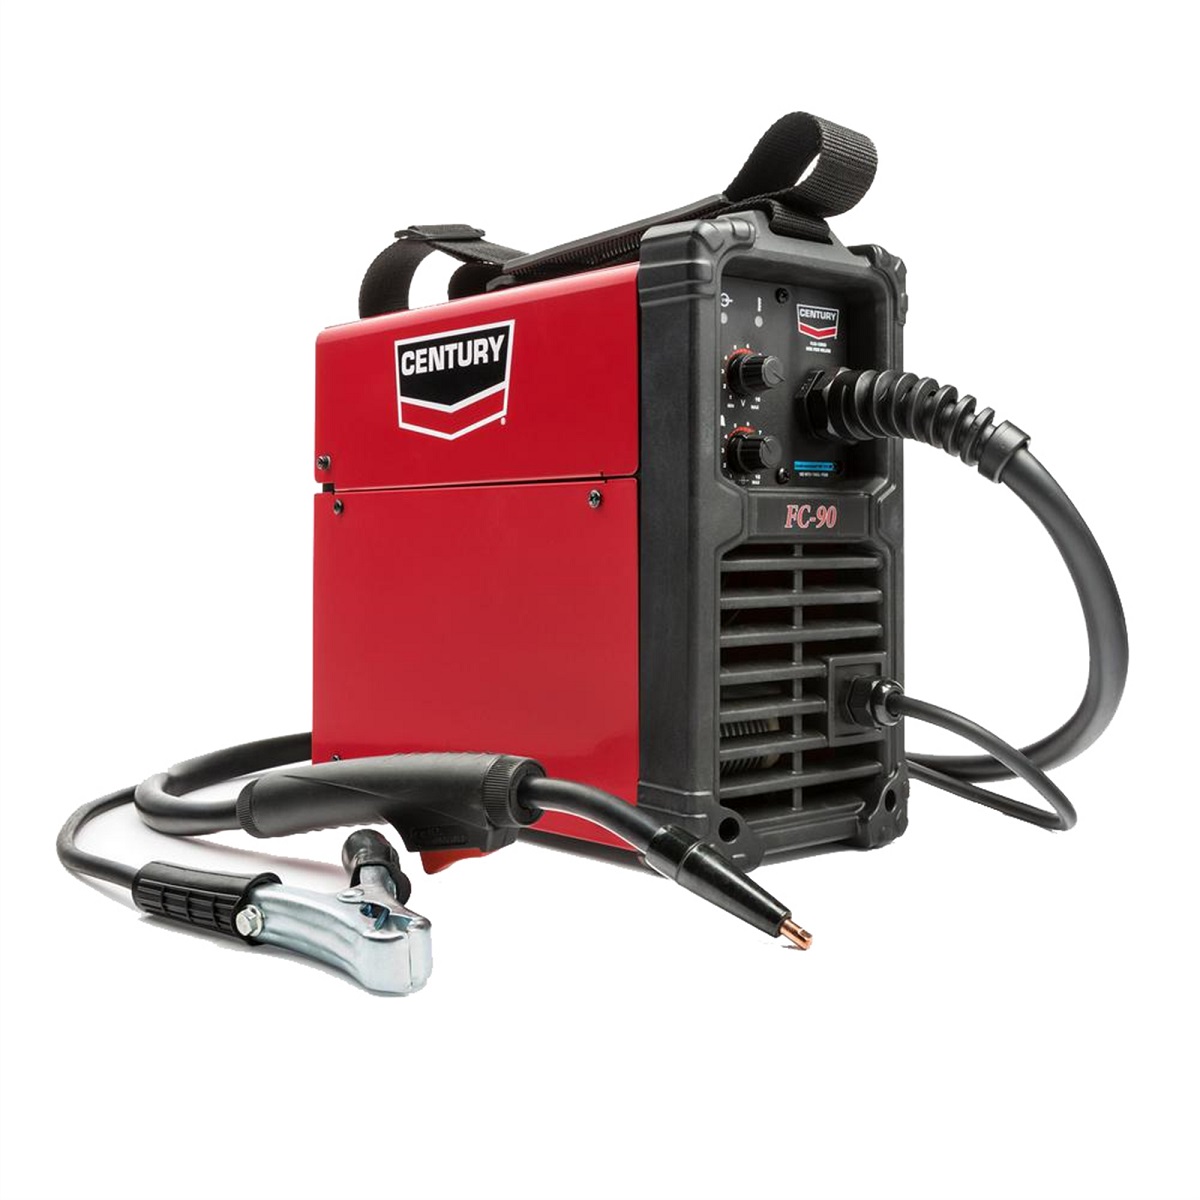
fc 90.jpg (155.05 KiB) Viewed 13210 times
I use it on most every project that lies outside the shop, with the exception of the gantry crane build, which of course required heavy-duty SMAW. The reason that the FC 90 has become my go-to is due in part to the fact that my shop welding cart is on wheels that won't allow it to function outside the concrete shop environment. Modification of that cart to be a 4-wheeler (if you will) has been one of the side-jobs that I have been meaning to tackle for a while now, but I digress. Complicating matters a bit is that we utilize our workshop in double duty fashion as a storage unit for spare automotive parts for our vehicles, so there isn't much room to maneuver. Thus any work that needs to be done at the front of the workshop requires me to hand-carry one of our welders from the back (where the 220V plug resides) to the front and bust out the heavy-gauge cable to run to it. This was true for the aforementioned gantry crane project, for which I hauled the Everlast forward and back each session. However not many of my projects needed that kind of horsepower. And they of course didn't need the TIG capability of the PrimeWeld. With that in mind I began thinking: if I don't need that much or that type of capability for these outside jobs, why not source a low-budget alternative that would be lighter and easier to carry? And that I wouldn't be so worried about damaging? Granted, it'd have to work and be reliable. Hmmmmmmm....so I looked around for while, did some research. Settled on the FC 90. But I'm getting off into the weeds a bit here with my commentary.

For my use-case scenarios, the FC 90 fits the bill quite nicely because:
1) It was cheap
2) It would be cheap to replace if need be
3) It hasn't needed replacement in the 2 years plus or so that I've had it
4) My outdoor use-cases don't require shielding gas
5) Spare parts are available if needed
6) It weighs nothing and can be carried wherever whenever
7) Runs on only 110, so plug it in anywhere
8) My outdoor use-cases don't require high-amperage welding, generally speaking
9) It has been rugged in my experience, though if you really beat it up enough, I suppose it would fail, just like any welder, but see #1 and #2 above
10) Uses industry-standard materials (0.035" wire/tips are typically used, can use 0.030")
11) It has worked every time I have needed it

The downsides (IMHO) are:
1) It's cheap
2) I'm not a fan of the grounding clamp but it works, also never failed
3) It only runs off of 110, so no high-amperage stuff (but I don't need it in most use-cases)
4) The shoulder carrying strap works and has never broken, frayed or come apart/off. However I would prefer some type of carrying handle that would swivel about the longitudinal axis and that was both expandable and collapse-able like a roll-aboard suitcase. However, see #1 of both lists.
5) 0.035" max wire size (sufficient for my use-cases)
6) You don't set voltage and wire feed numerically (19.0V/250IPM) but rather you use that letter/number scale system stuff, which I definitely don't prefer (see #1 in above lists I suppose)
7) Gun cord seemed flimsy at first; my question was "how is this a-gonna hold up over time?" ... but it has done just fine, no issues

The short version is that I would recommend it to anyone, provided that their use case scenarios fit within its capabilities. Durability has been good for me, but I don't use it every day admittedly, only about once or twice per week. On occasion though I have used it enough to go-through an entire spool of 0.035" wire in one session. It pulled through that session and has worked afterwards, no issue. So over the course of a couple-of-years-plus, I'd say that it was worth the investment.

My $.02.

Thanks! Let me know what you decide.
Last edited by av8or1 on Mon Jan 03, 2022 4:43 pm, edited 1 time in total.
Coldman
  • Posts:
  • Joined:
    Mon Dec 15, 2014 2:16 am
  • Location:
    Oz

Gates and yellow posts at supermarket carparks are chick magnets.
Flat out like a lizard drinkin'
tweake
  • Posts:
  • Joined:
    Mon Dec 18, 2017 4:53 am
  • Location:
    New Zealand

av8or1 wrote: Mon Jan 03, 2022 3:31 pm The welder I used on this project? Oh boy, just pure, plain-Jane, bone-simple, nothing-fancy, get-er-done stuff. The Century FC 90 Flux Core:
fc 90.jpg
most here know what i'm going to say about flux core welders :D
but that looks like one of the best i've seen.
but of course any half decent mig is also a flux core welder, hence "friends don't let friends buy flux core welders".

that is the sort of job i have a small inverter stick welder for.
for me its a nice little 140 amp that plugs into standard house hold jack. far quicker and easier to setup and dial in than mig.
also great things to learn to weld with.
tweak it until it breaks
av8or1

Well fellas I felt better enough such that an attempt to polish off the gate repair project seemed do-able. And so I primered the 3/4" tubing, installed its top cap (plastic) and then stitched it to the primary vertical member of the frame:
gate repair 14.jpg
gate repair 14.jpg (234.9 KiB) Viewed 12999 times
Then everything received a generous application of gloss black:
gate repair 15.jpg
gate repair 15.jpg (244.15 KiB) Viewed 12999 times
And we're done.

Thanks!
tweake
  • Posts:
  • Joined:
    Mon Dec 18, 2017 4:53 am
  • Location:
    New Zealand

nicely done :mrgreen:
tweak it until it breaks
av8or1

Thanks, 'preciate it.
Post Reply