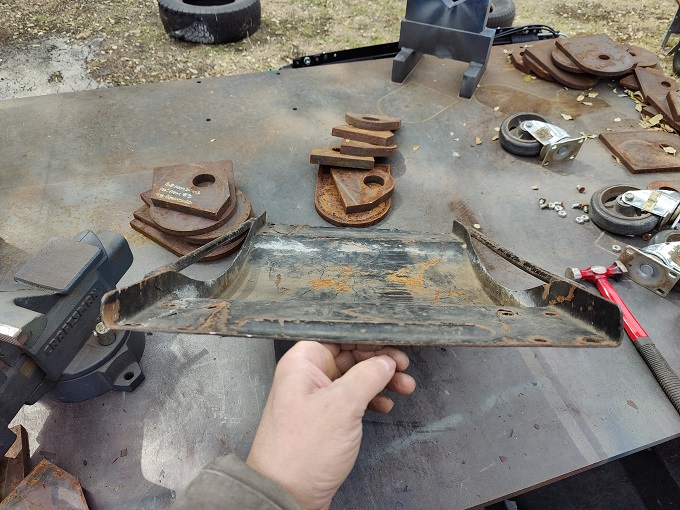
So I returned to working on the wife-eee's dream car build. I'm at the point in the process of body work/paint. I have elected to do that myself and will do so within my workshop. There is limited space therein, and so I need to have the ability to move the car around every which way necessary. That means car dollies. Easy enough, I happen to have four "heavty duty" variants. Put one of them under each corner and proceeded with the prep and painting of the inside of the doors and the door jambs. Began on the driver's side. Finished that. Went to move the car to the left in order to gain access to the pax side to do those doors/door jambs when those so-called "heavies" took a dump:
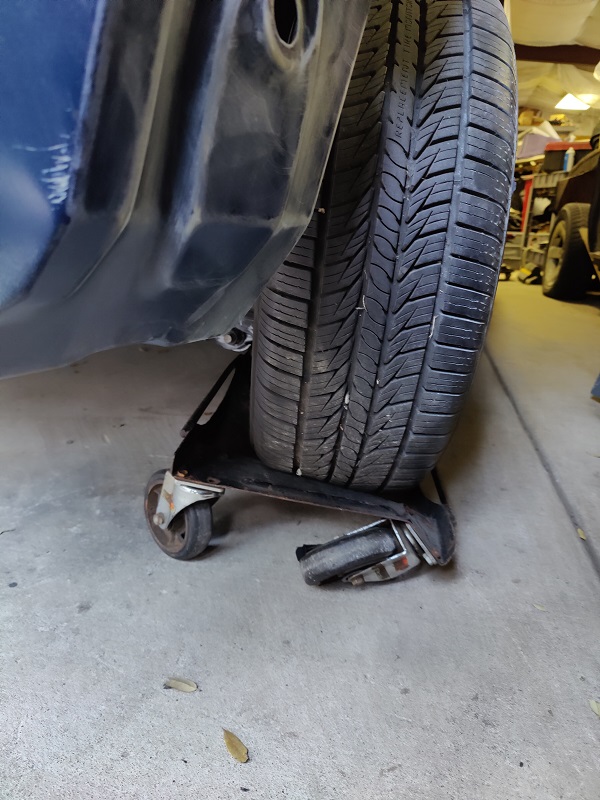
- dolly 1.jpg (303.7 KiB) Viewed 9712 times
Uuuuggghhhh. Yeah, not so "heavy duty" after all. We came by these critters via CL and the fella was wanting to be rid of them. They've done ok-ish thus far but not used all that often. Thus the reason for "cheaping out" with a pair from CL, I might add. I digress.
Given my chosen approach to laying down some color on the wife-eee's daily, I need a full complement of these critters. And so I paused the build in order to do a little fab work to bring them back online. Thought I'd share the story with the forum...
Admittedly I haven't ever taken a close look at these puppies, crazily enough. I did so today. As one might guess, they are made abroad:
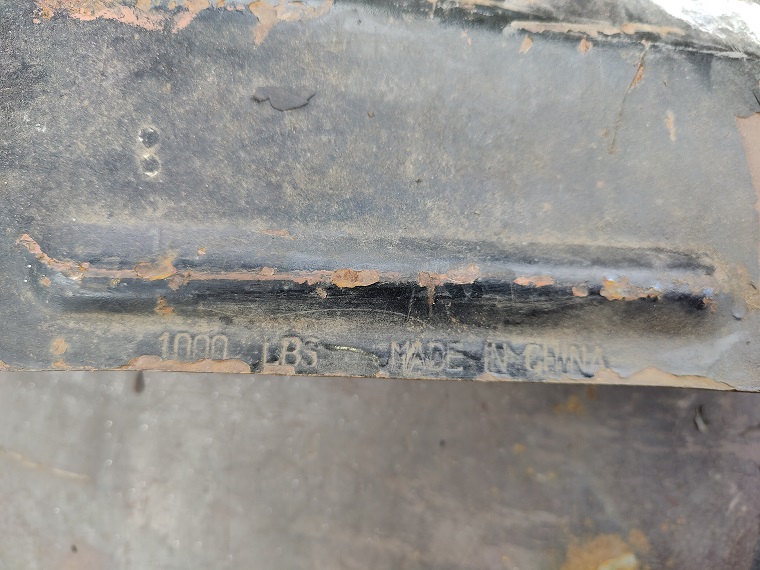
- dolly 5.jpg (297.84 KiB) Viewed 9712 times
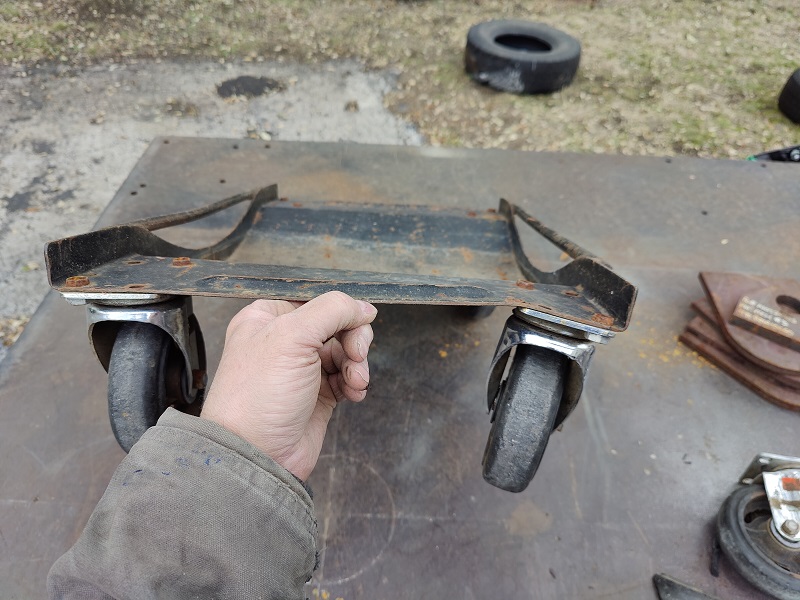
And given the HF tags that I found on the casters, it's little wonder as to where they originated. Having decided to just repair these instead of going-new, I removed the dollies from underneath the front of the vehicle and laid them on the workbench. Make note that I am in no fashion attempting a glorified restoration of these dollies. Hardly. They'll get a light touch of The Brilliance, but that will be the limit. So keep that in mind as we go along. And speaking of the limitations that I am imposing on this little side project, the rear two dollies are doing ok, so I'm not certain that I'll repair those at this time. Perhaps down the road. If they'll continue to function given the lower weight that they are being subjected to, then I'll leave them be for now. Note that both of the casters on the driver's side collapsed outboard, thus deforming the metal in that area of the dolly:

- dolly 2.jpg (286.78 KiB) Viewed 9712 times
How effed up is effed up?
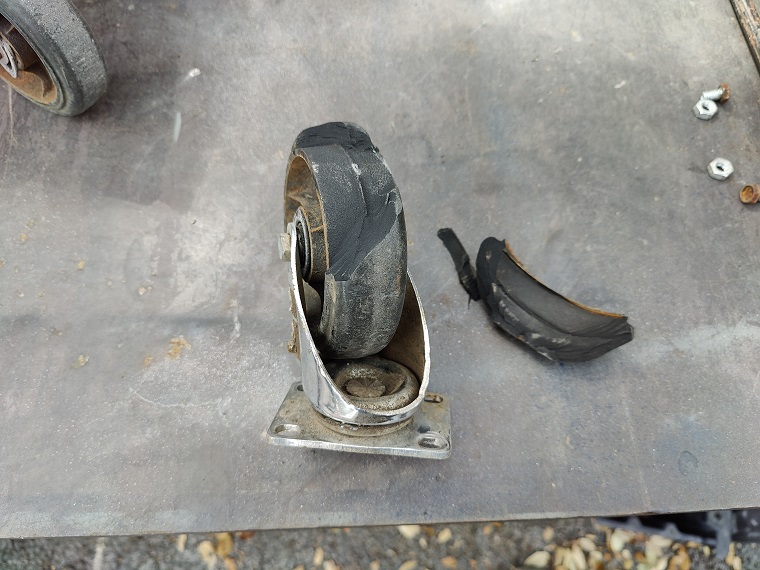
- casters 1.jpg (294.14 KiB) Viewed 9712 times
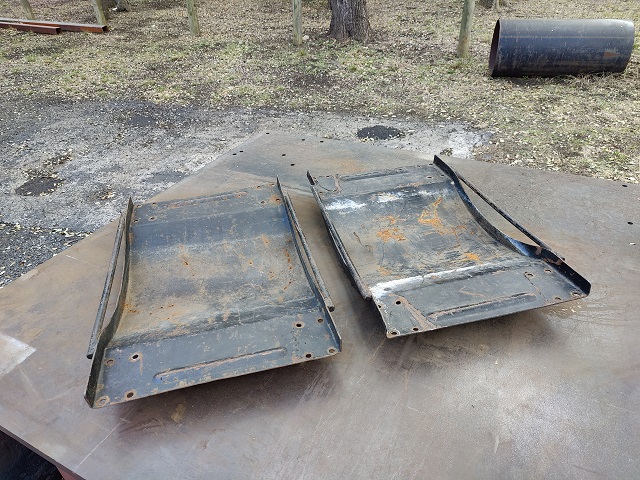
That's effed up. After removing the casters and tossing them into the lil' un's metal recycling bin, the first item on the agenda was the straightening of the body:
- dolly 3.jpg (298.58 KiB) Viewed 9712 times
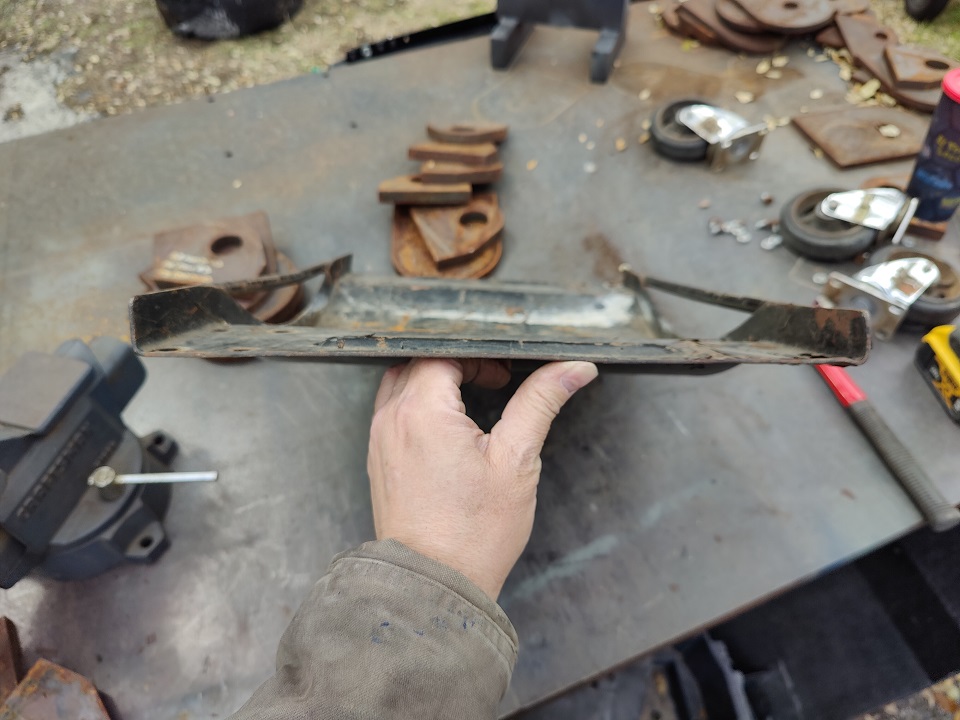
A quick round on the hydraulic press and some hammering put things right, at least as much as I cared to get it "straight" anyway. Repeated for the other end:
- dolly 4.jpg (308.59 KiB) Viewed 9712 times
As fortune would so have it, the dolly on the pax side of Ol' Blue was damaged also, though not as severely as the one on the driver's side:
- dolly 7.jpg (297.43 KiB) Viewed 9712 times
So off came its casters, dumped those into the metal recycling bin, and made a visit to the press, finishing things off with the hammer. Lather, rinse, repeat and that dolly was on the mend too. At that point I had two dollies that I could work with:
- dolly 6.jpg (311.42 KiB) Viewed 9712 times
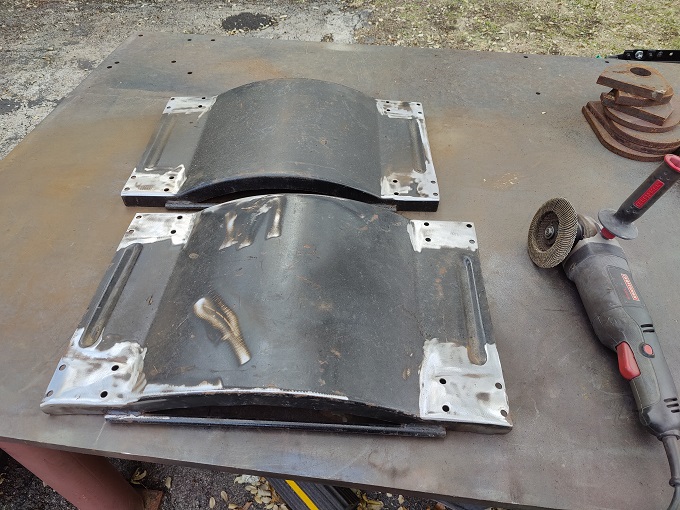
I busted out the grinder with the flap disc and went to work on the 4 corners, both top and bottom:
- dolly 8.jpg (294.06 KiB) Viewed 9712 times
Generally, due to the deformation, the plan is to strengthen these critters a tad. There are a number of ways that you could set about so-doing. I've chosen to use some plate that I have on hand (in sheet form), cut strips of it that will stiffen the corners by tying them together and then weld them in position. The plate is thin as "plate" goes in the metal fabrication world, but significantly thicker than say automotive body sheet metal. 14 ga IIRC. This should suffice for my goals for this strengthening project. I left things there so that I could take the family out to lunch. Treat "mama" (which in this context means my wife) and son to lunch dontchaknow. Then we stopped by Tractor Supply to see what type of casters they had on-hand. For various reasons I settled on these 600lb rated variants:

- casters 2.jpg (295.15 KiB) Viewed 9712 times
Fitting, given the origin of the dollies themselves.

Unfortunately that is as much progress as this day would see. Family stuff superseded. More later.
Hope all is well!

