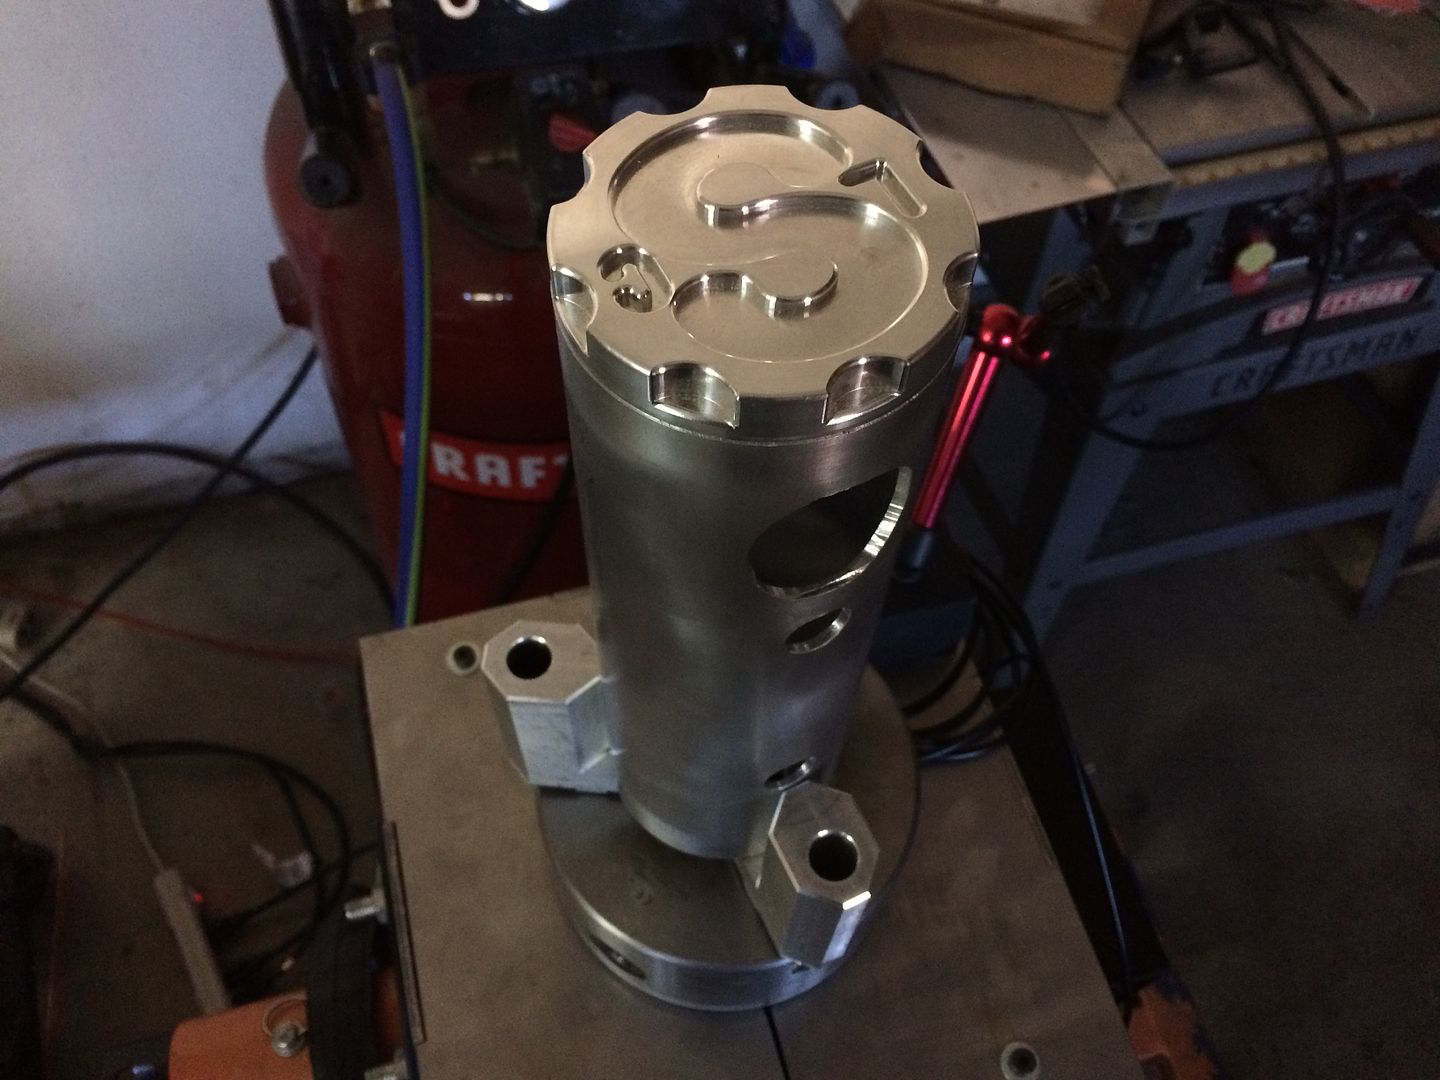
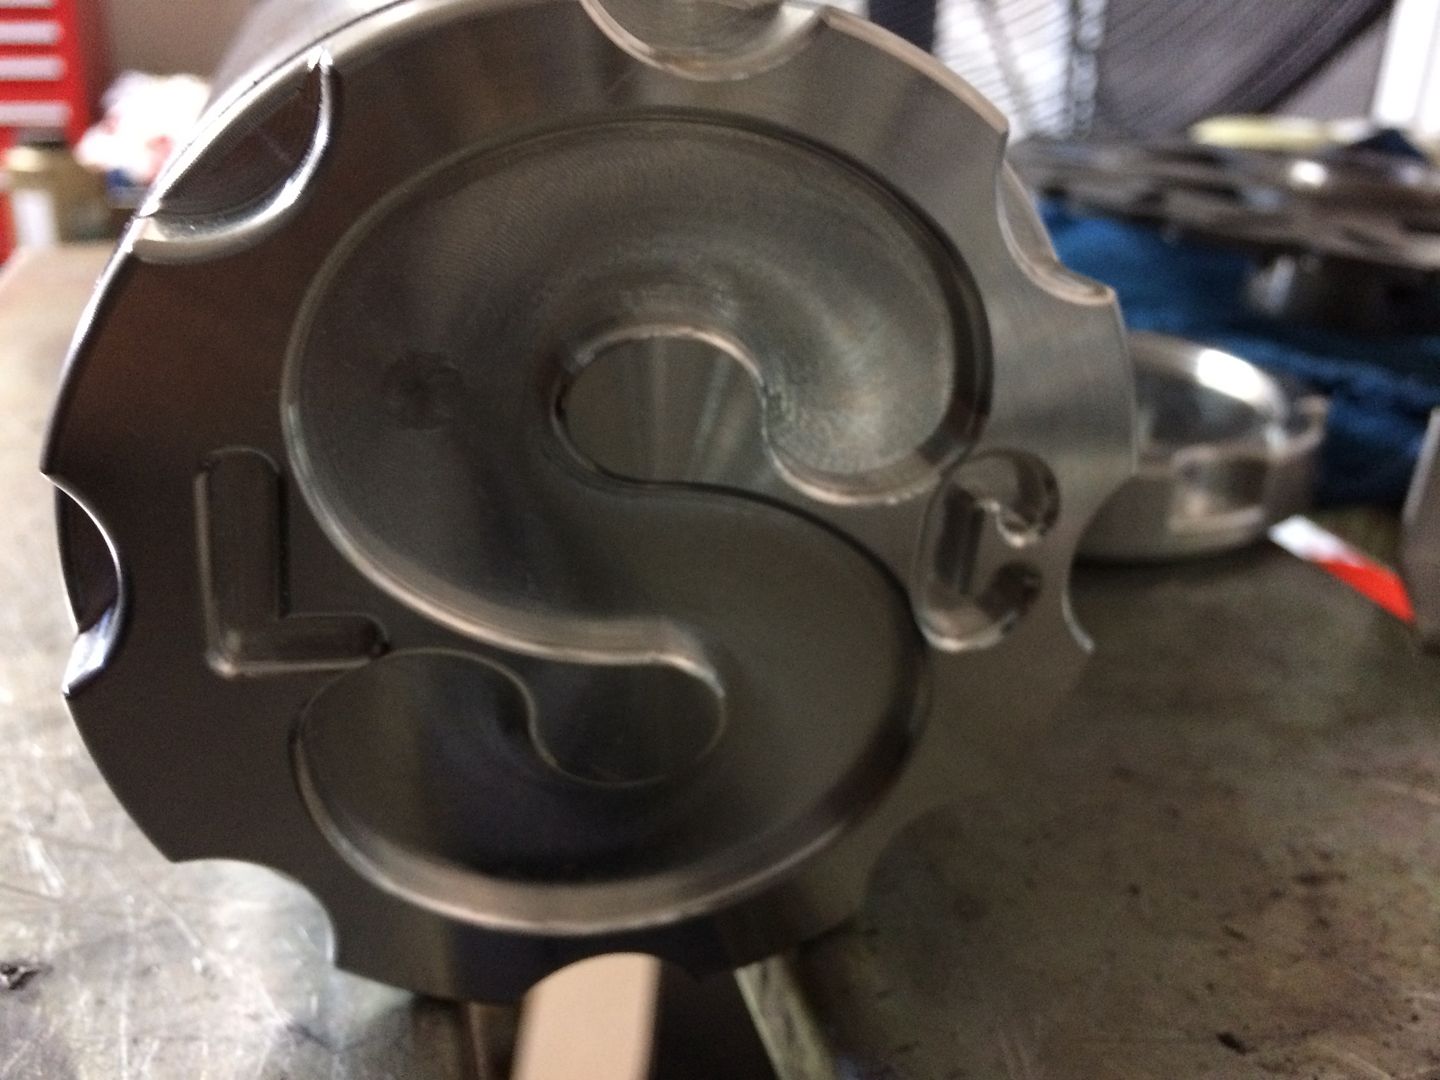
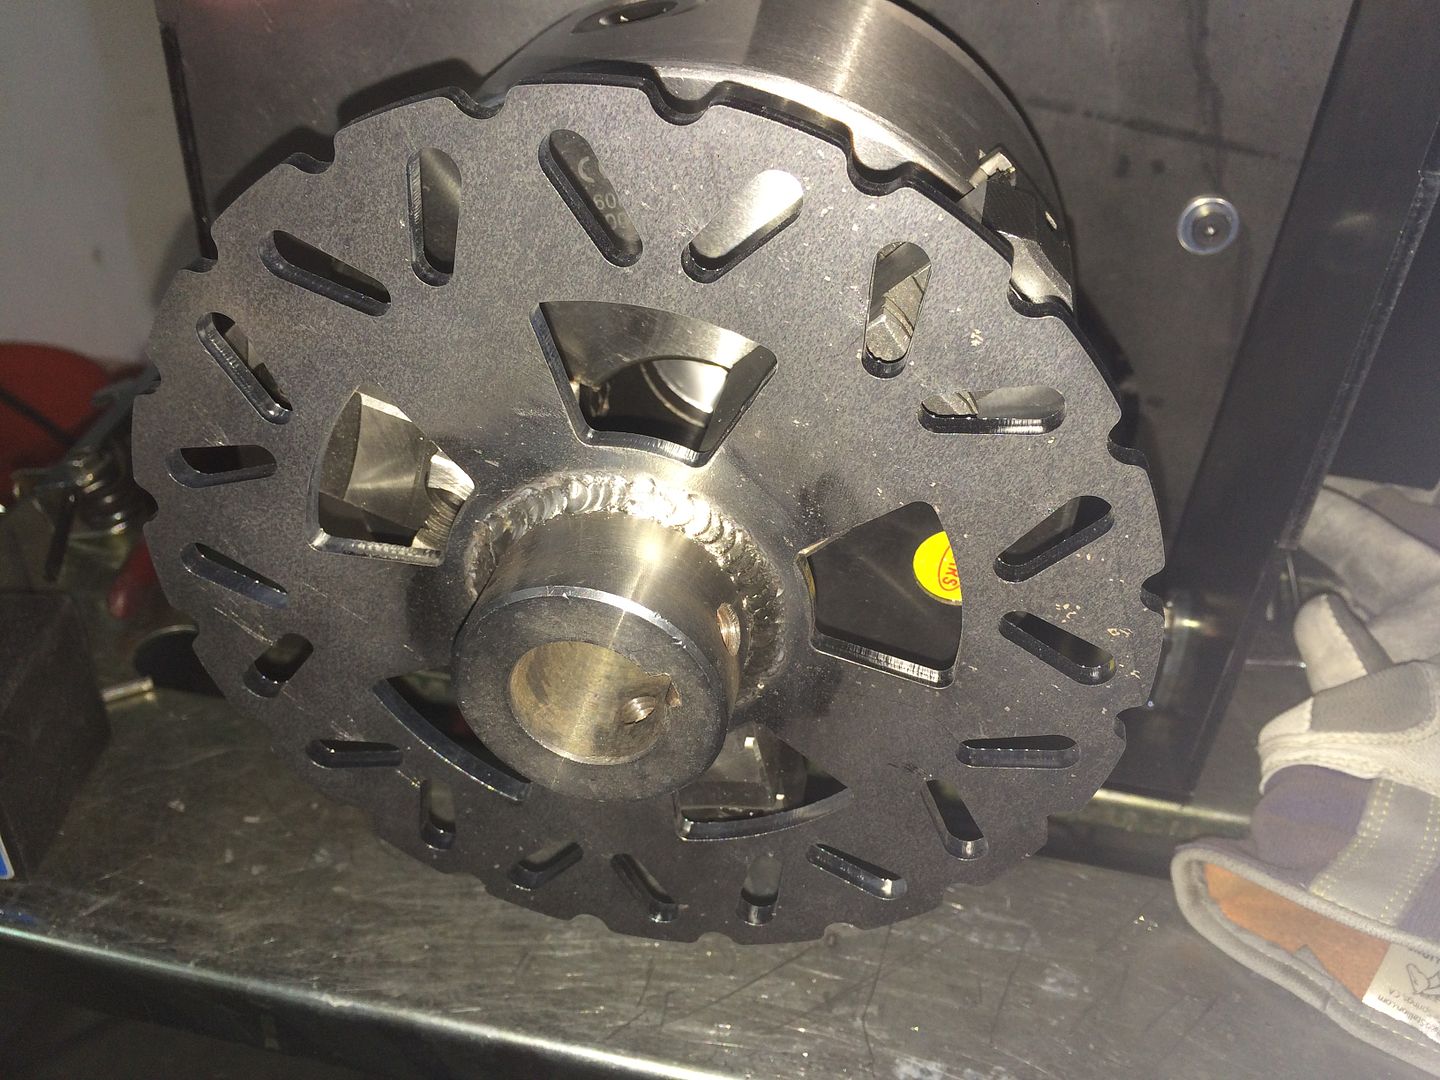
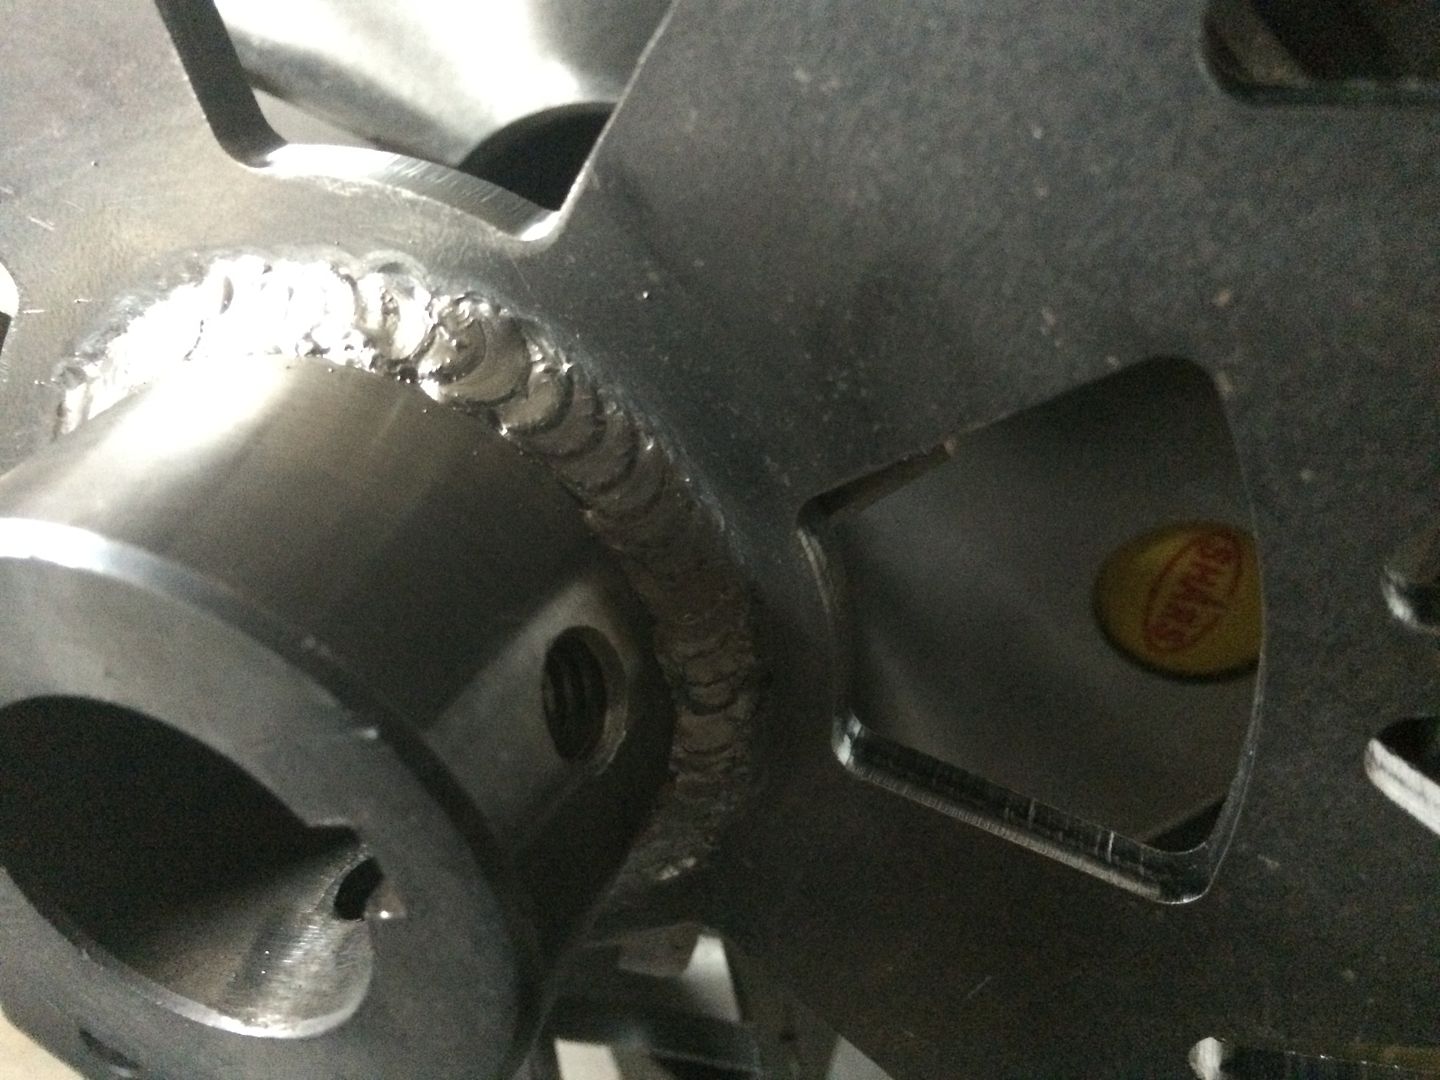
i was anxious to try it out... have a couple of little custom rotors i made... wanted to weld both sides on them.. on this first side, i just ran the mig gun real quick... and didnt have the setting all the way right... ran back over them with the tig... havent played with settings, etc.. just set it real quick and got to it... was mainly concerned with the ground and how well it will weld...
looks a little weird as this was mig'd which look nice, just a solid bead... then i went back over it with the tig gun to see about setting it for the other side... with no xtra filler
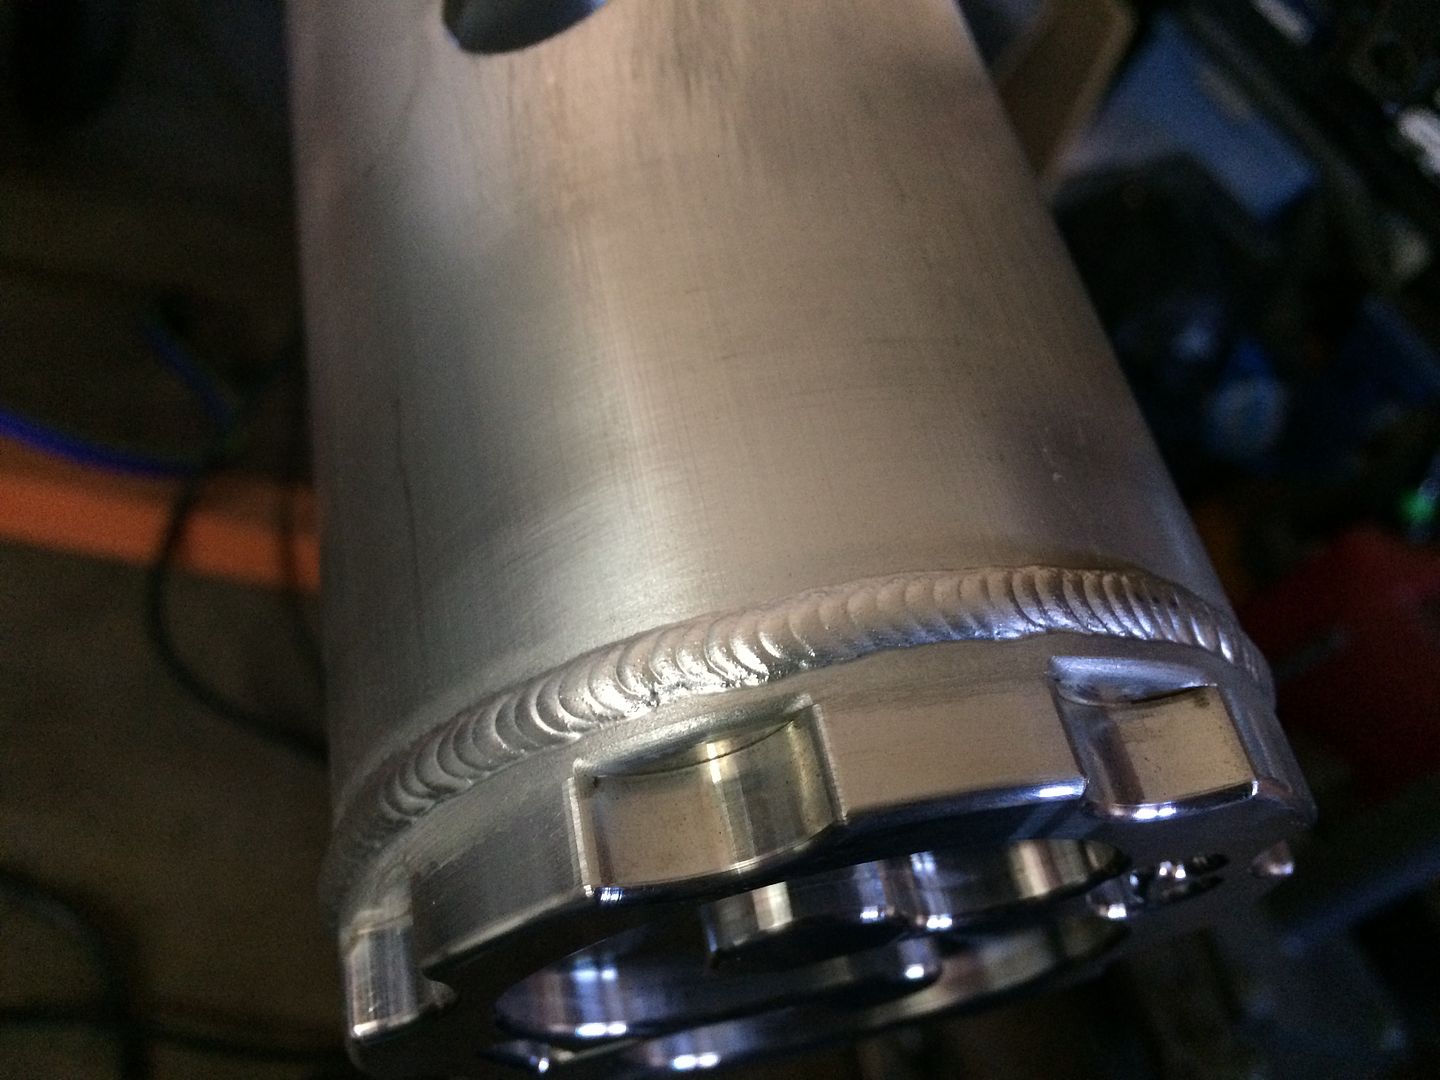
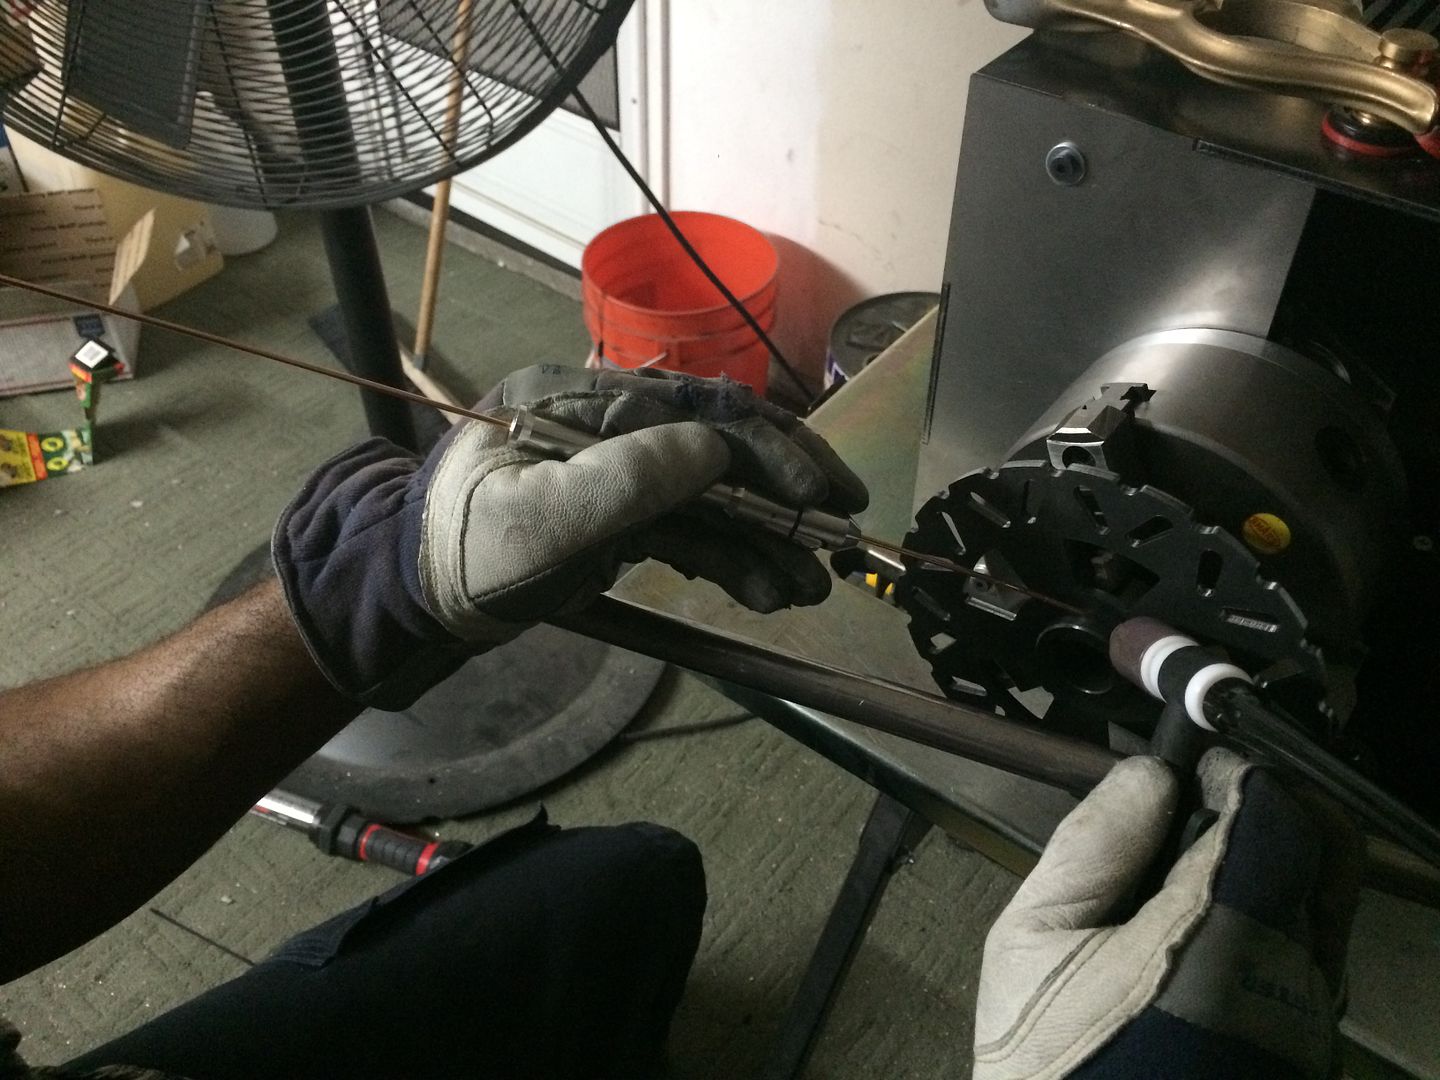
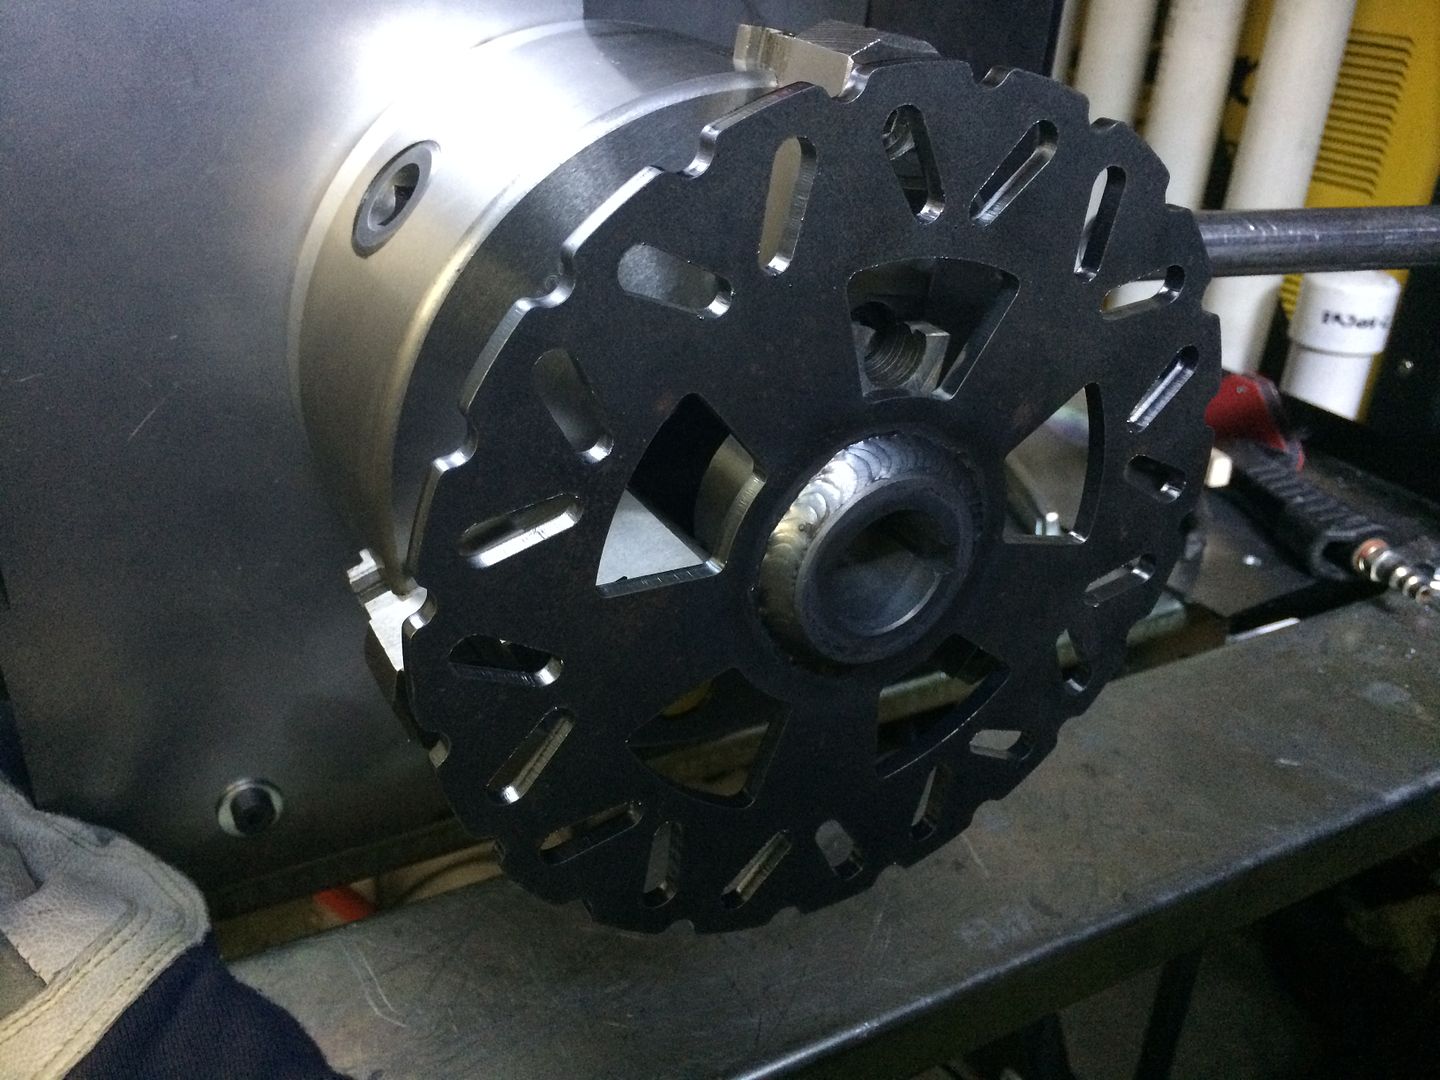
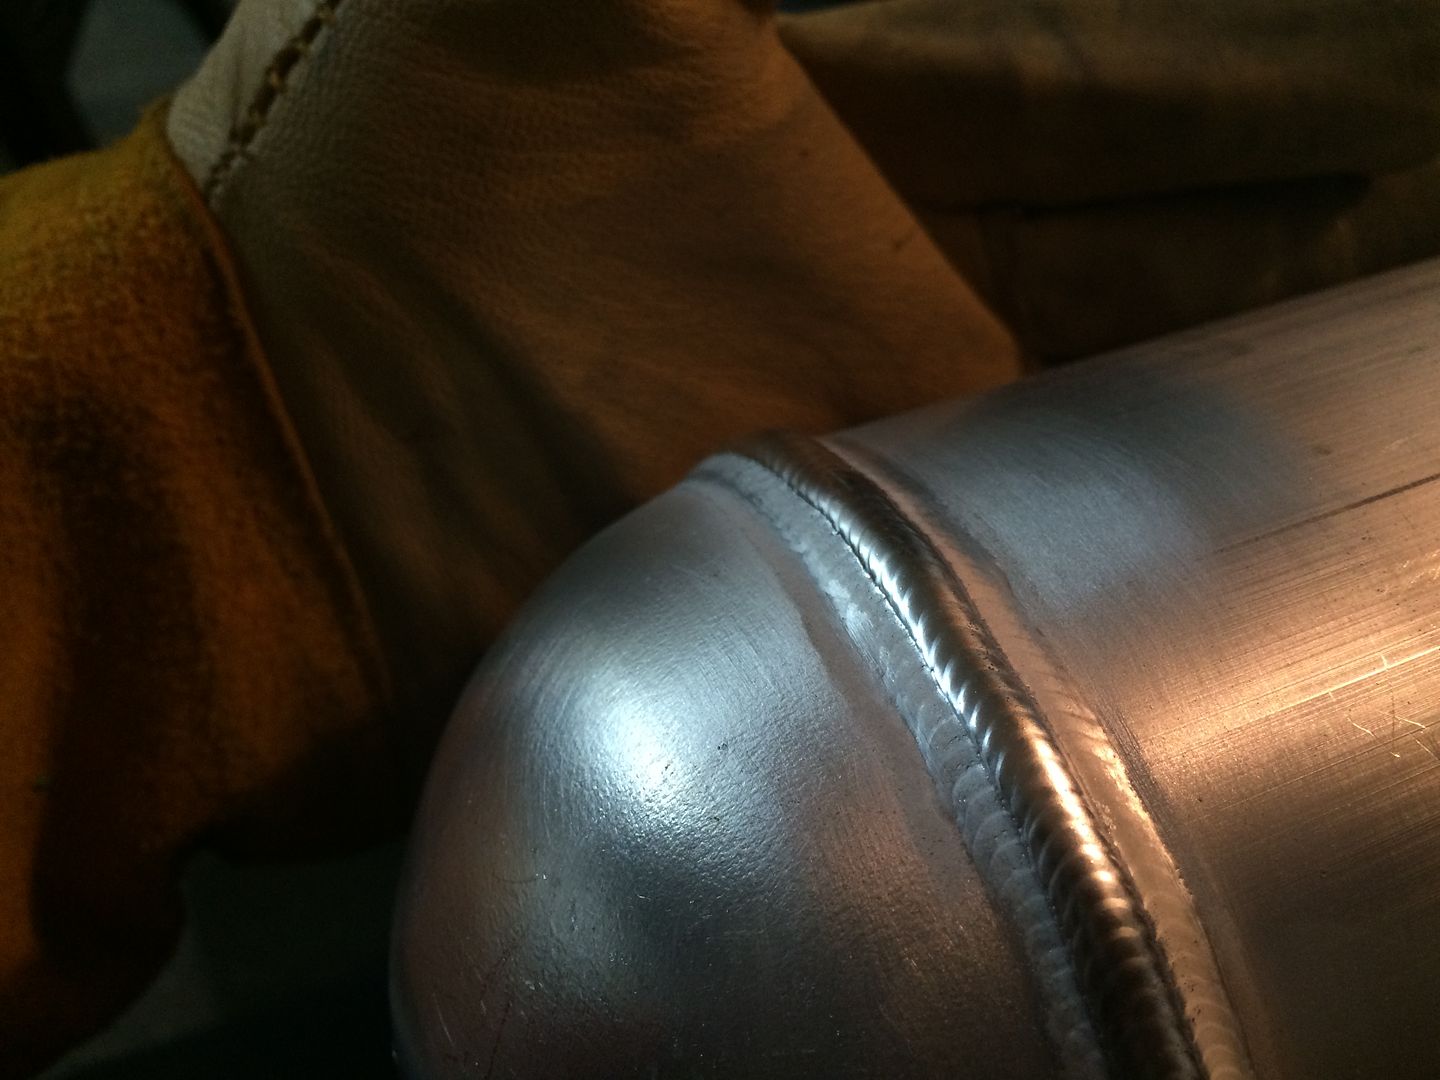
flipped it around and this time used appropriate filler and tig... tried out a hand wire feeder (also called the tig finger)... actually works really good, took a few seconds to get used to it... and again, havent at all played with the settings, just got to it... so this is the first few welds on the machine... im loving it...
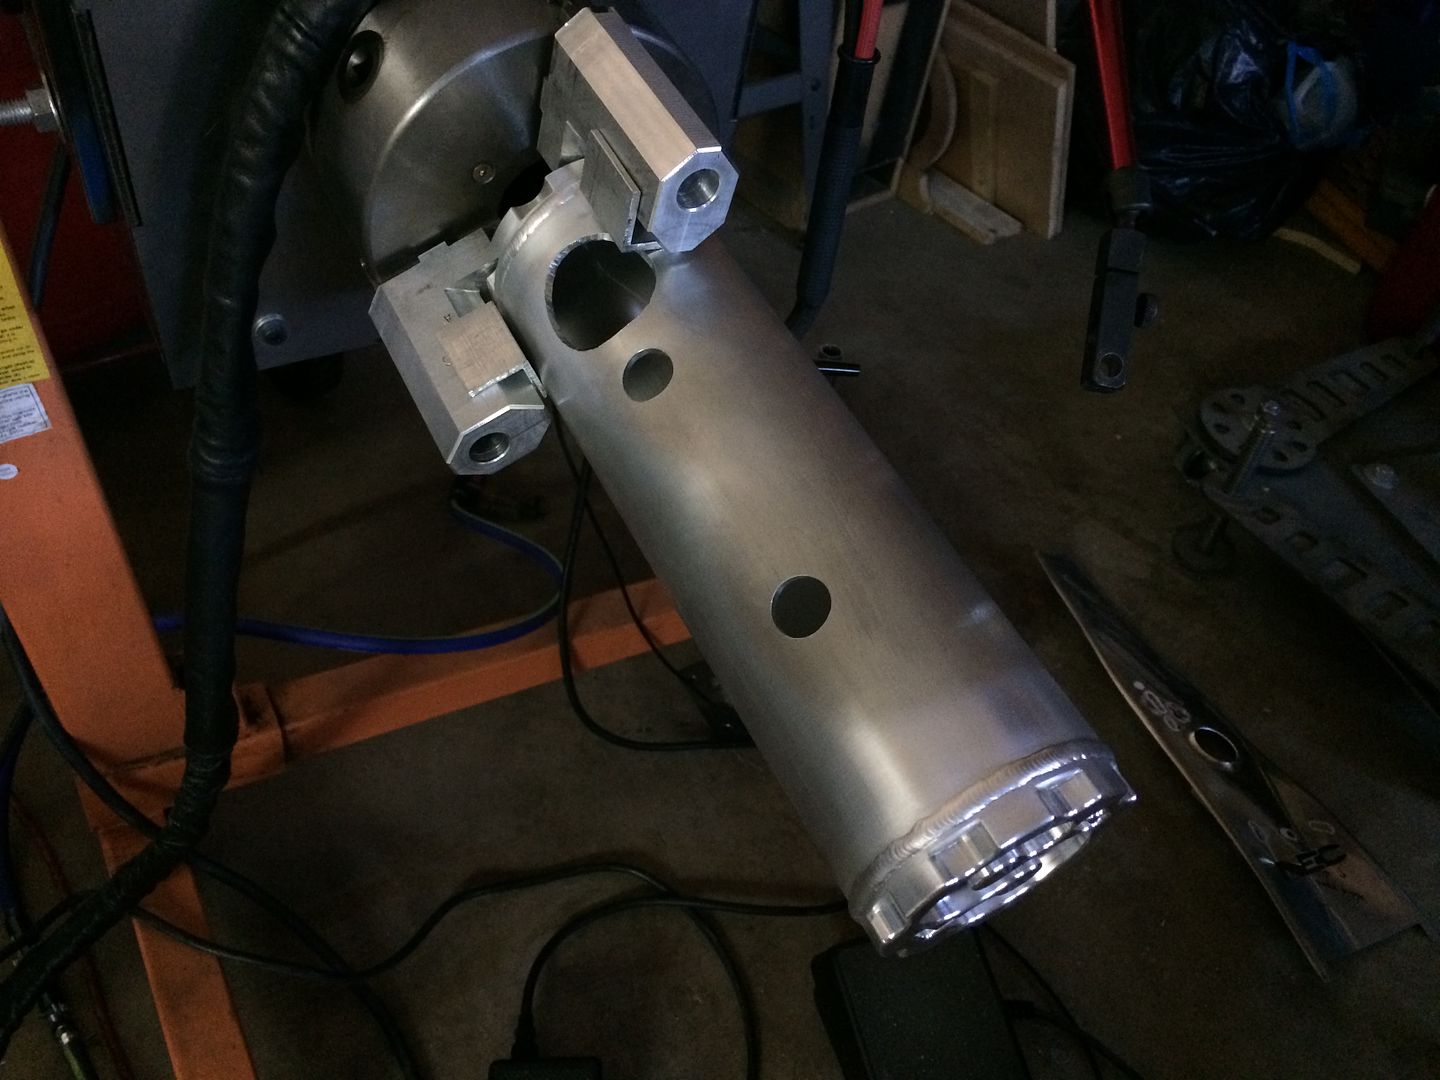
set the speed of the rotation using a piece of tape... i put 1/8" lines on it and set it to move about an 1/8" a sec (as ive seen in one of Jody's videos)... then set the torch to pulse about the same, 1pps... if i had the welder all the way dialed in... would have come out amazing... looking forward to playing with this and getting it dialed in... but the test went well... making a video to show how it all works and how nicely the ground stays put, etc...
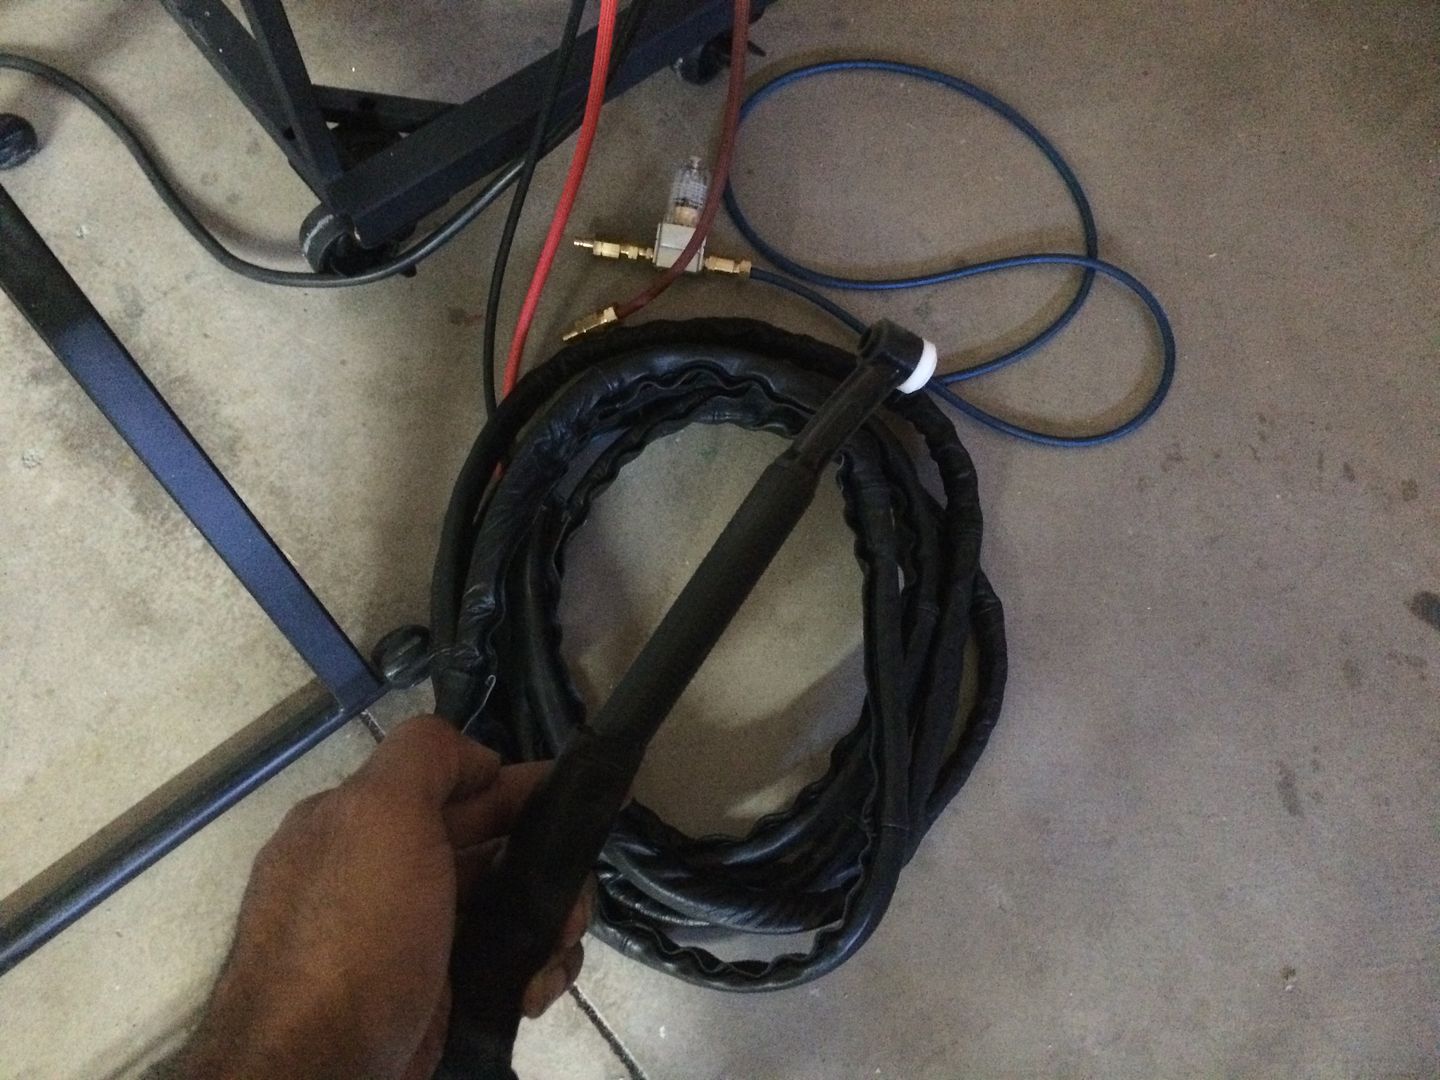
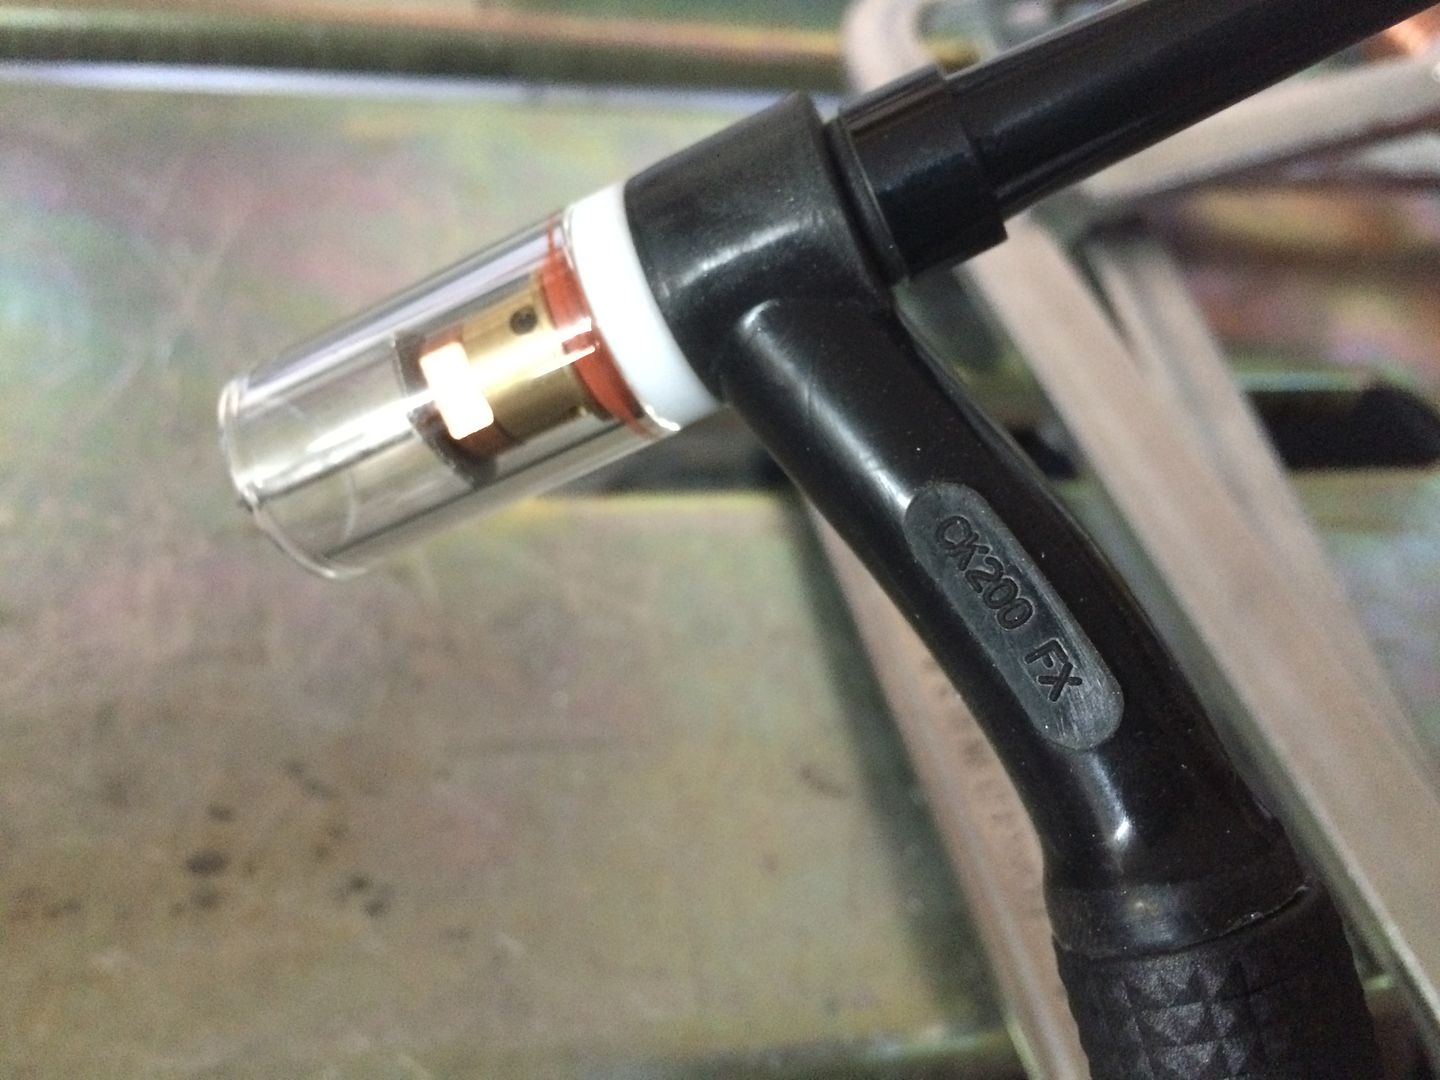
used the 17 that came with the welder to test the positioner out... cant wait to use the 20 i have.. its ready to go, just need to button up the water cooler... waiting on temp gauges on that... should all be set up beg of next week
motox wrote:LS
any distortion in the rotors?
craig
none noticed and these are 3/16" thick... can be a thin as 1/8" thick for the application... and as much as 3/16... so i made them as thick as possible, in case i had to have them turned on a lathe, or in case i get brave enough to buy a mini lathe... which i may try it... this one came out nice enough for me to use on my project... but was more for practice, going to weld up one more this style and two another style, that a friend asked me to design for him to match a vintage wheel...
I weld stainless, stainless and more stainless...Food Industry, sanitary process piping, vessels, whatever is needed, I like to make stuff.
ASME IX, AWS 17.1, D1.1
Instagram #RNHFAB
Rick_H wrote:Nice can't wait to finally dig into mine
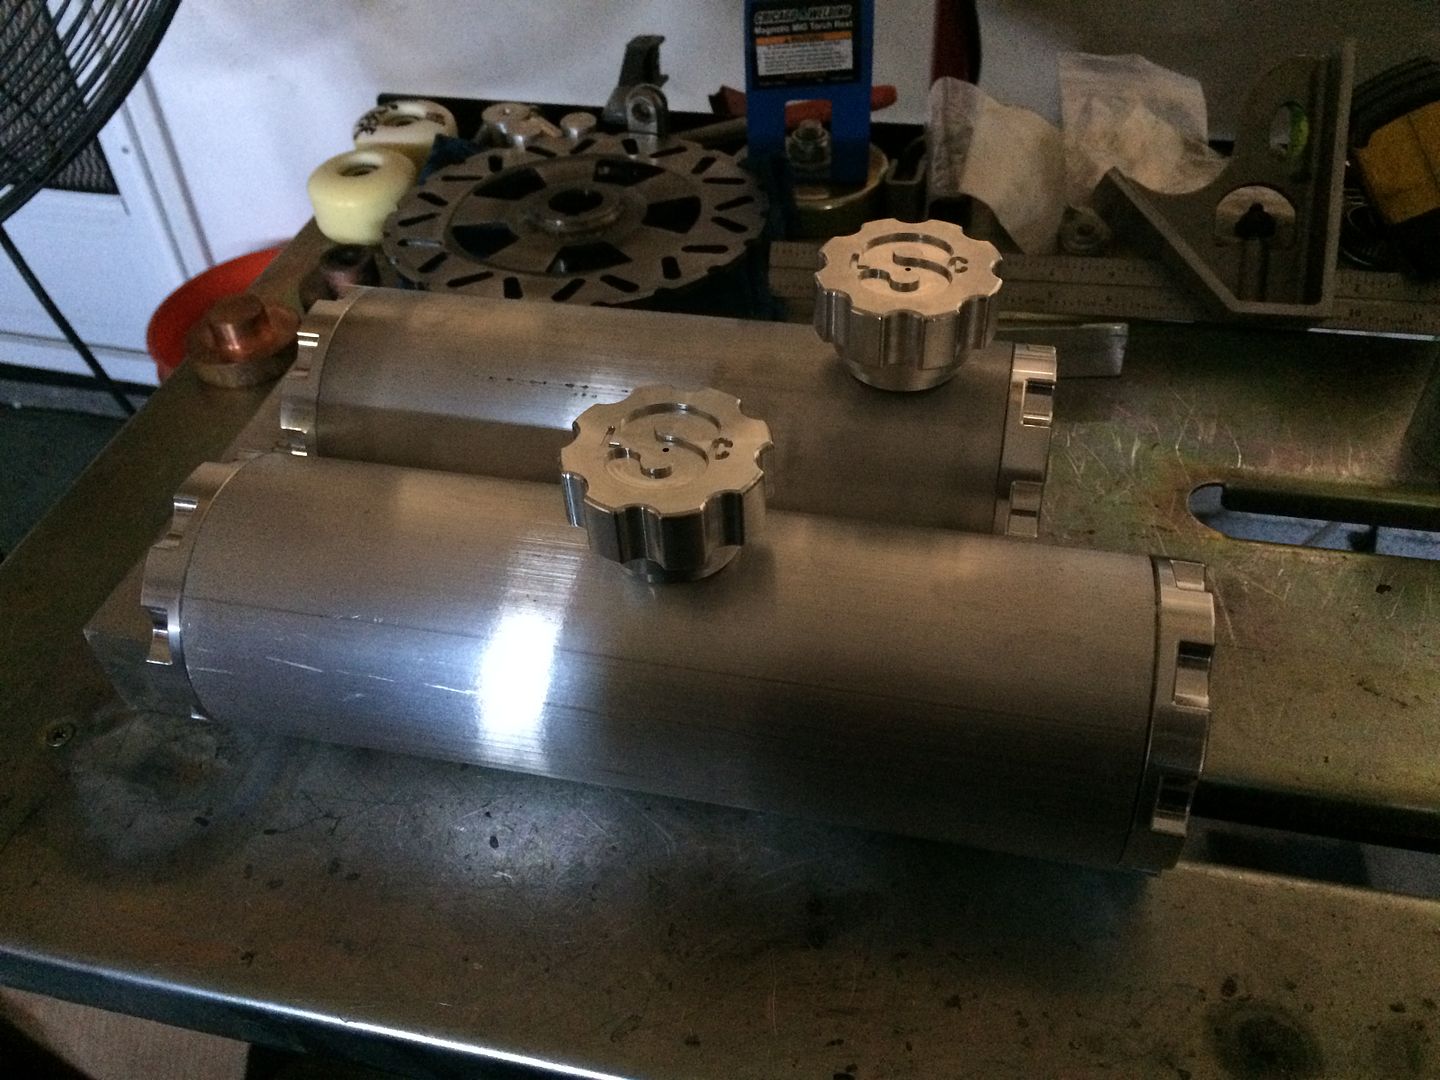
thanks, I still havent got a chance to sit down and play with the settings on the welder, etc... but I did weld some aluminum and finish setting up my water cooler... i will mount this on a stand (where i can adjust the angle) and then sit down and practice a little...
i typically try to make something as i practice...
water cooler is working really well too... gotta get garage cleaned up and get some seat time in
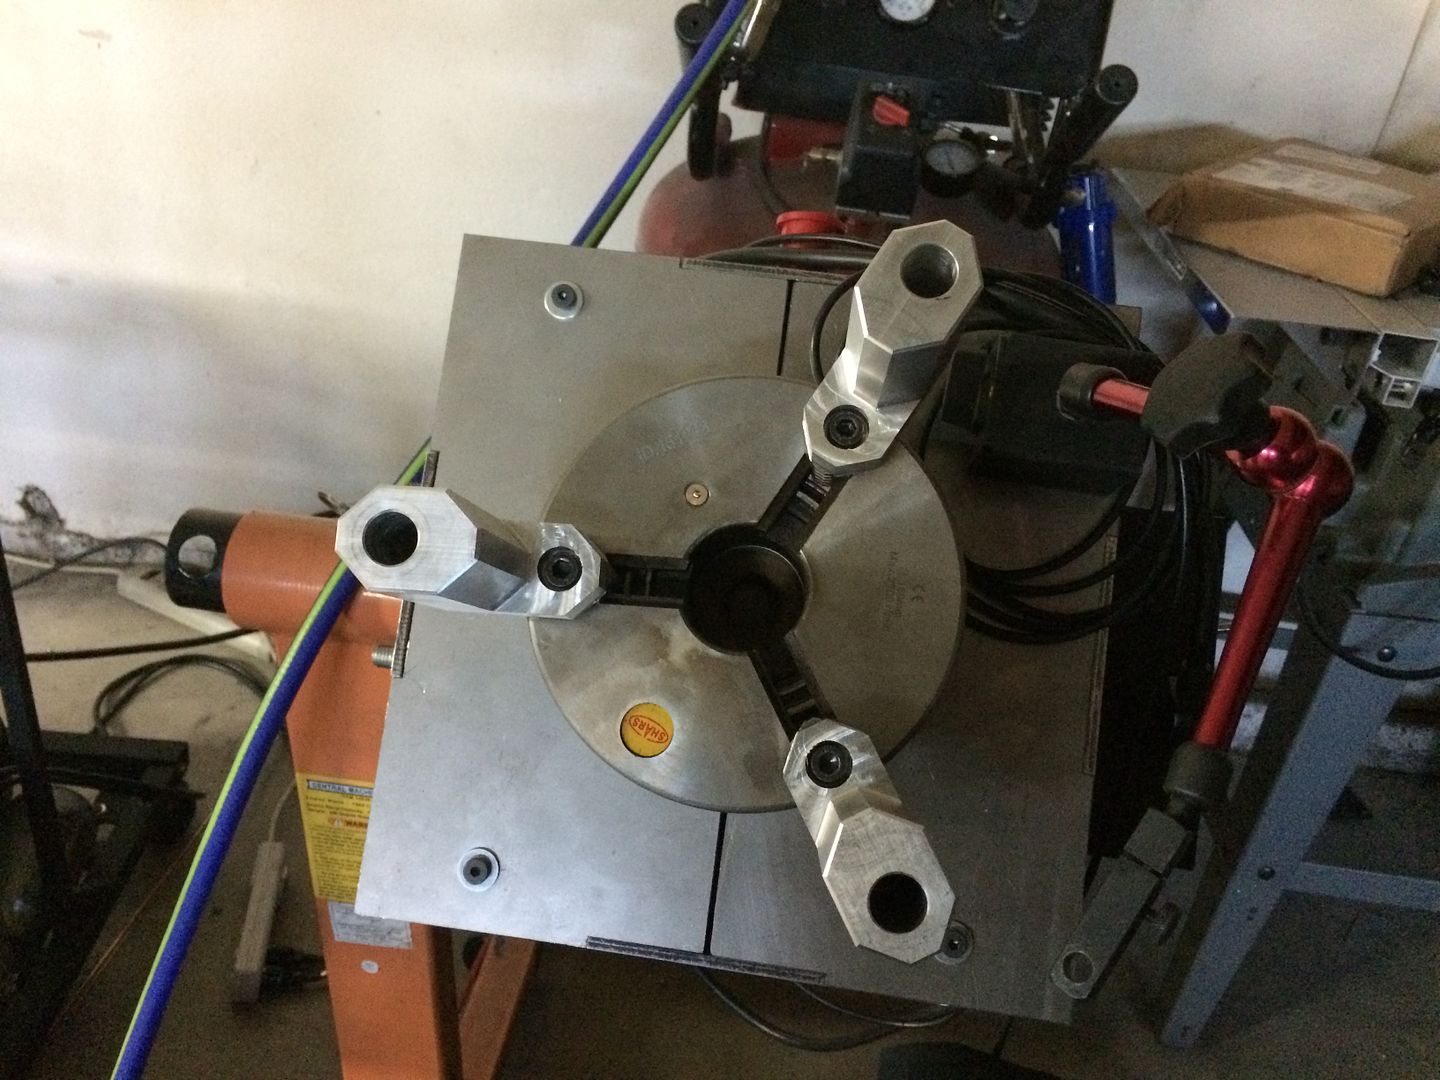
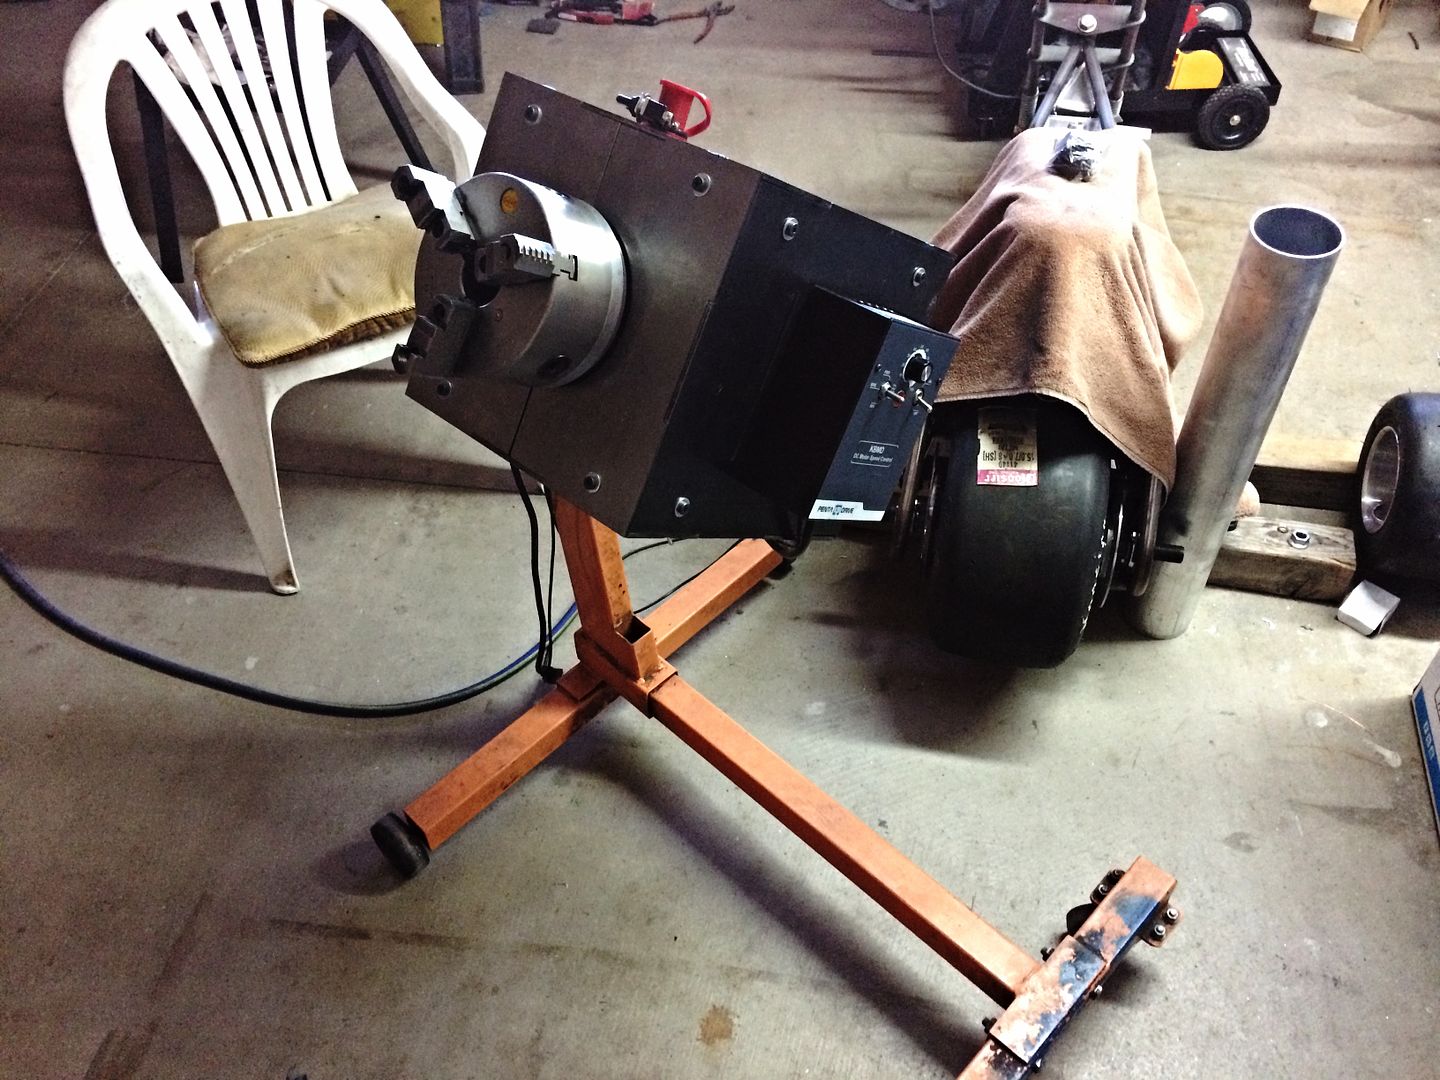
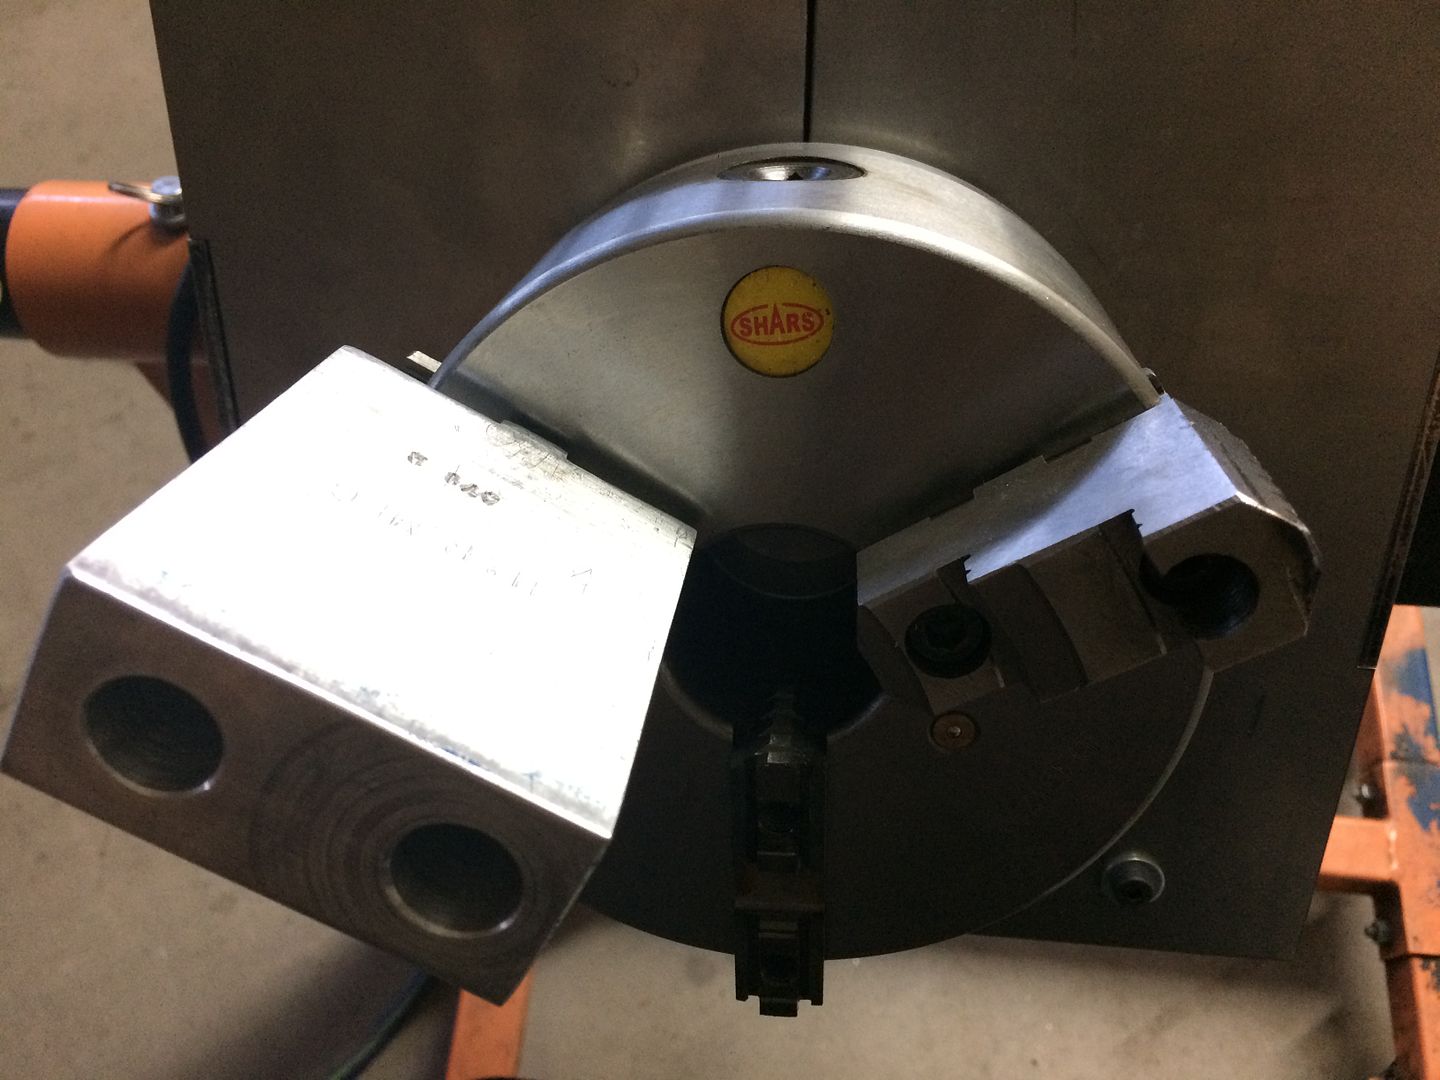
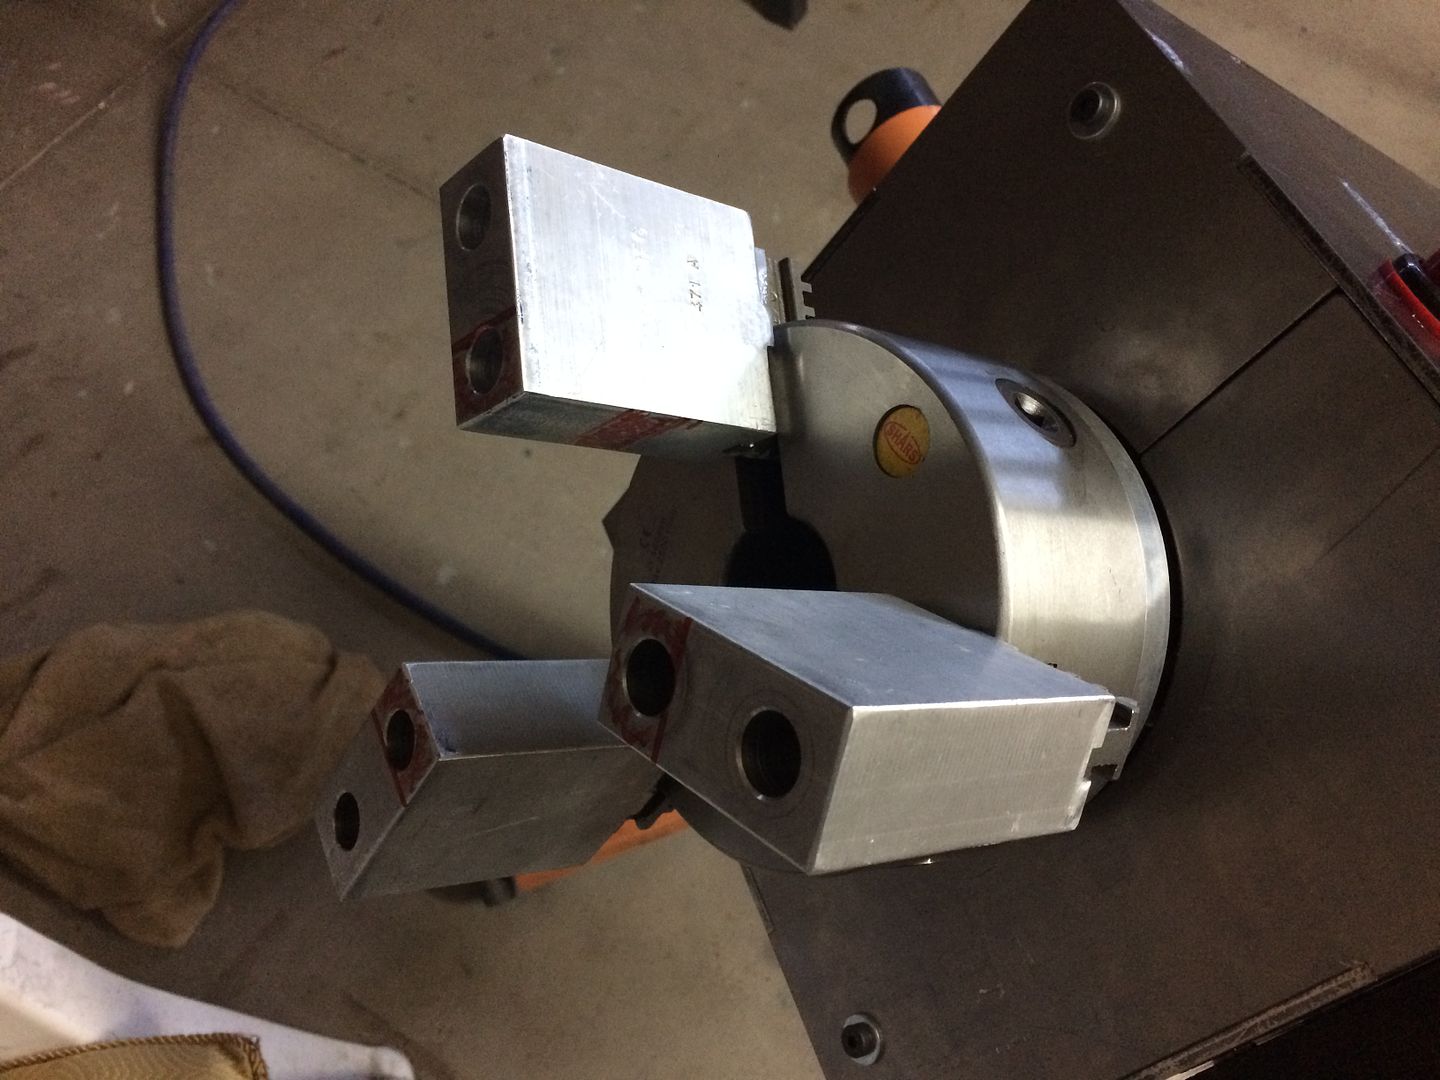
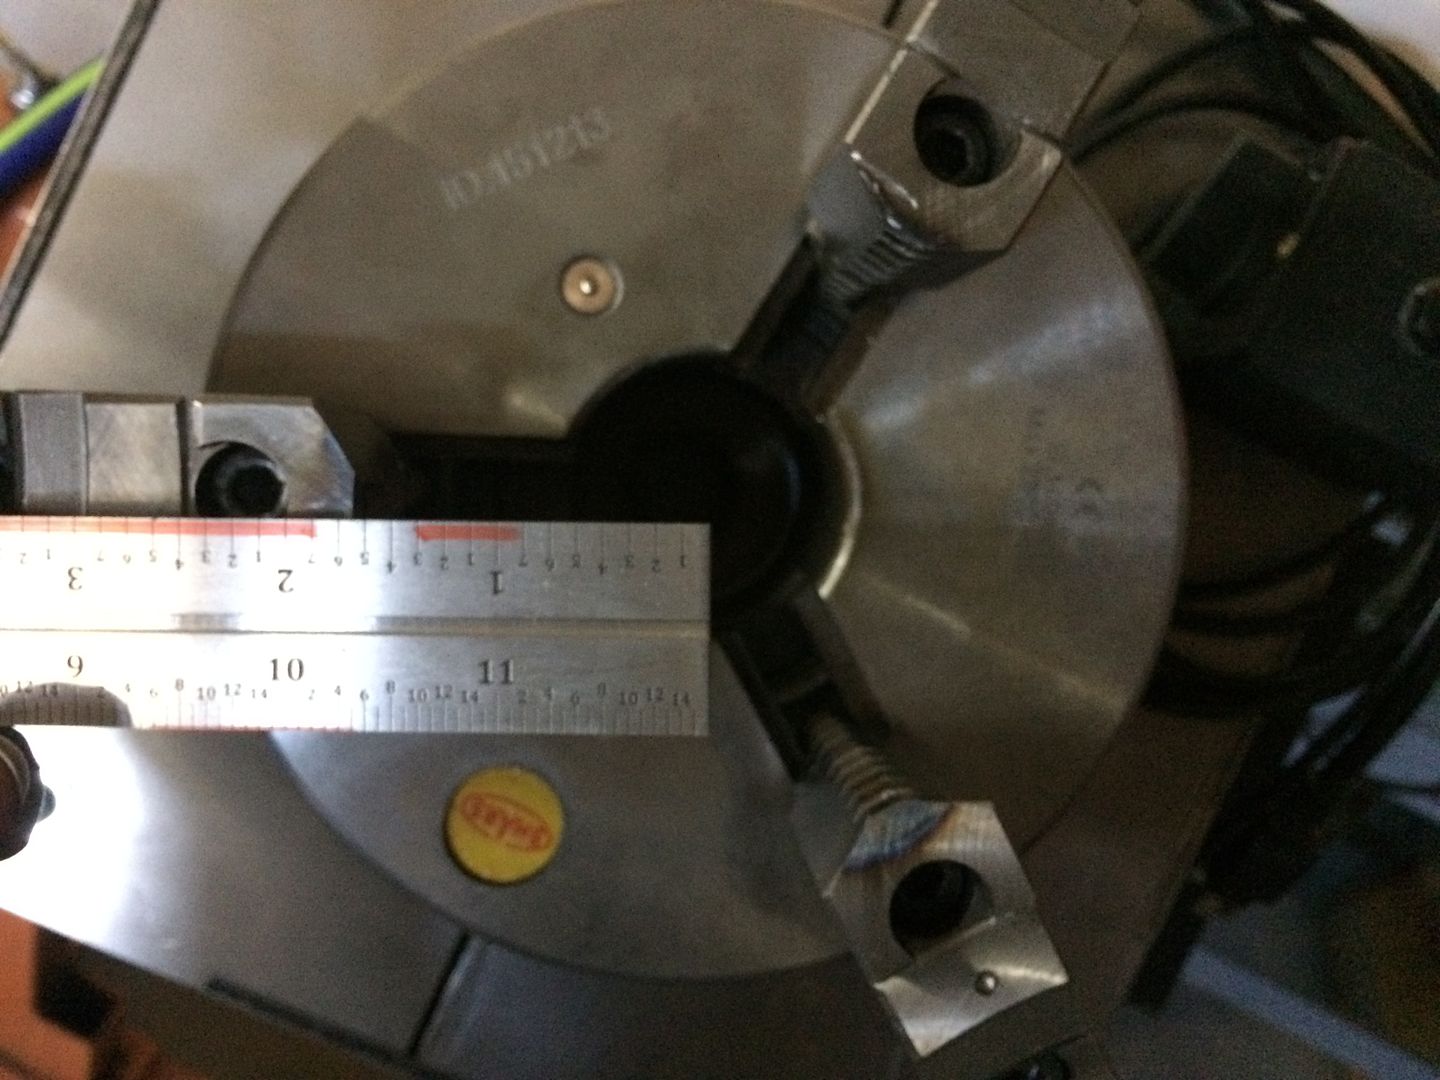
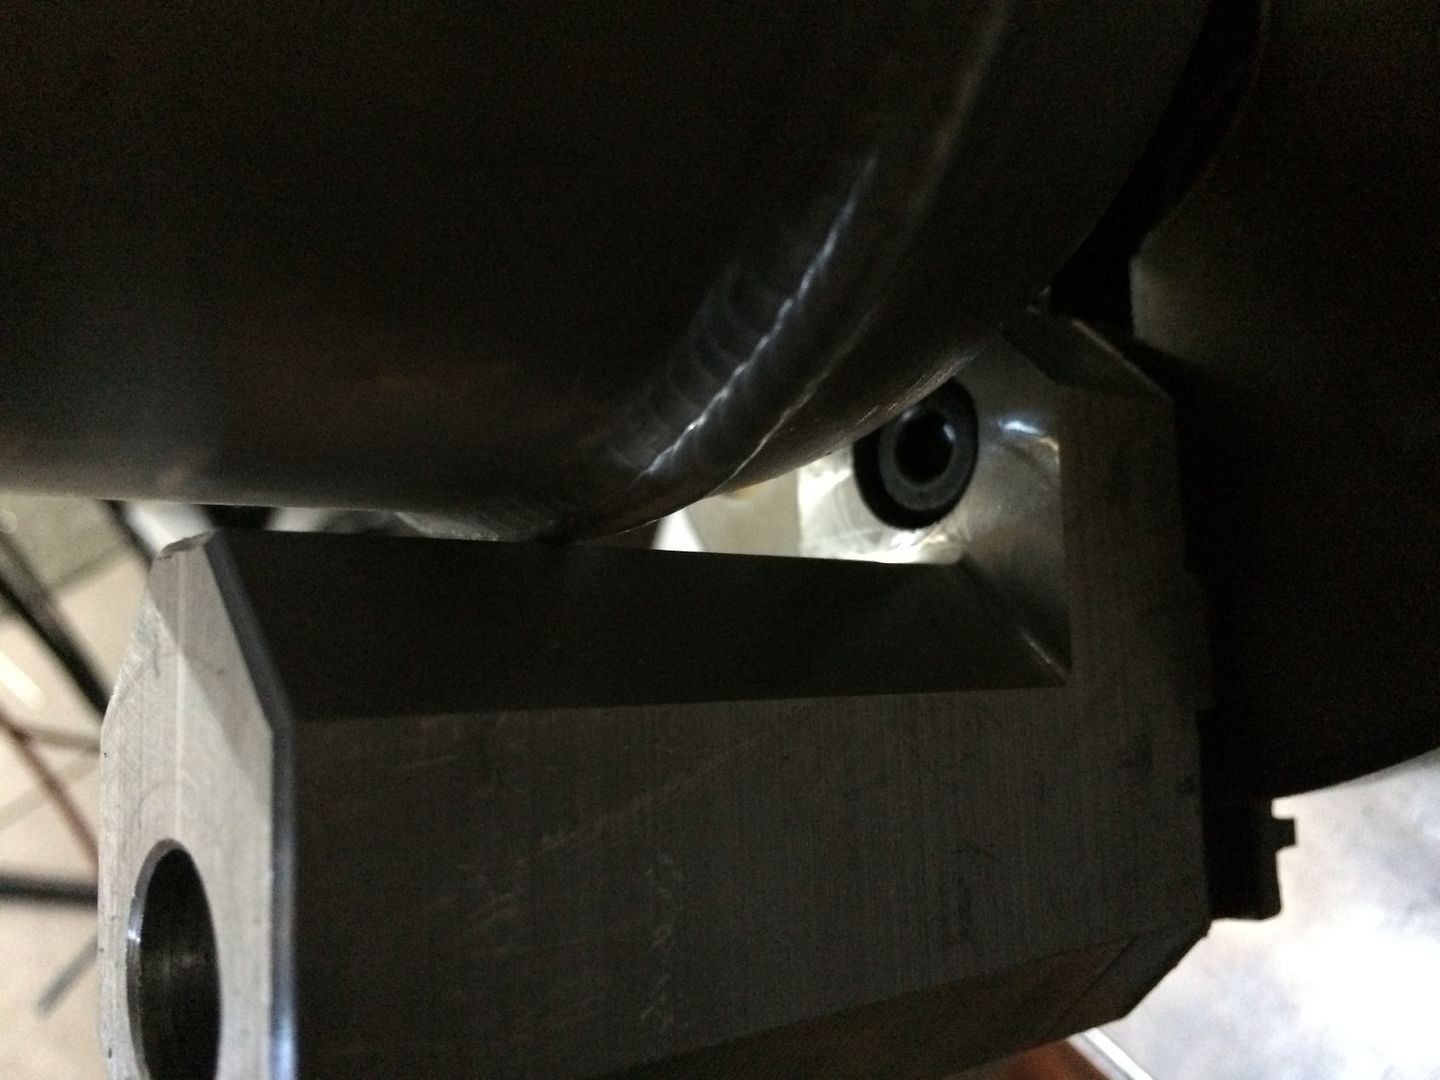
next up is the cosmetic work... paint etc... i could have used a much larger chuck than the 6"... but most of what i want to use this for would be relatively small diameter 8" and smaller... also some oddball shapes, where i would use a jig... i wish i would have bought a 4 jaw independently adjustable chuck, as that would help with non cylinder shaped objects... but i could always pick one up later if i need more versatility than the plates that will bolt to the chuck jaws when needed... the 6" shars chuck was inexpensive and i did not want to trust buying a cheaper Chinese "welding positioner" style chuck... which is much thinner profile, etc... but just about any chuck could be adapted to this setup easily...
i picked up some taller soft jaws... so that i could work around different end caps, etc, when i am welding aluminum tanks... the shorter jaws need to be reversed to open wide enough and then they are not tall enough where they will grab the tubing or pipe, to work with different profiles on end caps, etc... but the soft jaws i picked up off ebay (were $25 shipped) are very tall and i will remove/mill material to make them hold up to approx 8" diameter and also notch them where they would clear around any weld bead profiles on tanks, etc (so the part will clamp evenly and true)... if necessary...
I also made a hand rest, and a tig torch holder that will bolt to the engine stand also... and though i have tested welding with the positioner while holding the torch... i also, attached the torch to the holder and it rotated true enough, where, as long as fit up and part is properly put in the chuck, i can use the torch holder and just hand feed the wire... i wont be doing this though, until i am consistently awesome on and off the machine, as the point for me is to improve my tig welding skills all around... i have the tig pen, which also made it extremely easy to feed wire consistently and leave hand still... but after watching Jodys videos showing hand feed techniques... i just spent a few minutes practicing and i can now feed the wire faster without the tig pen. which allows me to rotate the part as fast as i can keep up with it... versus limiting the speed to as fast as i can rotate the wheel on the tig pen
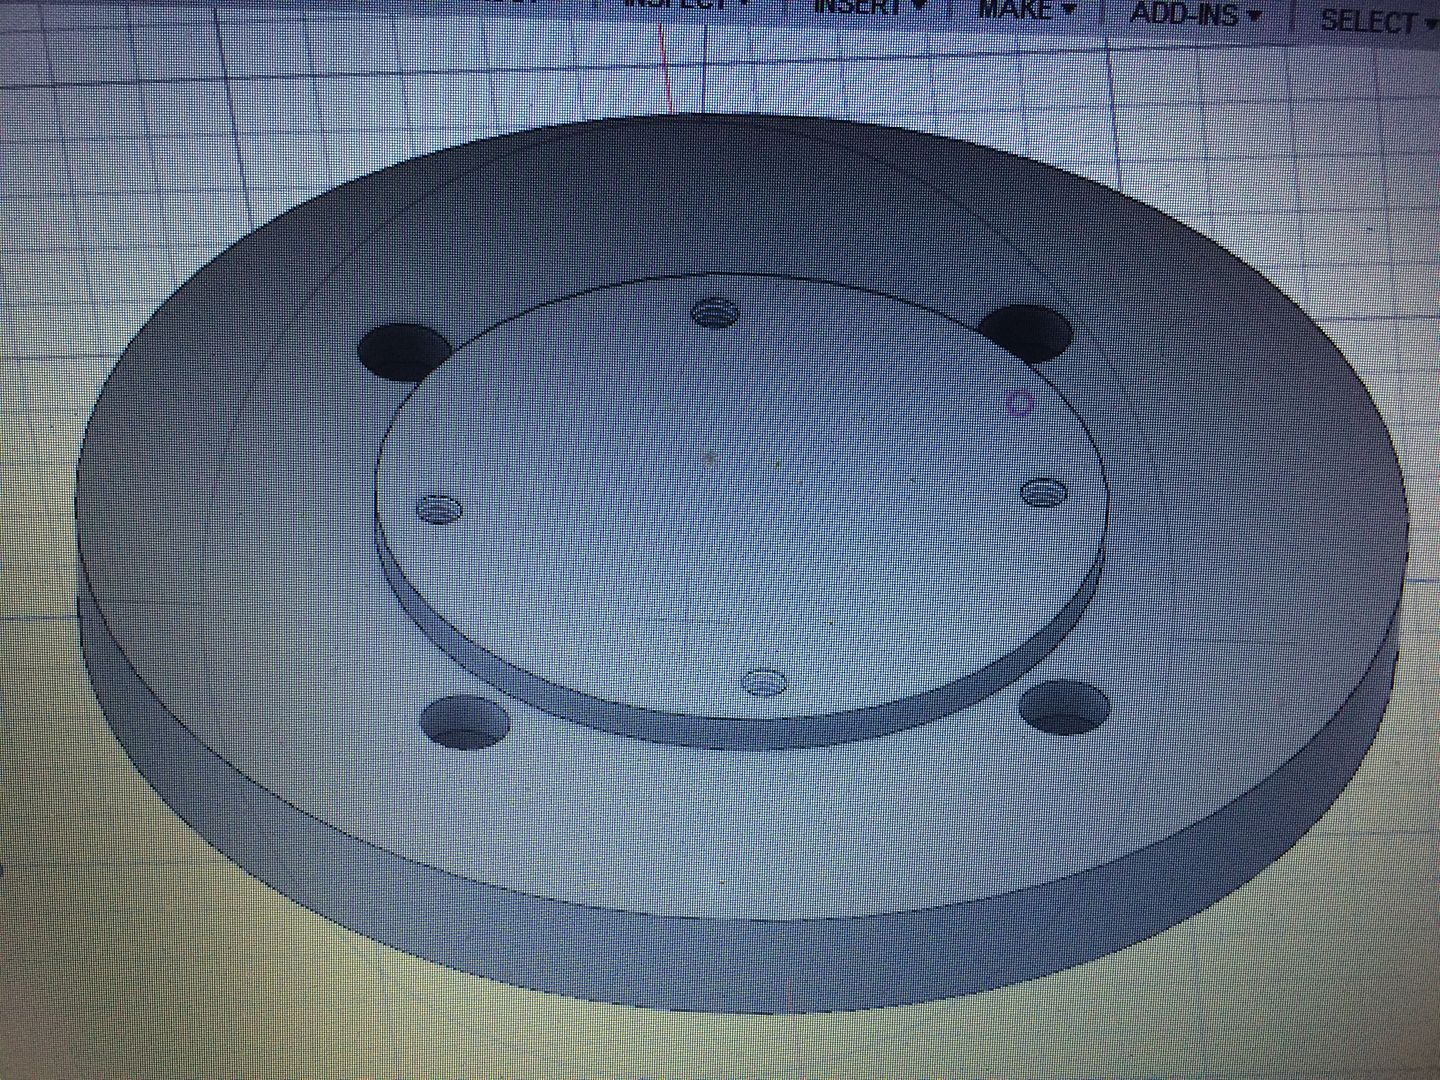
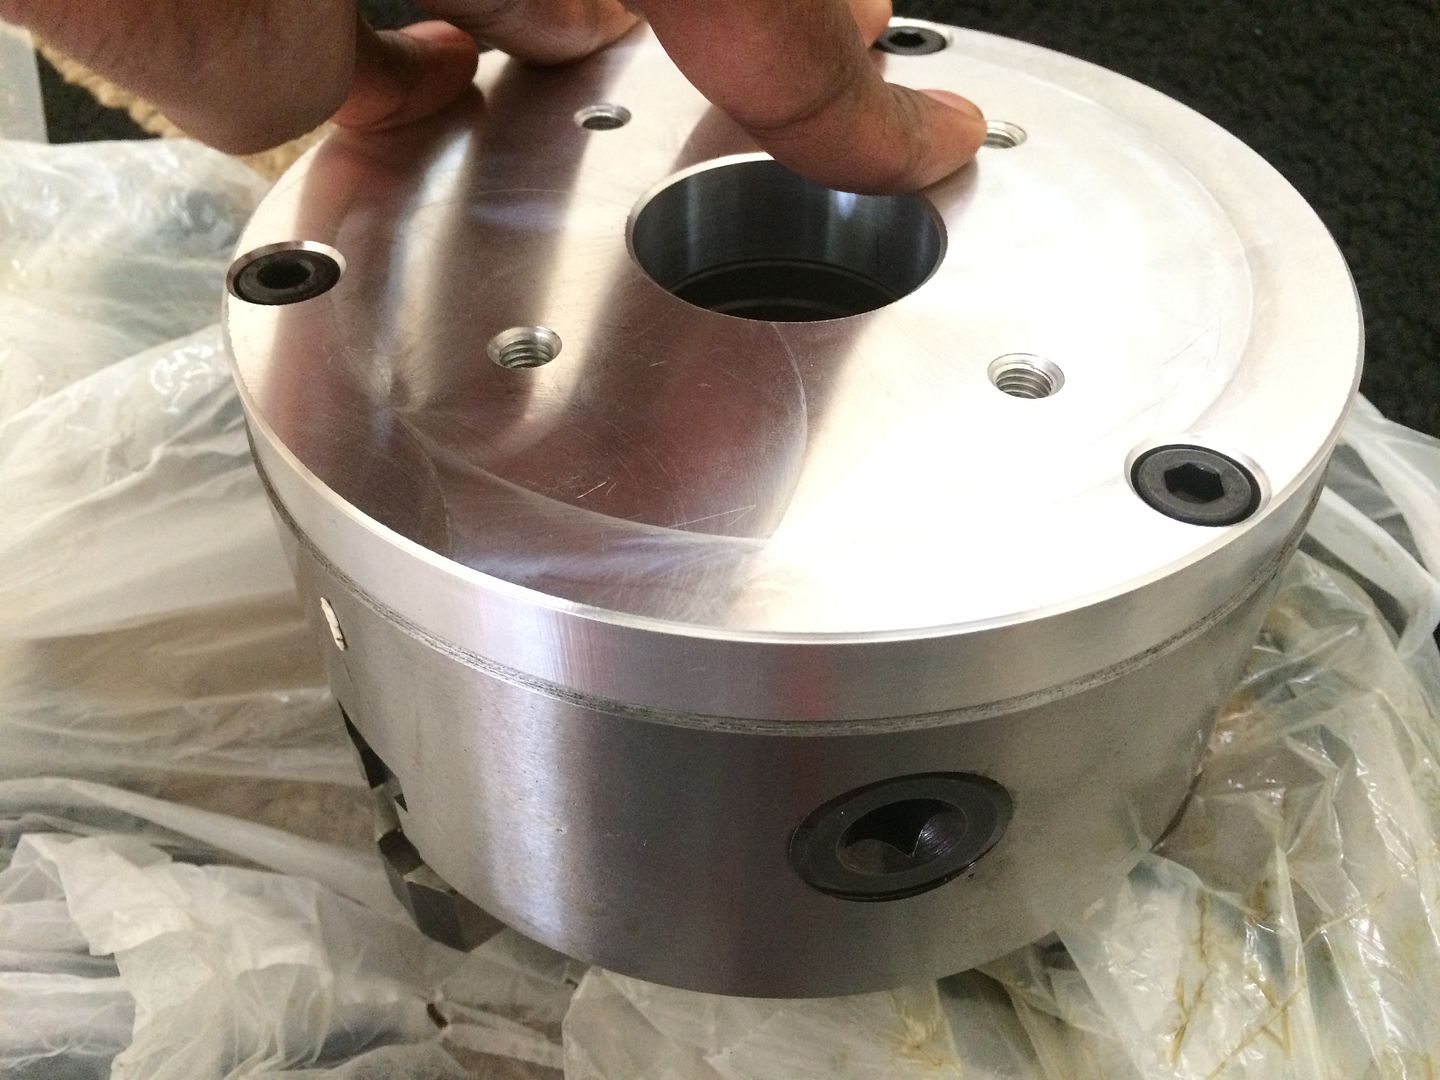
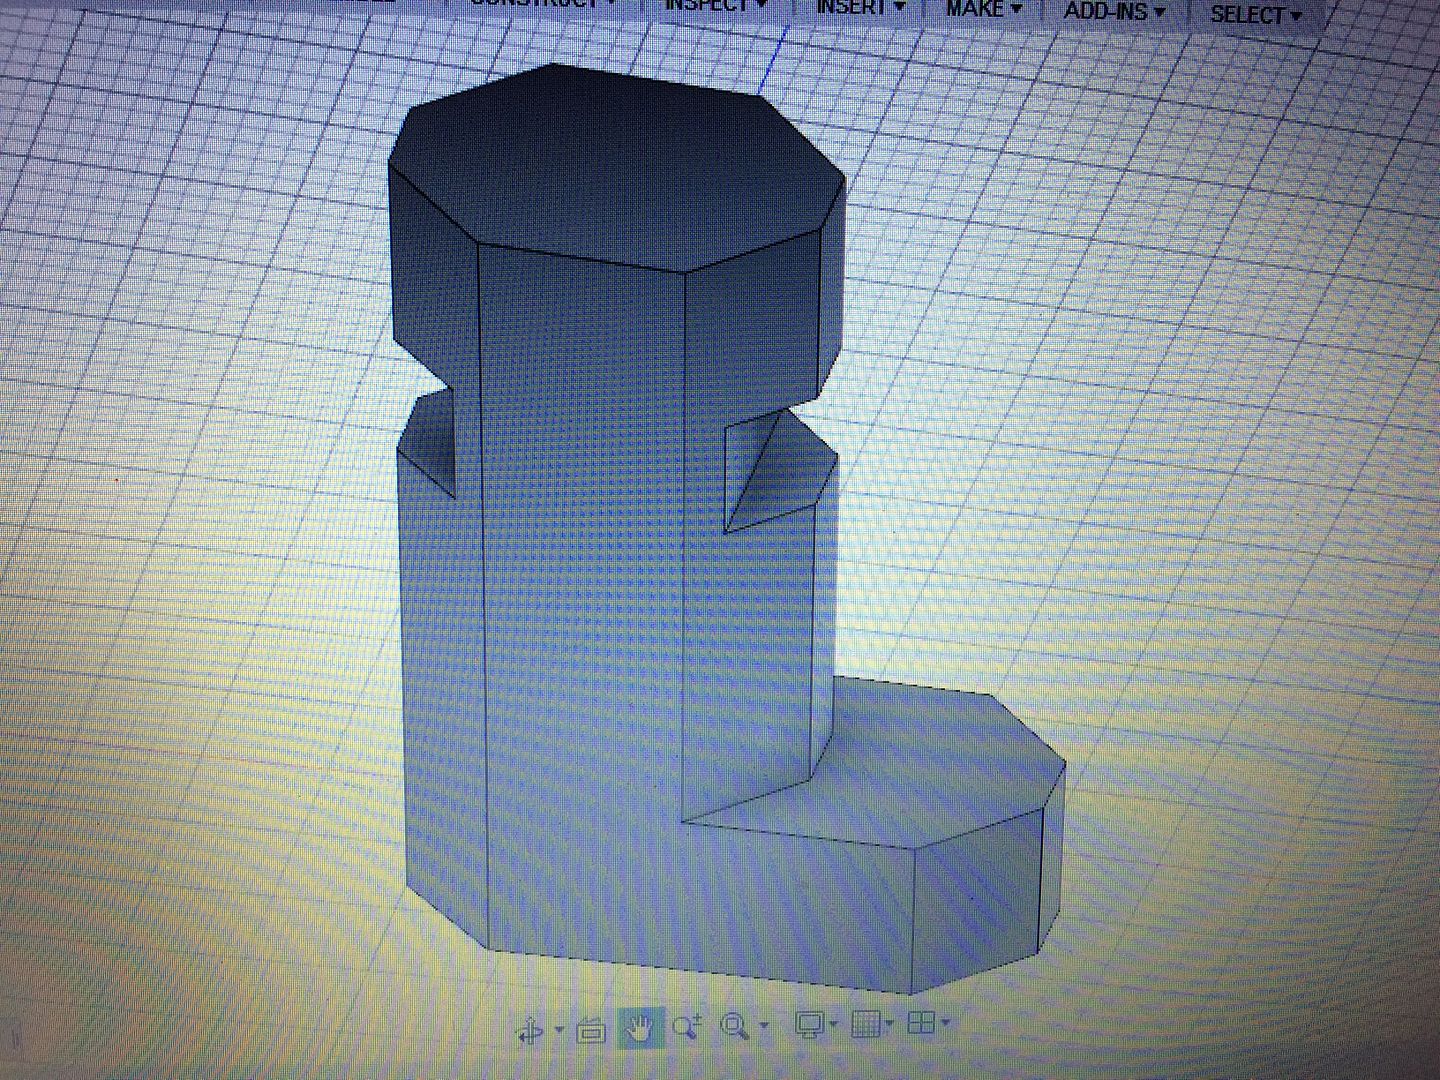
and I went ahead and programmed another simple plate, that would correct mount and register a 10" 4 jaw (independent) chuck (which is approx. $135, so inexpensive also) where i would just unbolt the smaller chuck and bolt on the 10" in approx a minute... i may pick this chuck up at some time in the future... for larger diameter or odd shaped parts where i could center them on the chuck easily... I wish i would have purchased this one in the first place... but i did want the ease of the self centered 3 jaw and will prob use that way more often... if i sell this setup or build another... i will use the 10" 4 jaw initially...
but this would bolt on the same as the other adapter I made...
back
as I have previously stated the jaws that came with this size chuck, when opened all the way, do not open up quite enough for the size of tubing I typically clamp in it... and though they are reversible, when revised, they are not tall enough, if the profile of an end cap isnt flat....
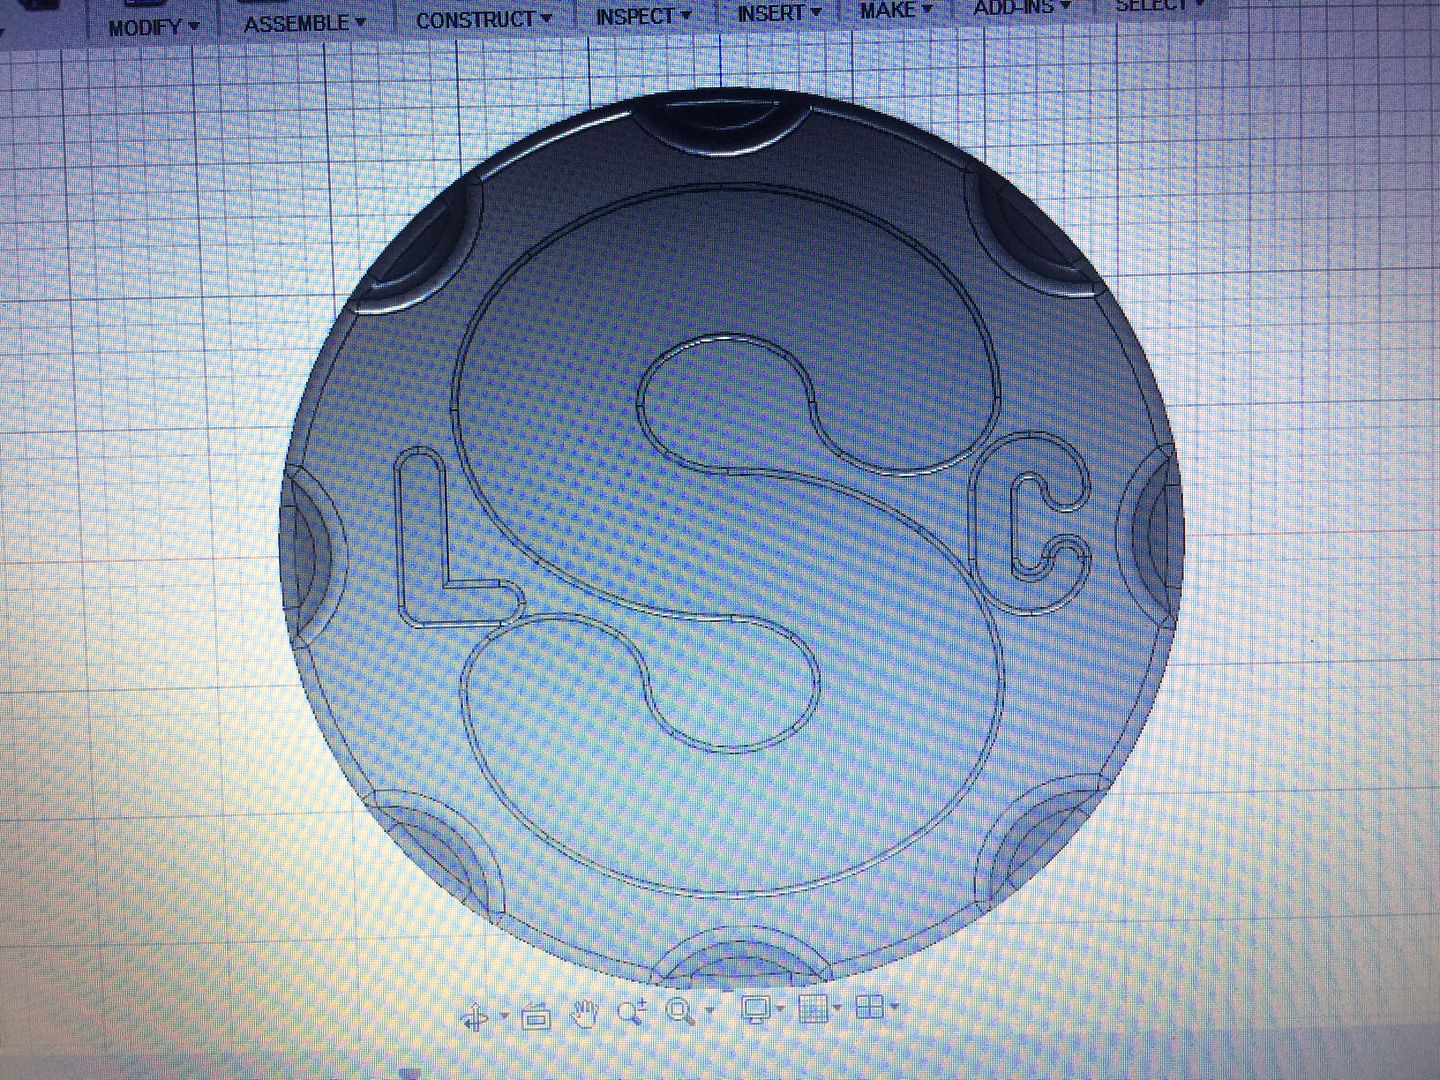
i drew up a program in cad to modify the soft jaws to fit a wide range of things i will be clamping in the 3 jaw... i modified it to open up another two inches in diameter and shaped the other side where when reversed would still clamp very small diameter...
i did not leave the notches in the program, and will be notching it, if i need to, after i clamp a few parts in the chuck and mark exactly where i want the notch...
Last edited by LS Customs on Wed Oct 19, 2016 9:43 pm, edited 1 time in total.
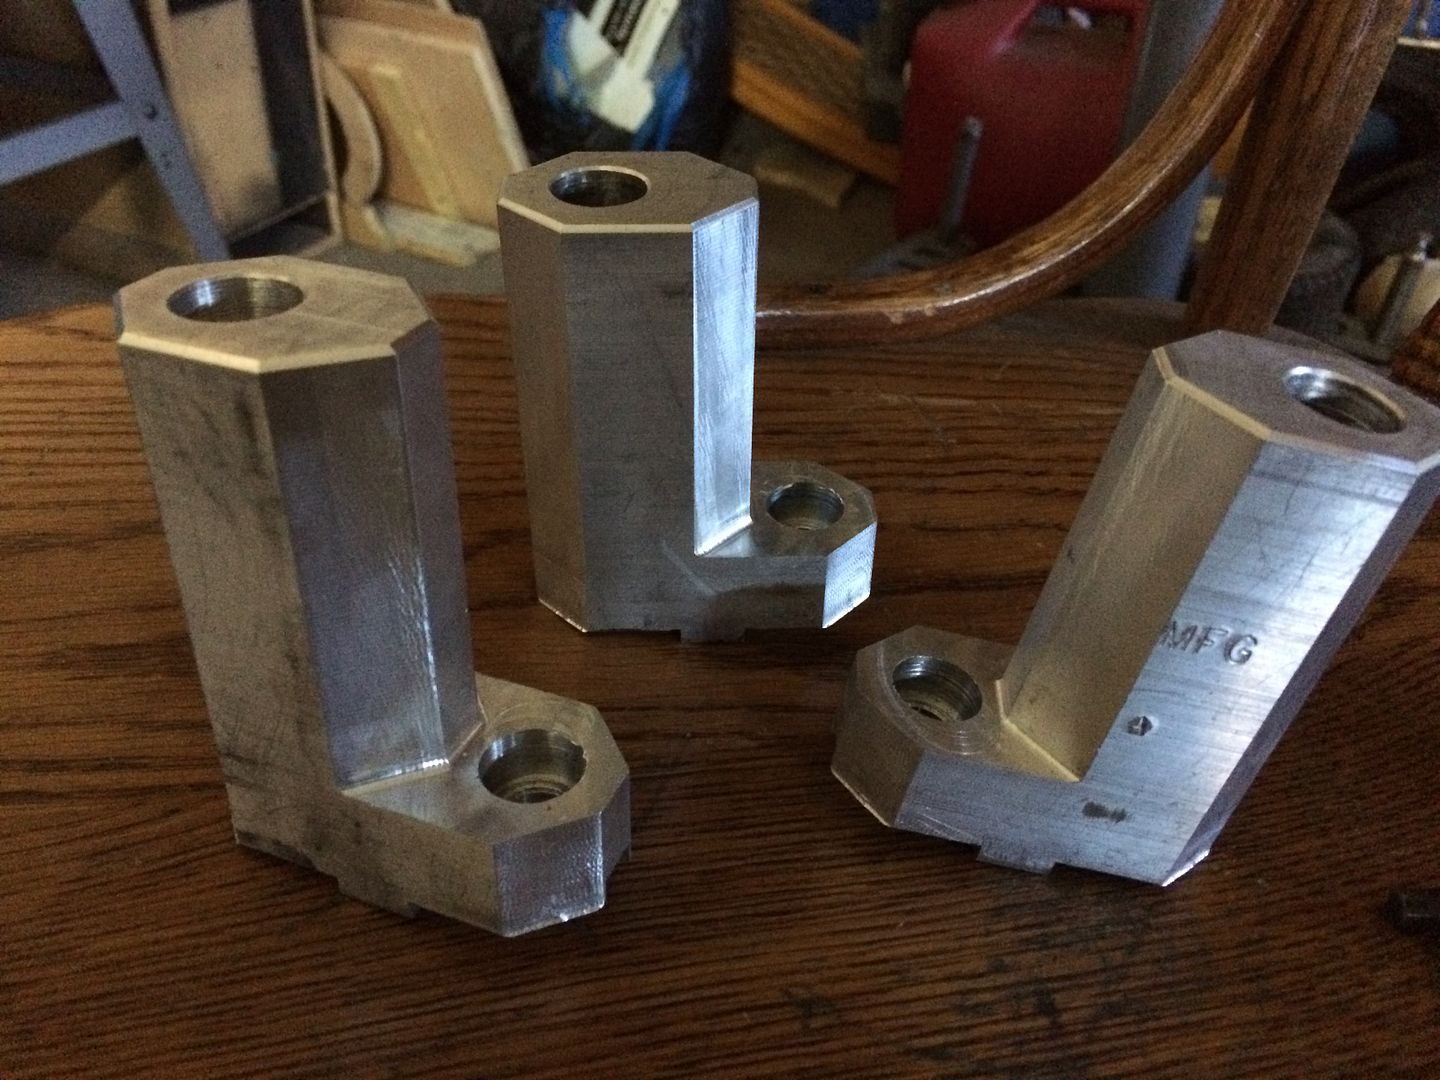
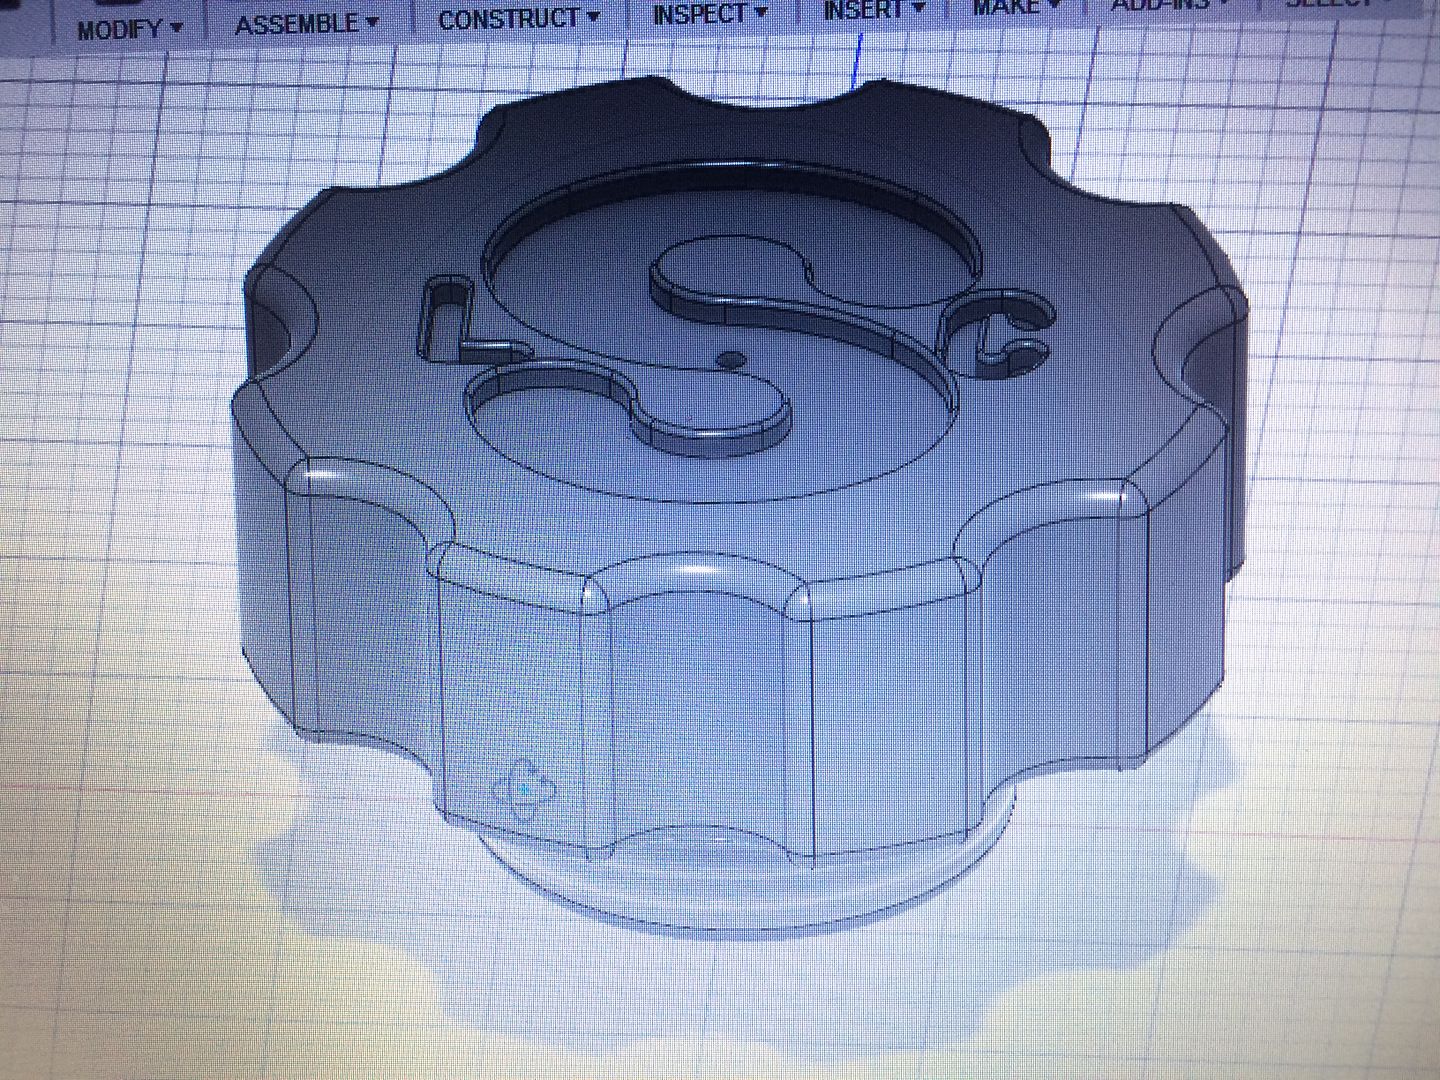
the total cost of the soft jaws, plus machining (with my programming) was approx. $75. but to have something specific to what i am doing and made my way, it was a relatively inexpensive mod...
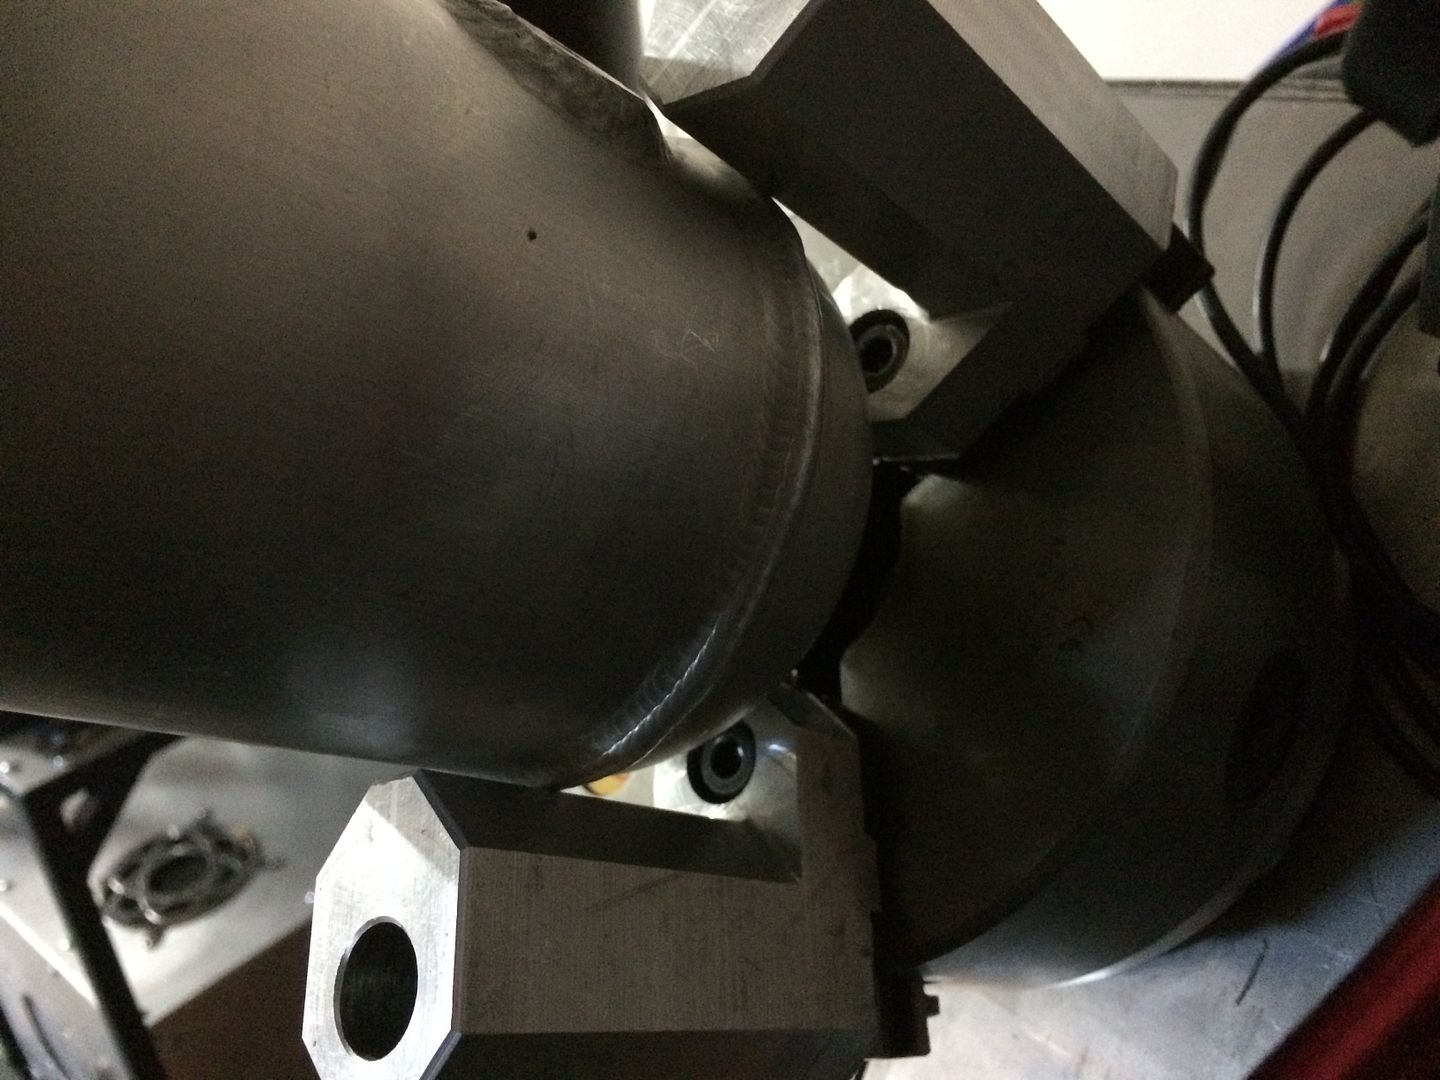
and this is what i am notching them for... if i am clamping something where the weld isnt completely flat, there will be a small notch so that the part fits in the chuck and runs pretty true, without the extra time it takes to set it up straight without the notches..
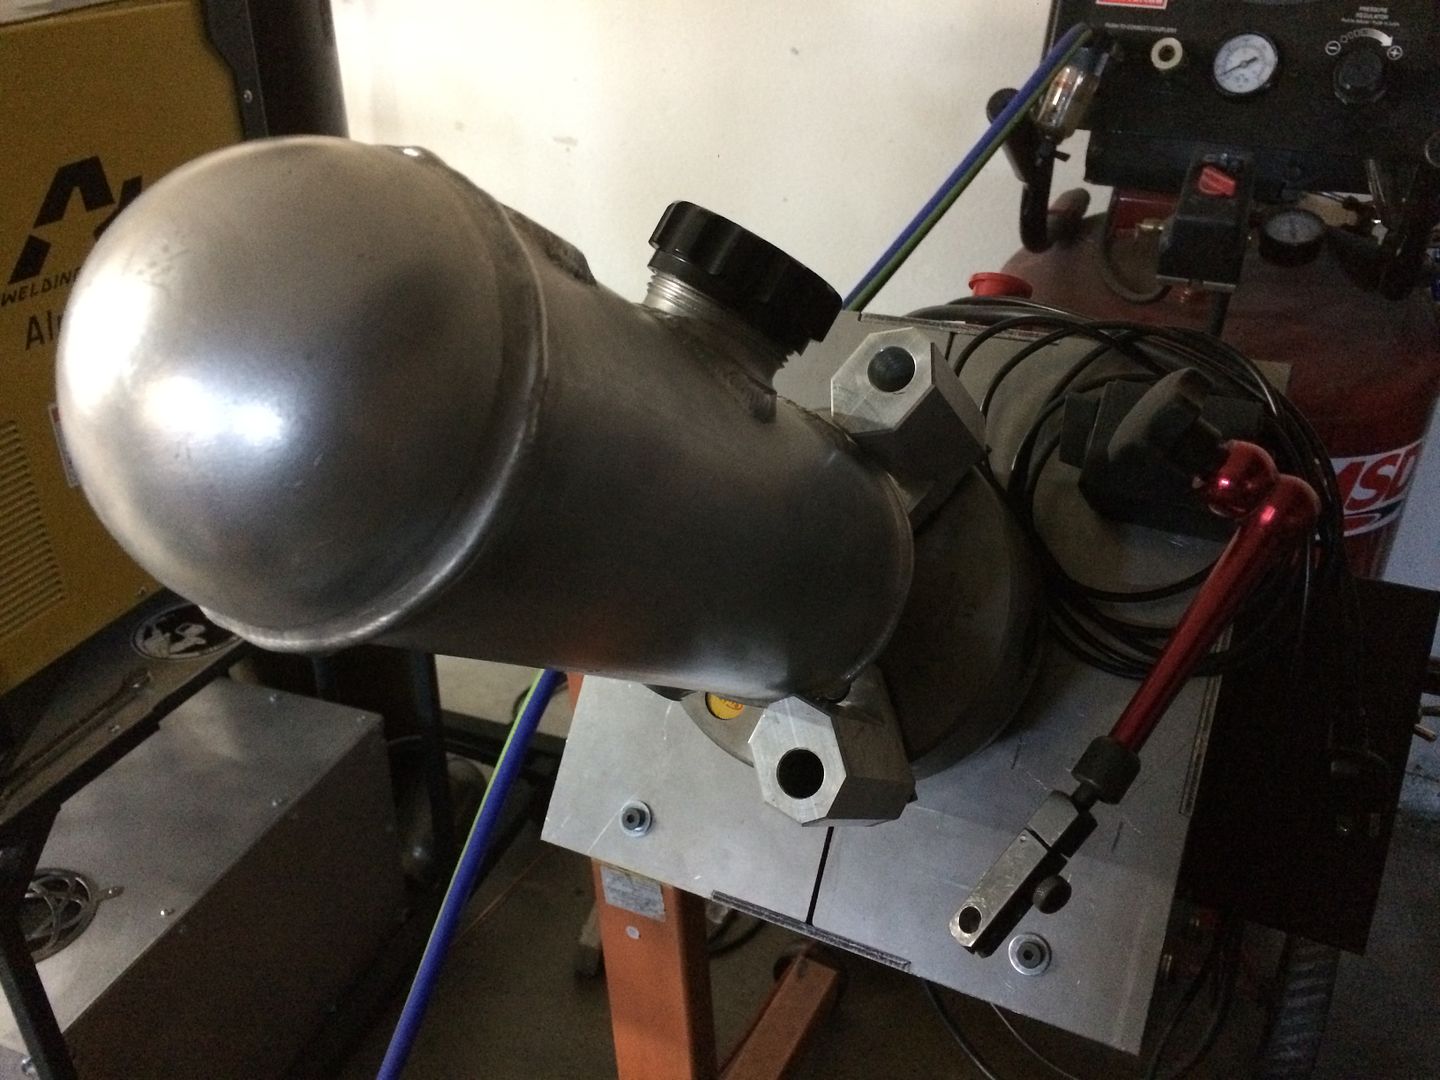
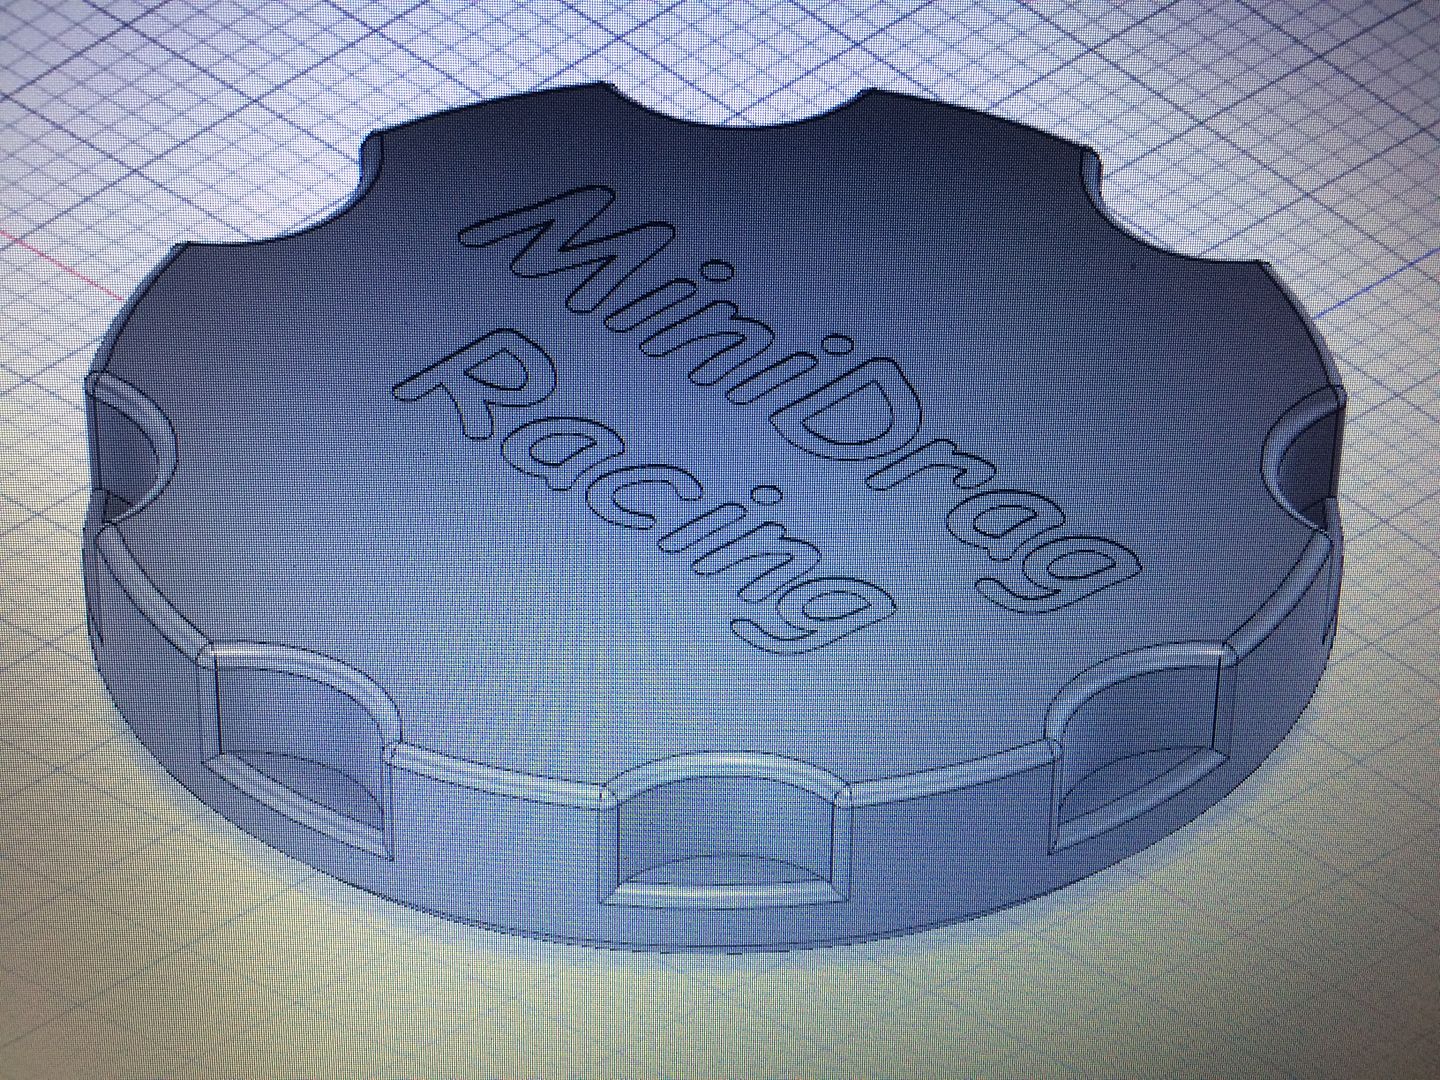
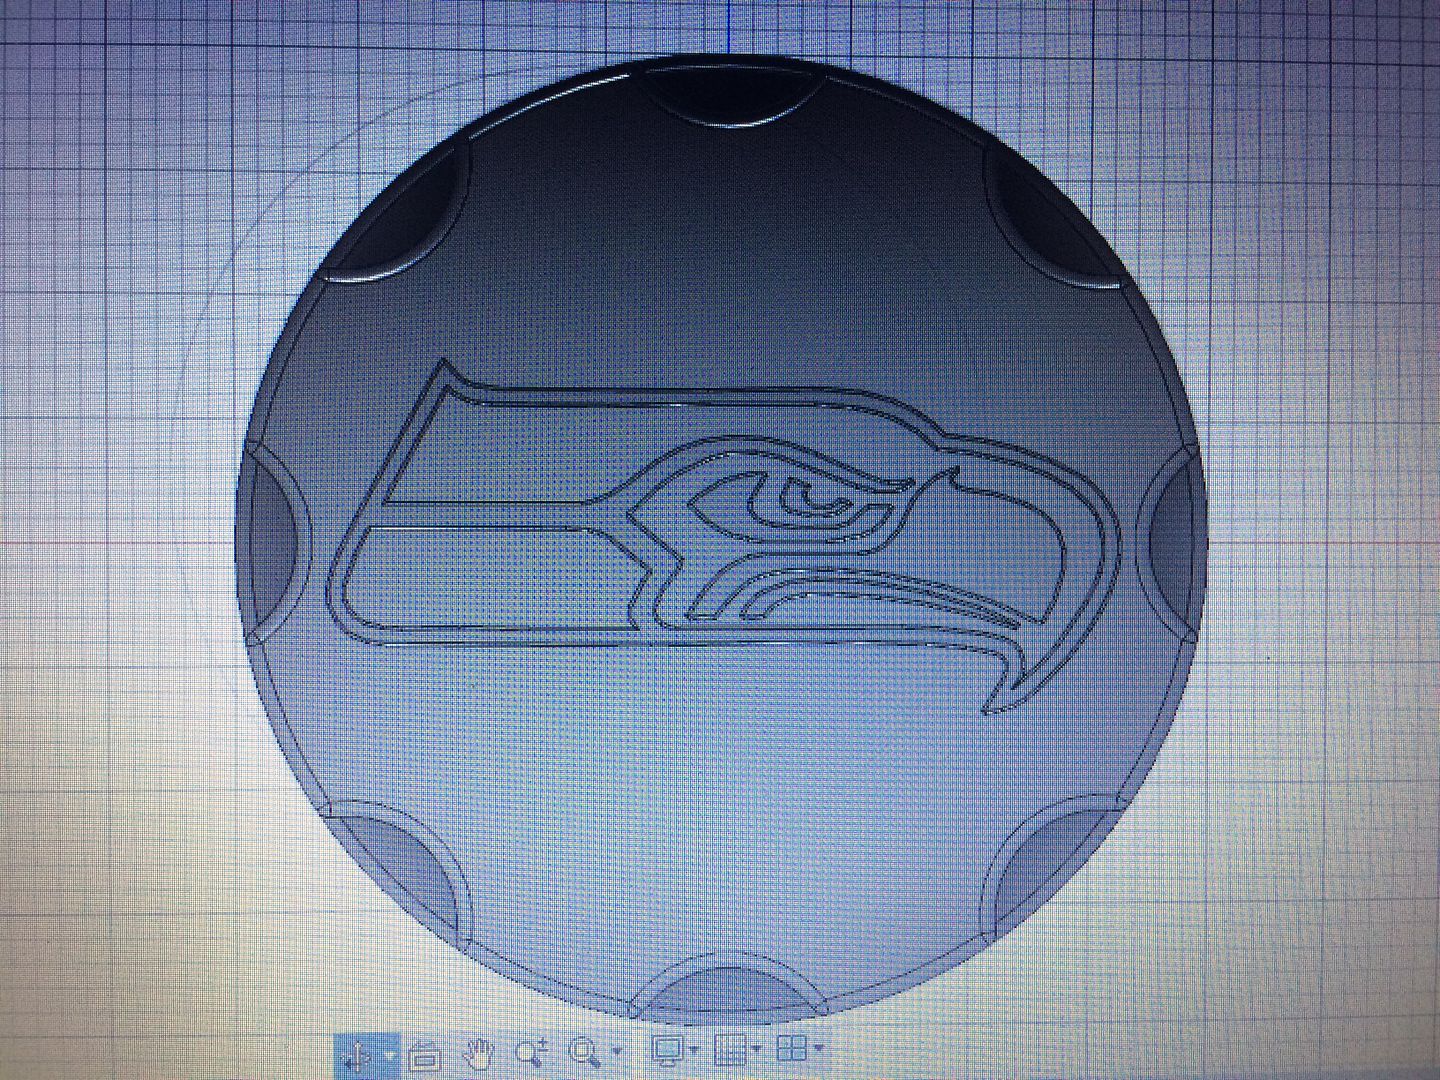
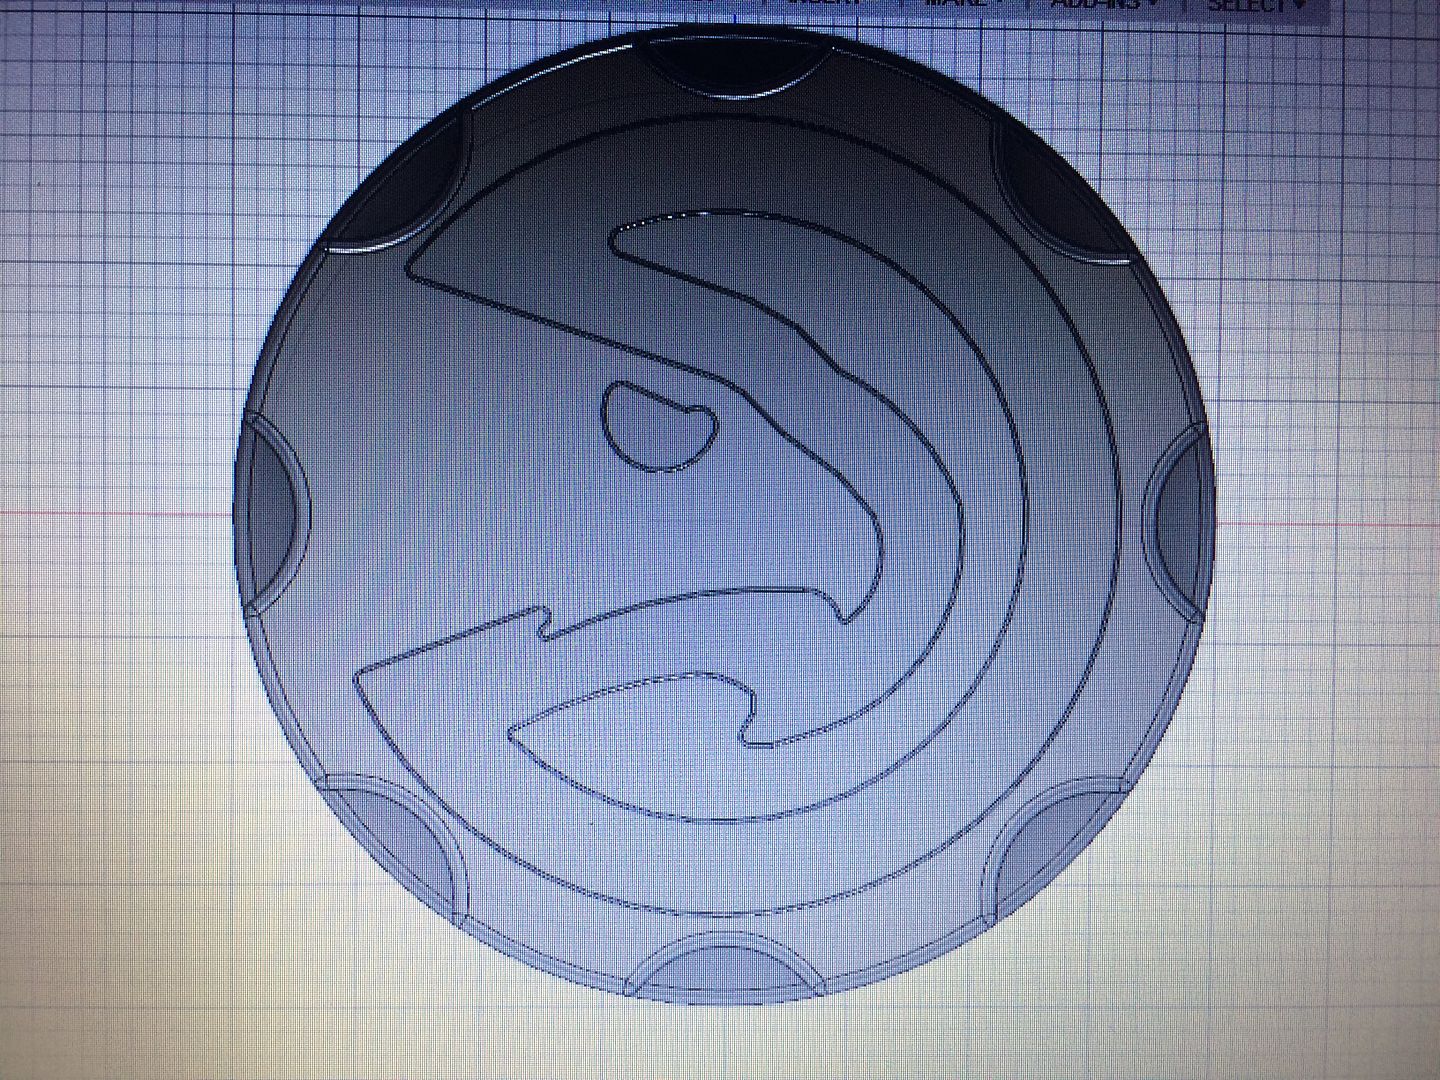
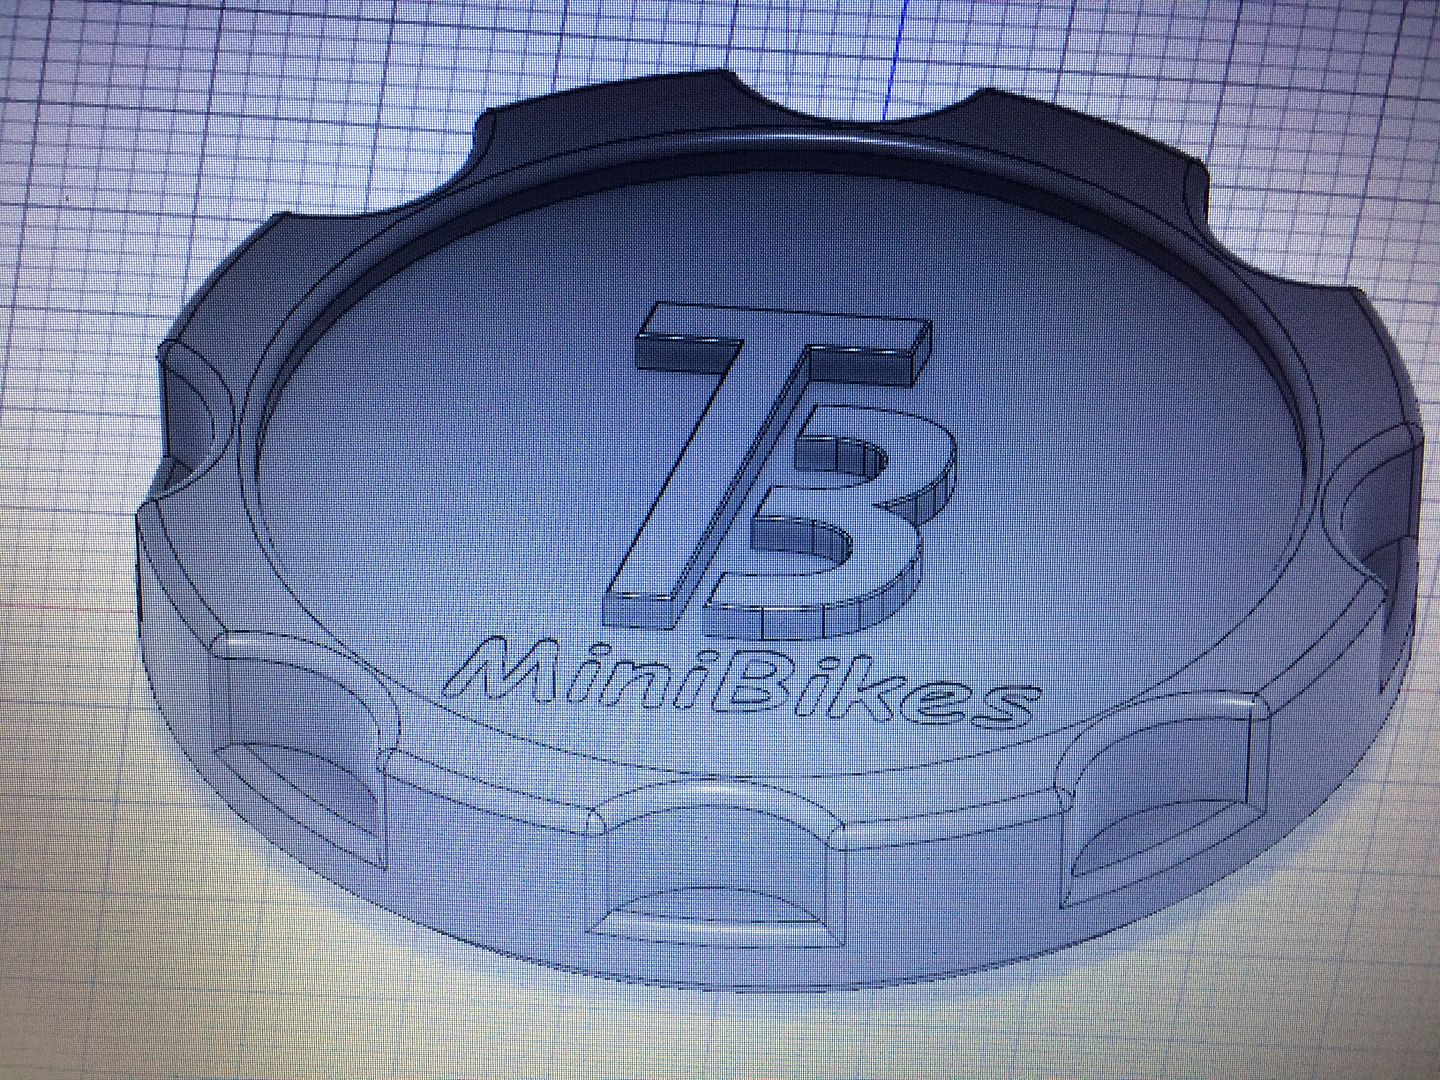
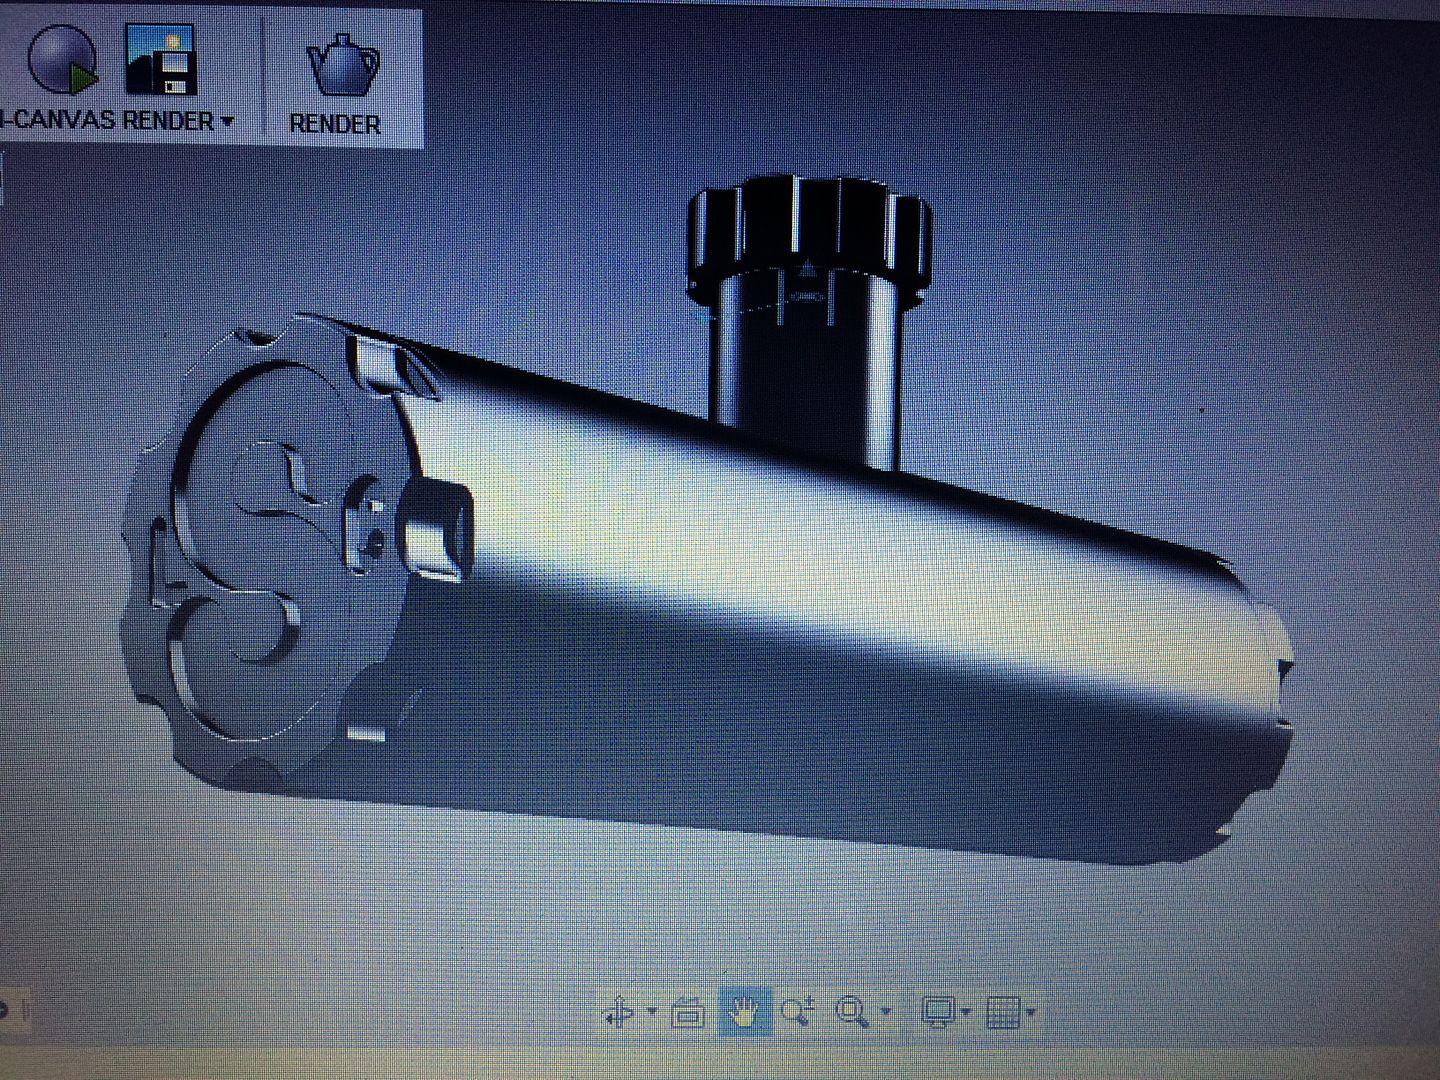
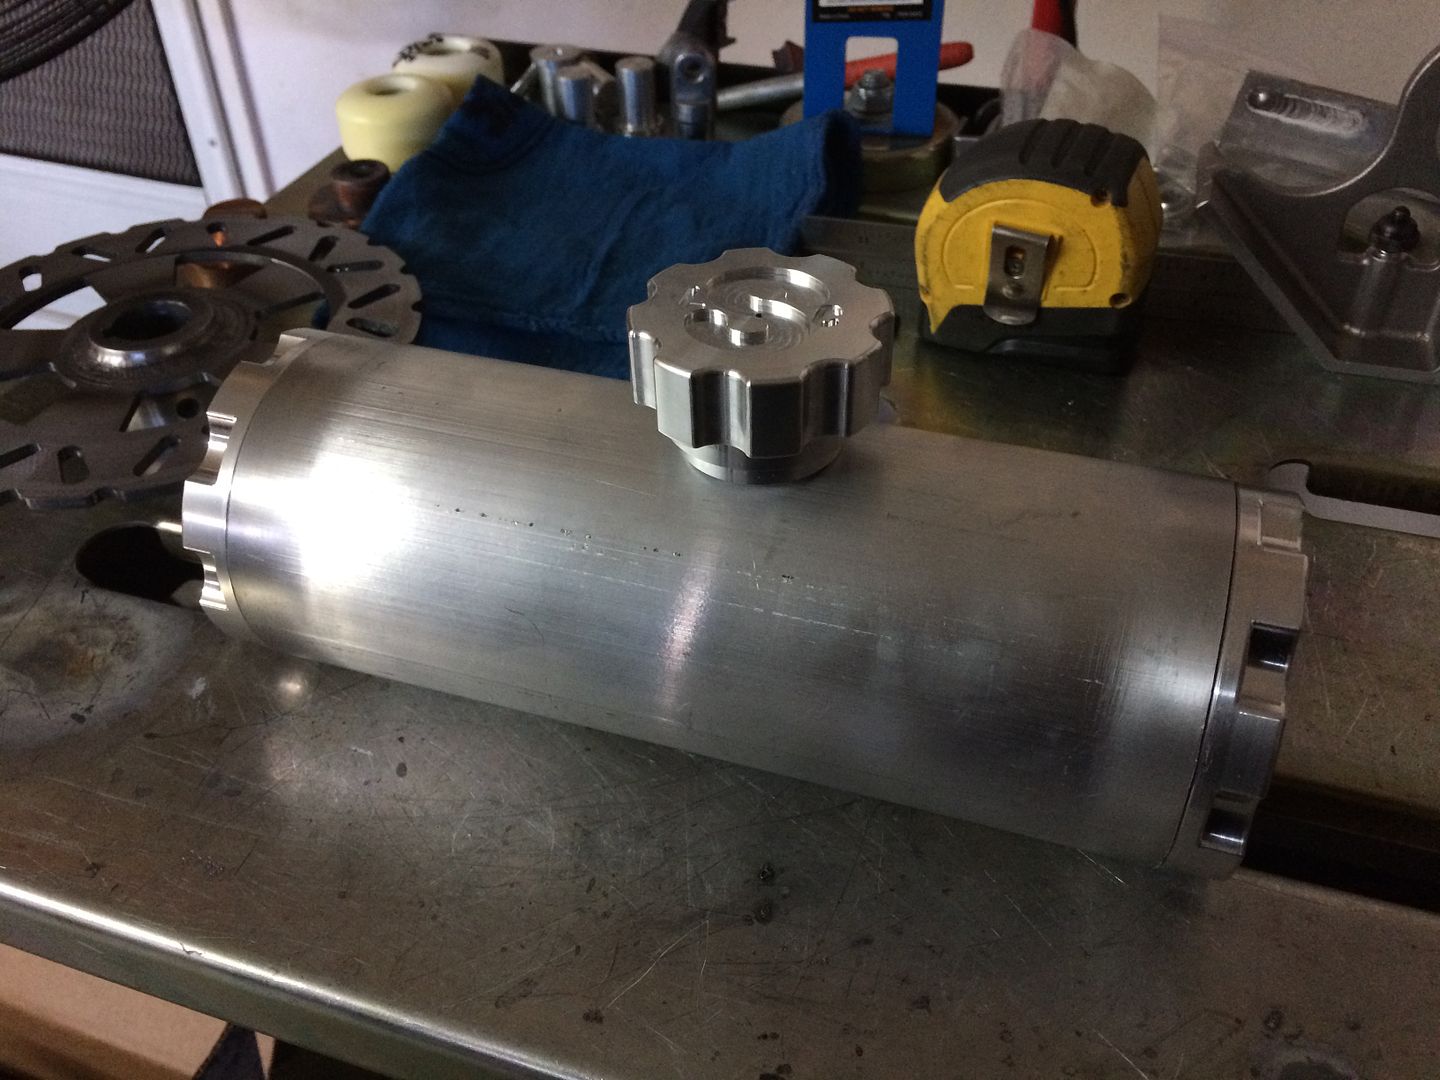
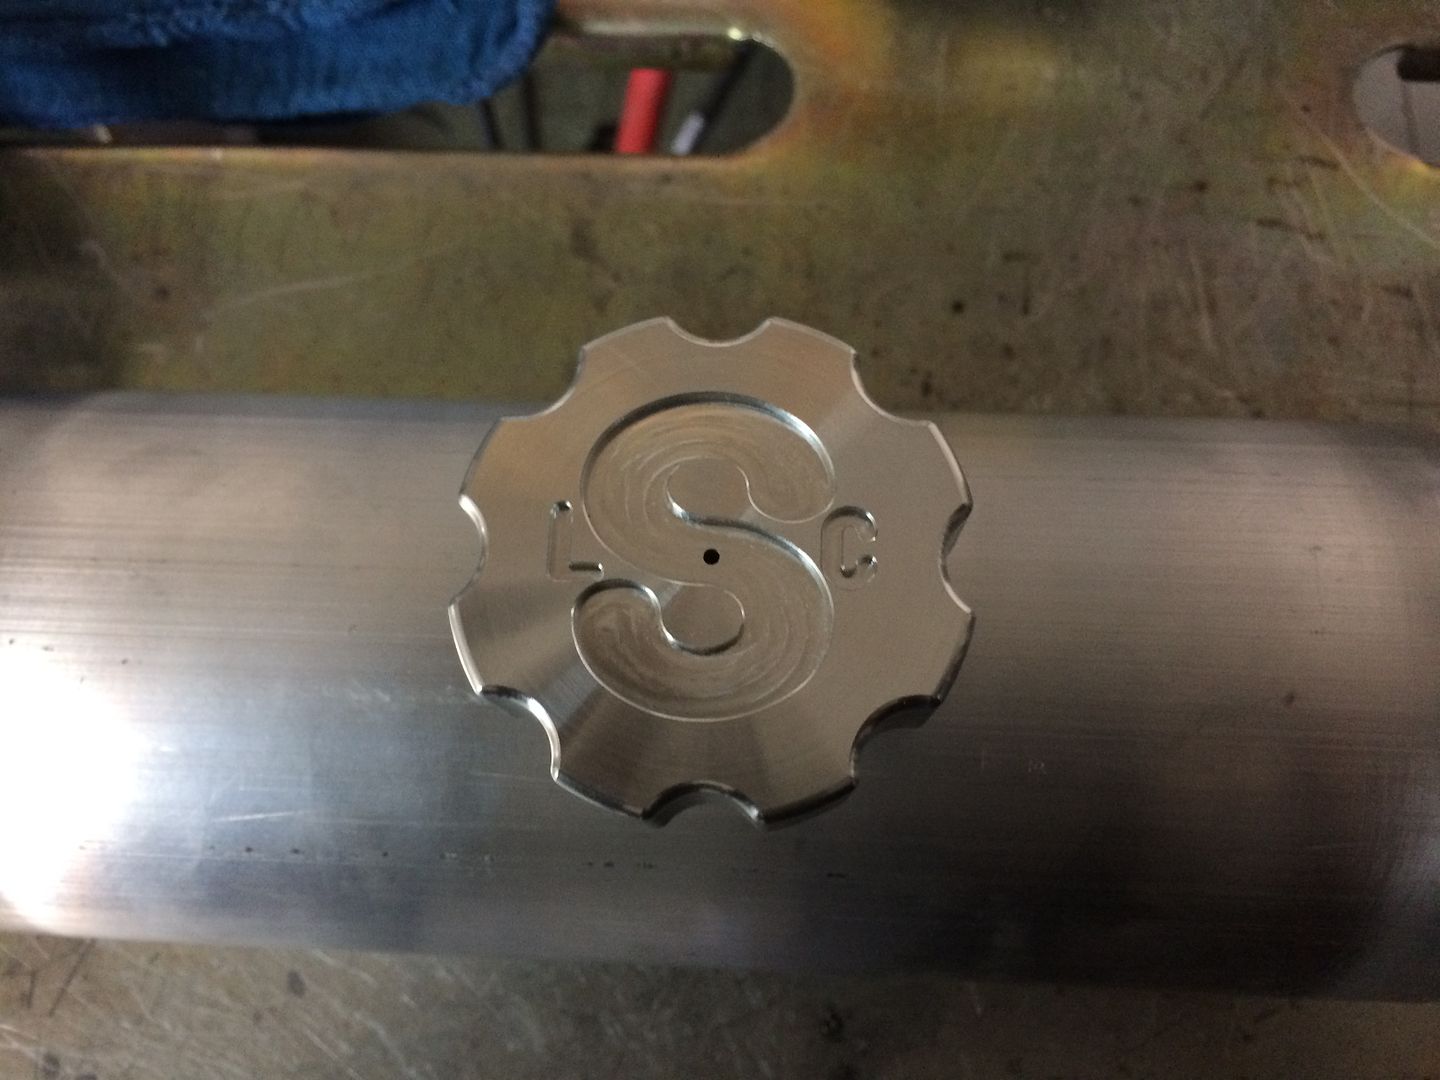
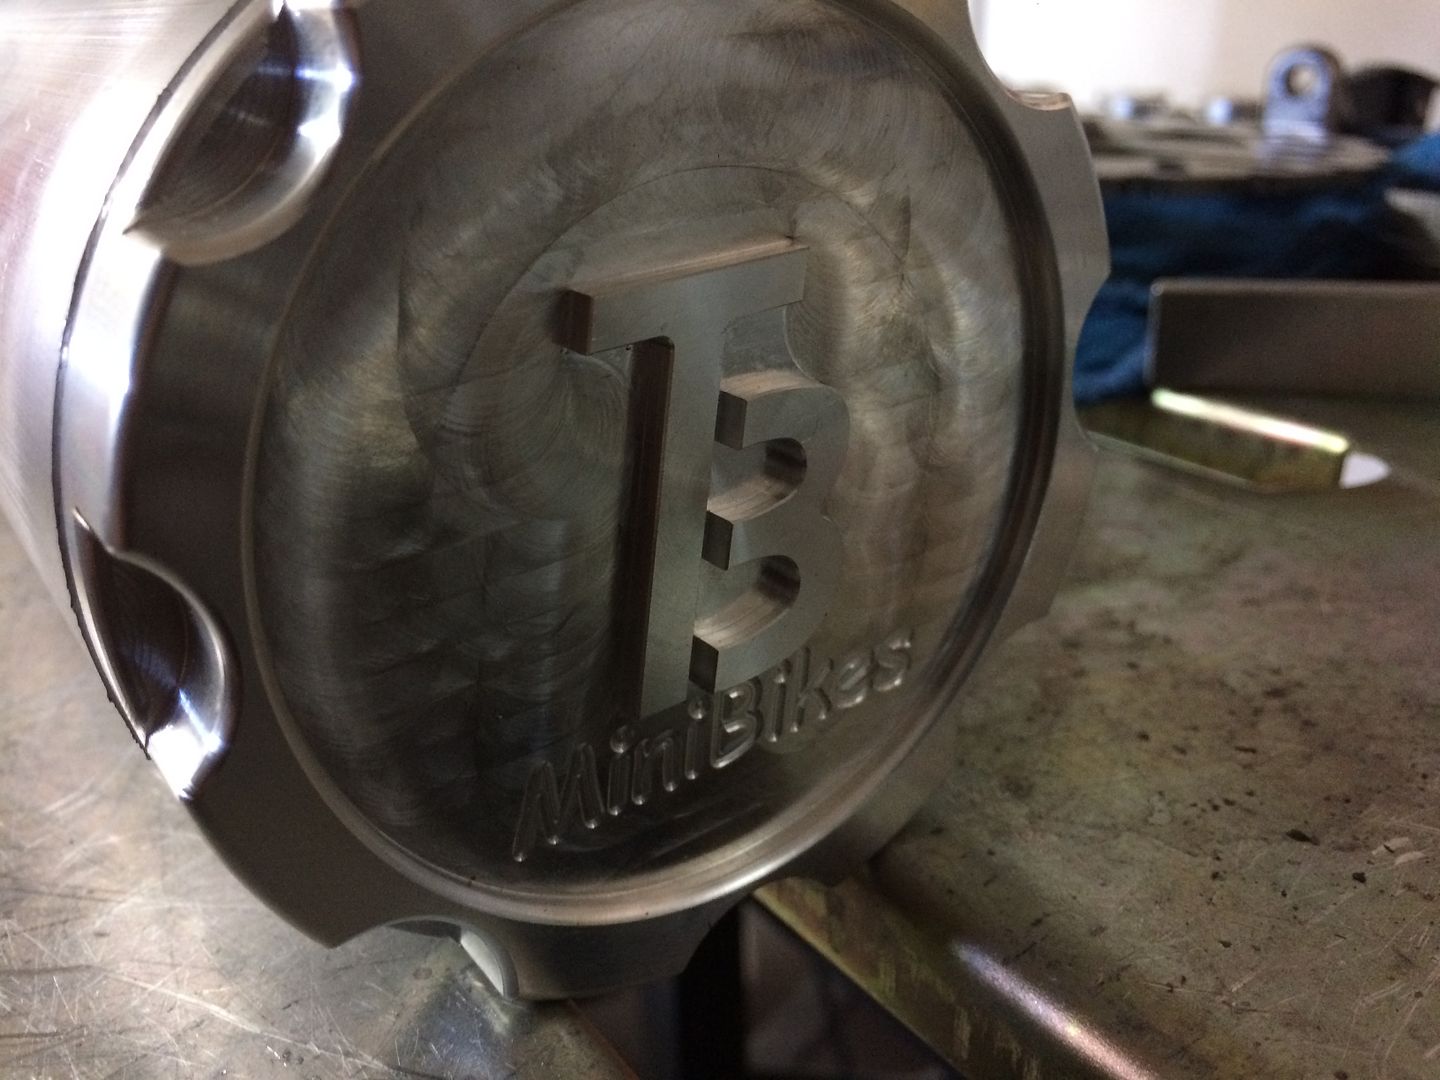
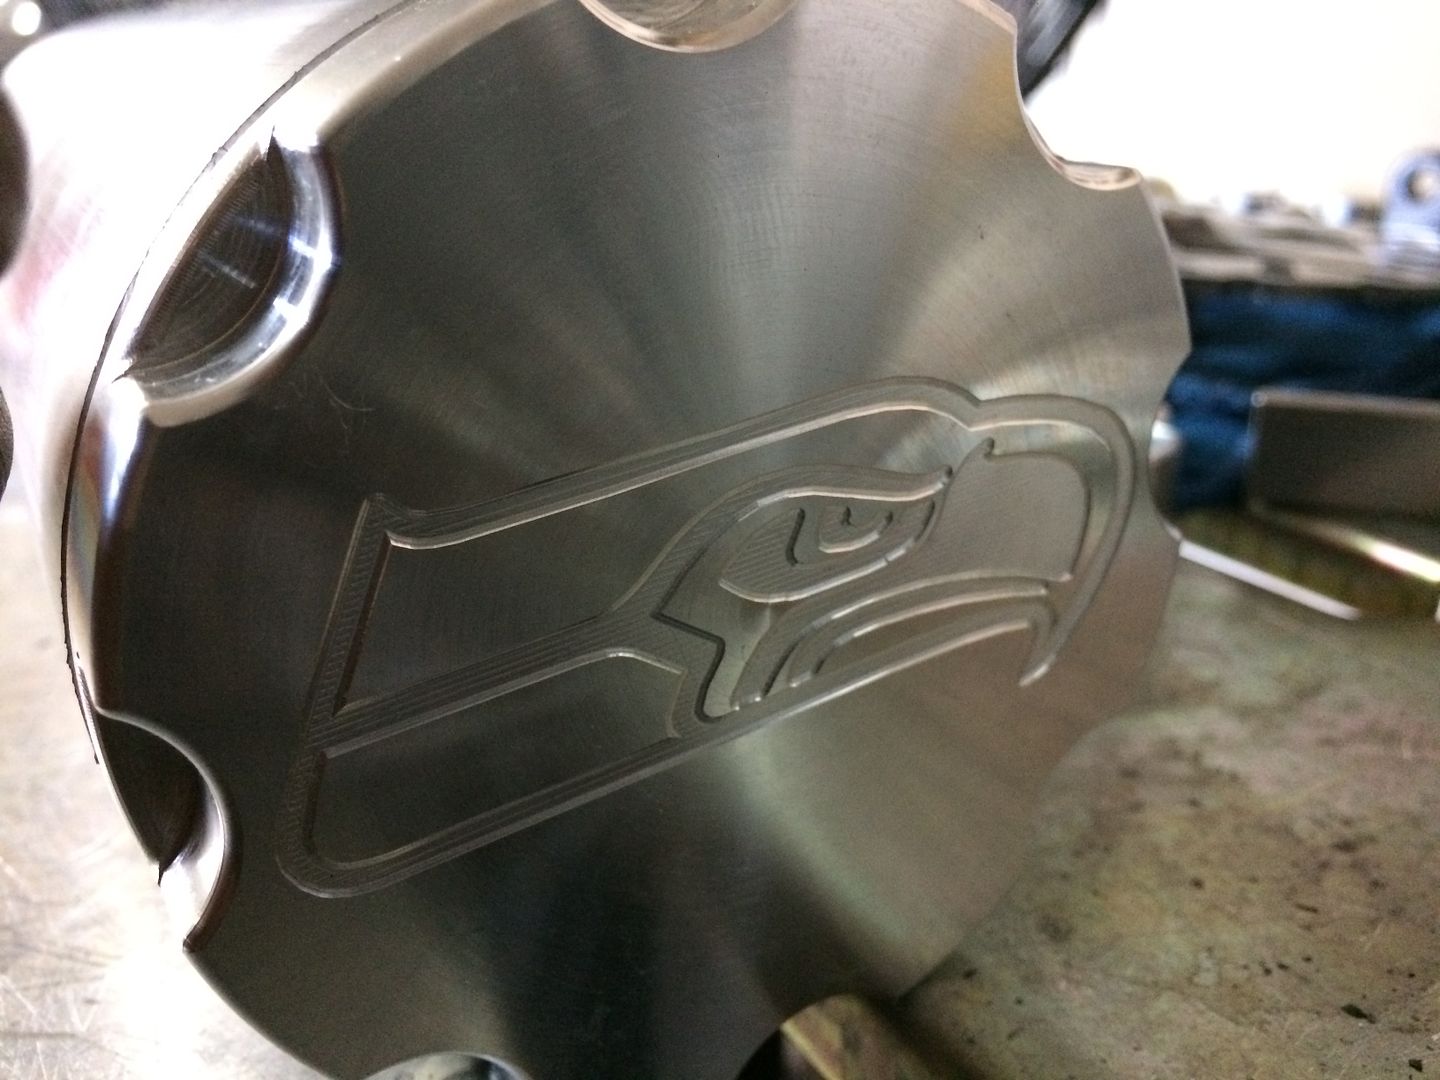
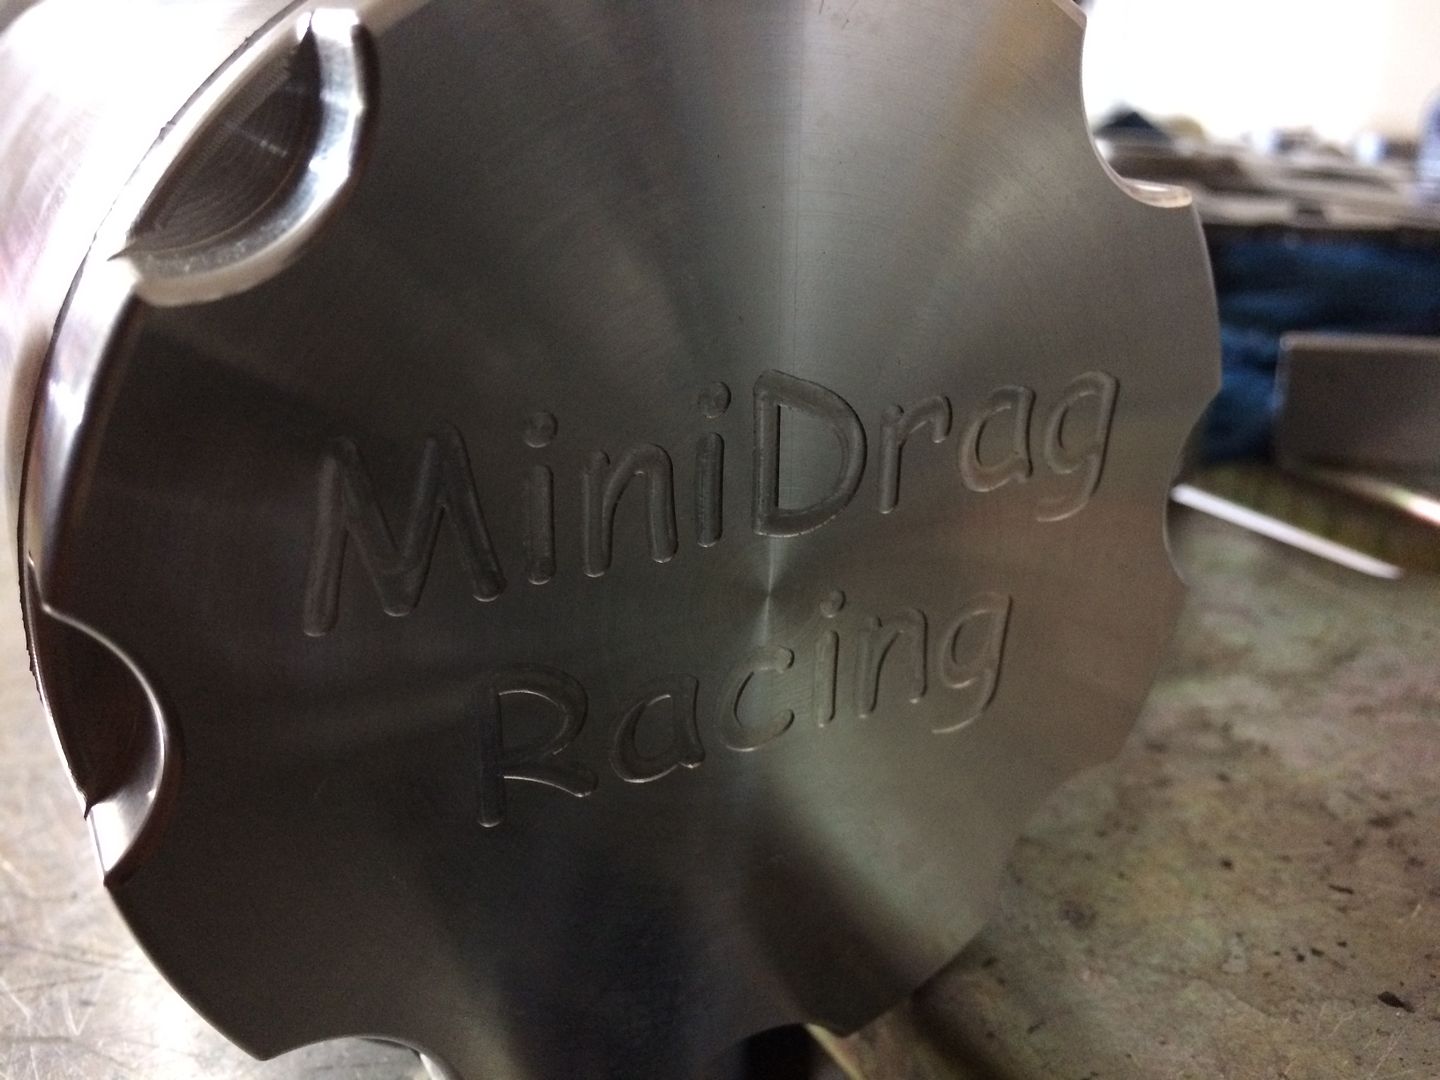
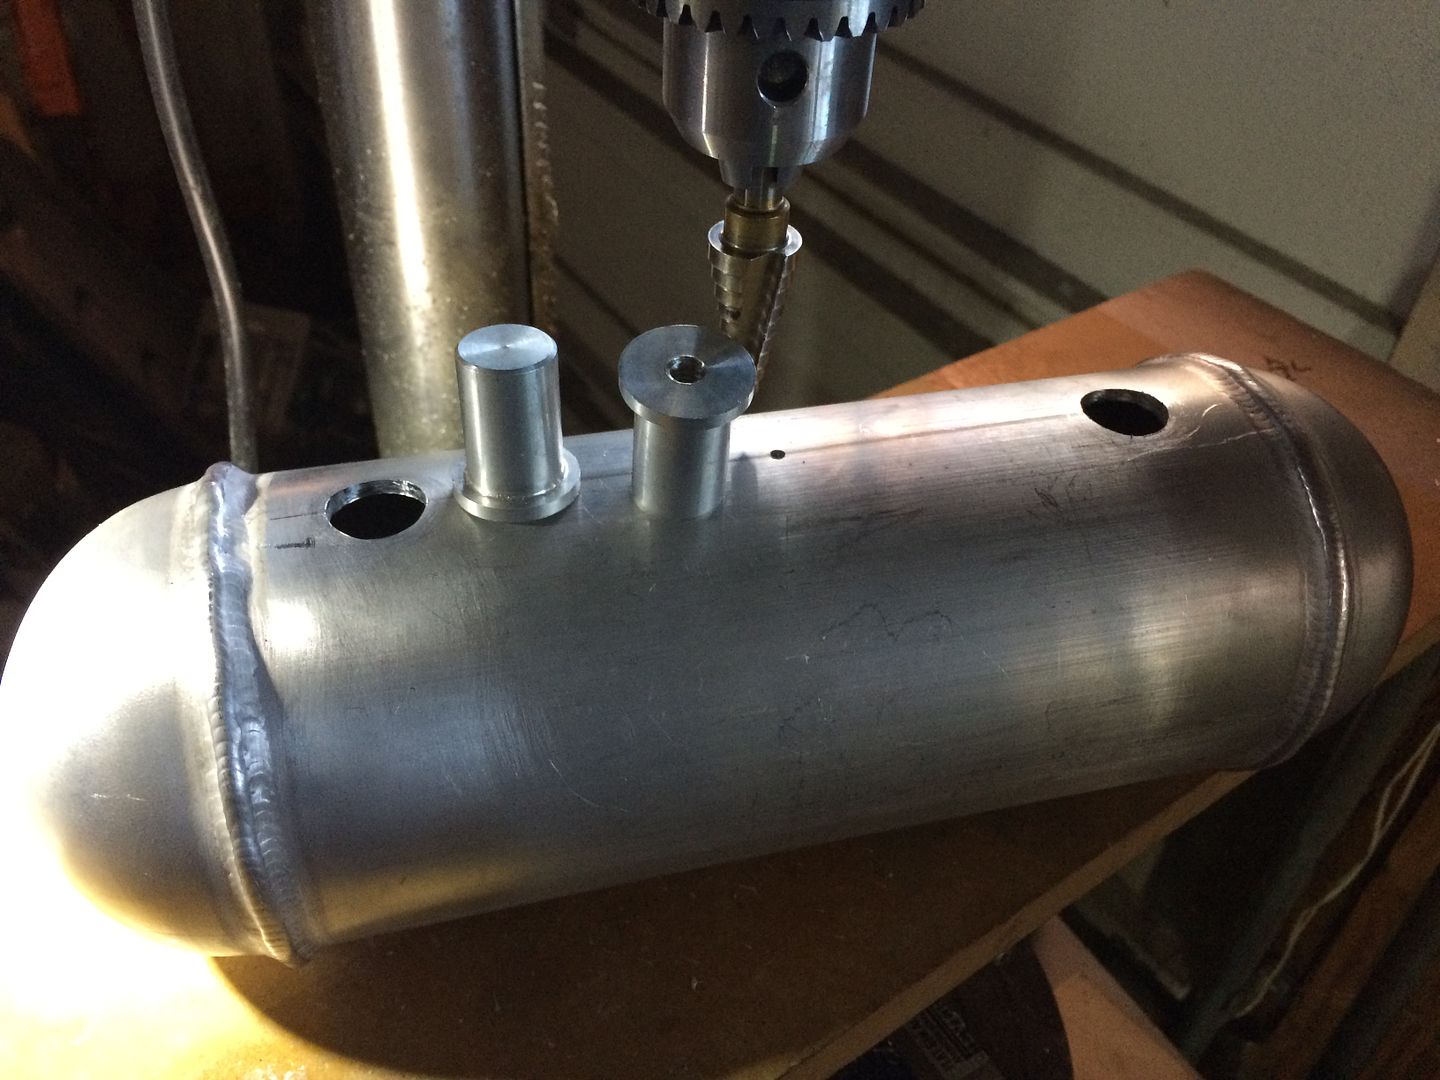
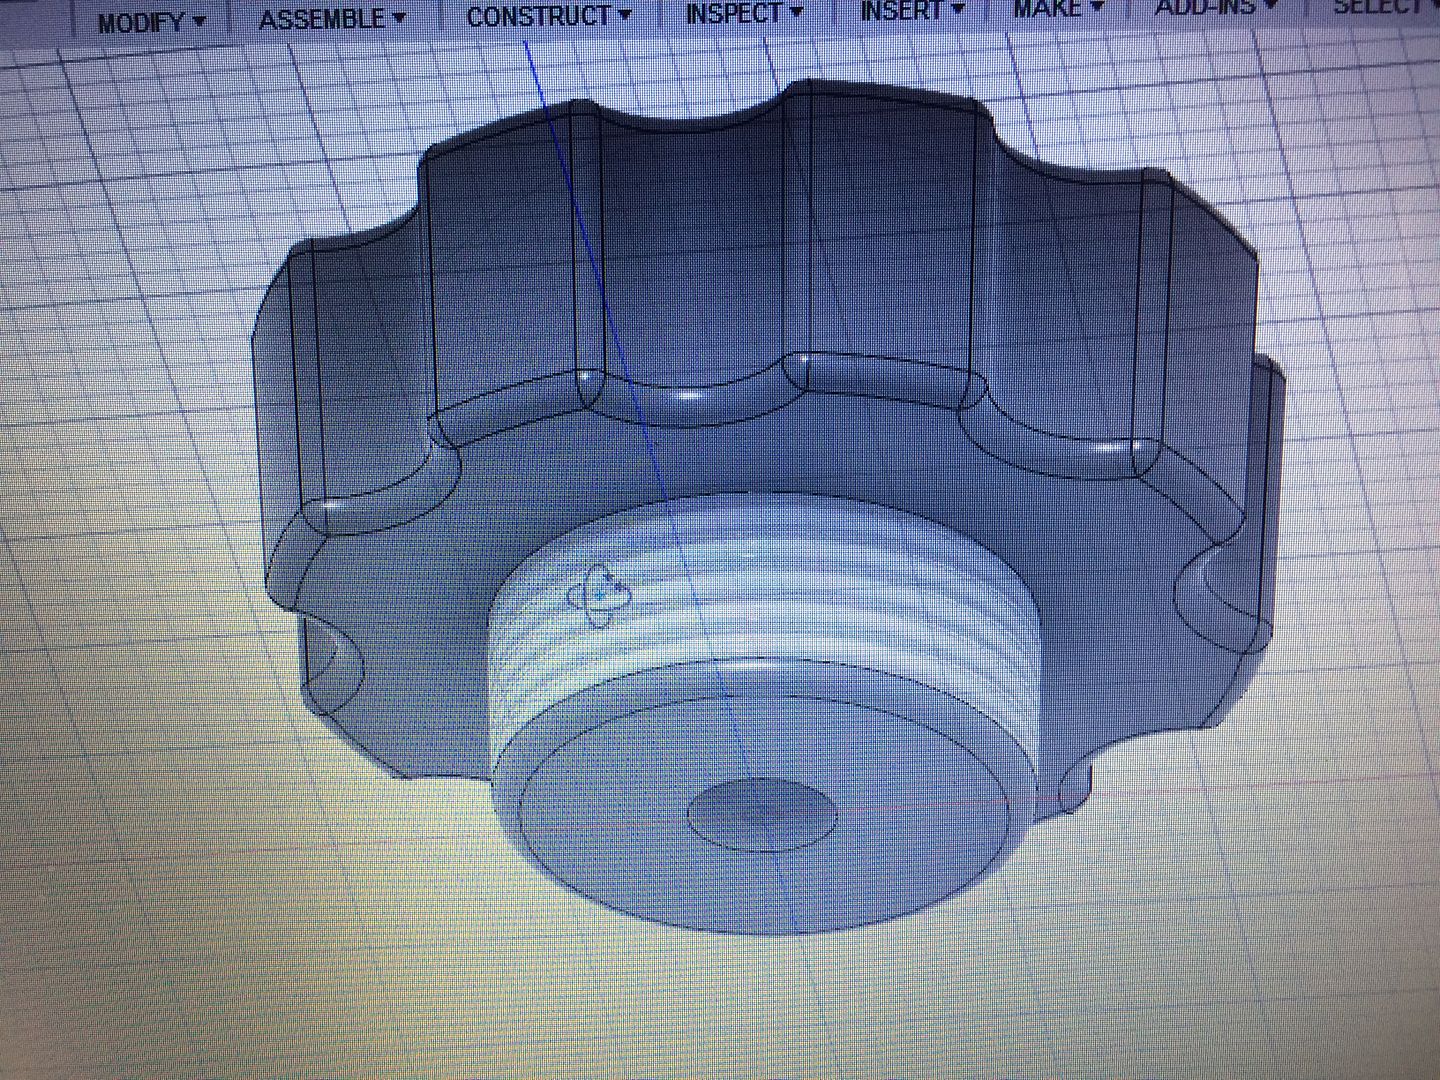
I designed, programmed in cad, some end caps, and filler cap and bungs, (and had my machinist run the programs on his cnc) to give the setup a good consistent run and i hope i can sell some of these tanks, on ebay and facebook, and help to pay for some materials to keep the practice going...
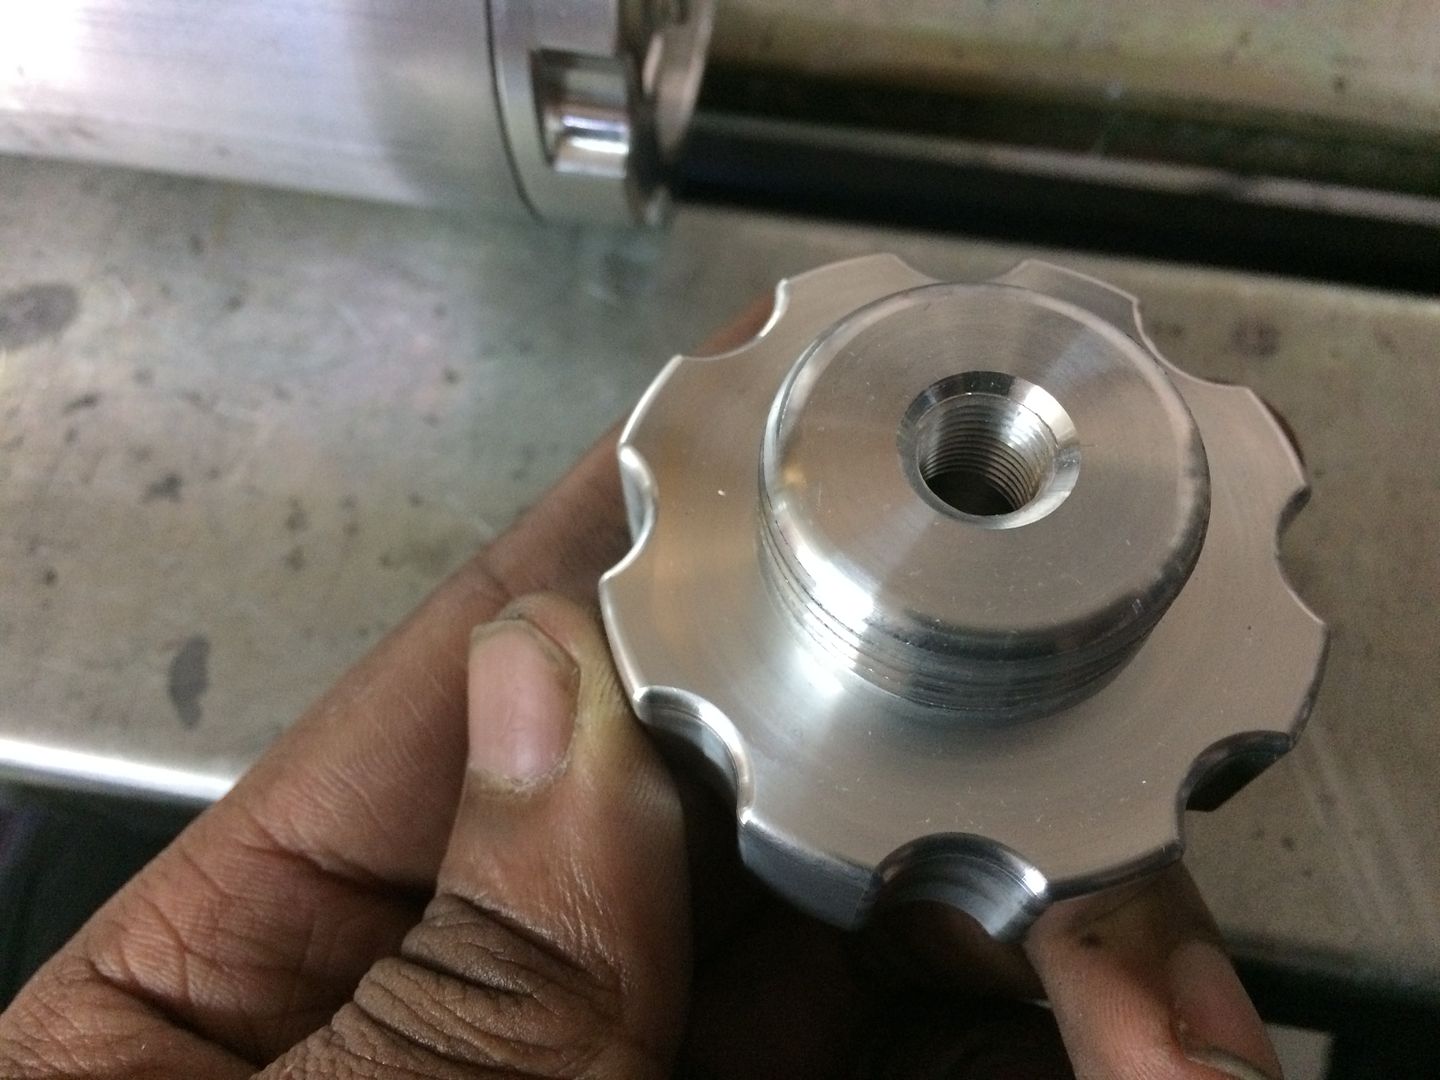
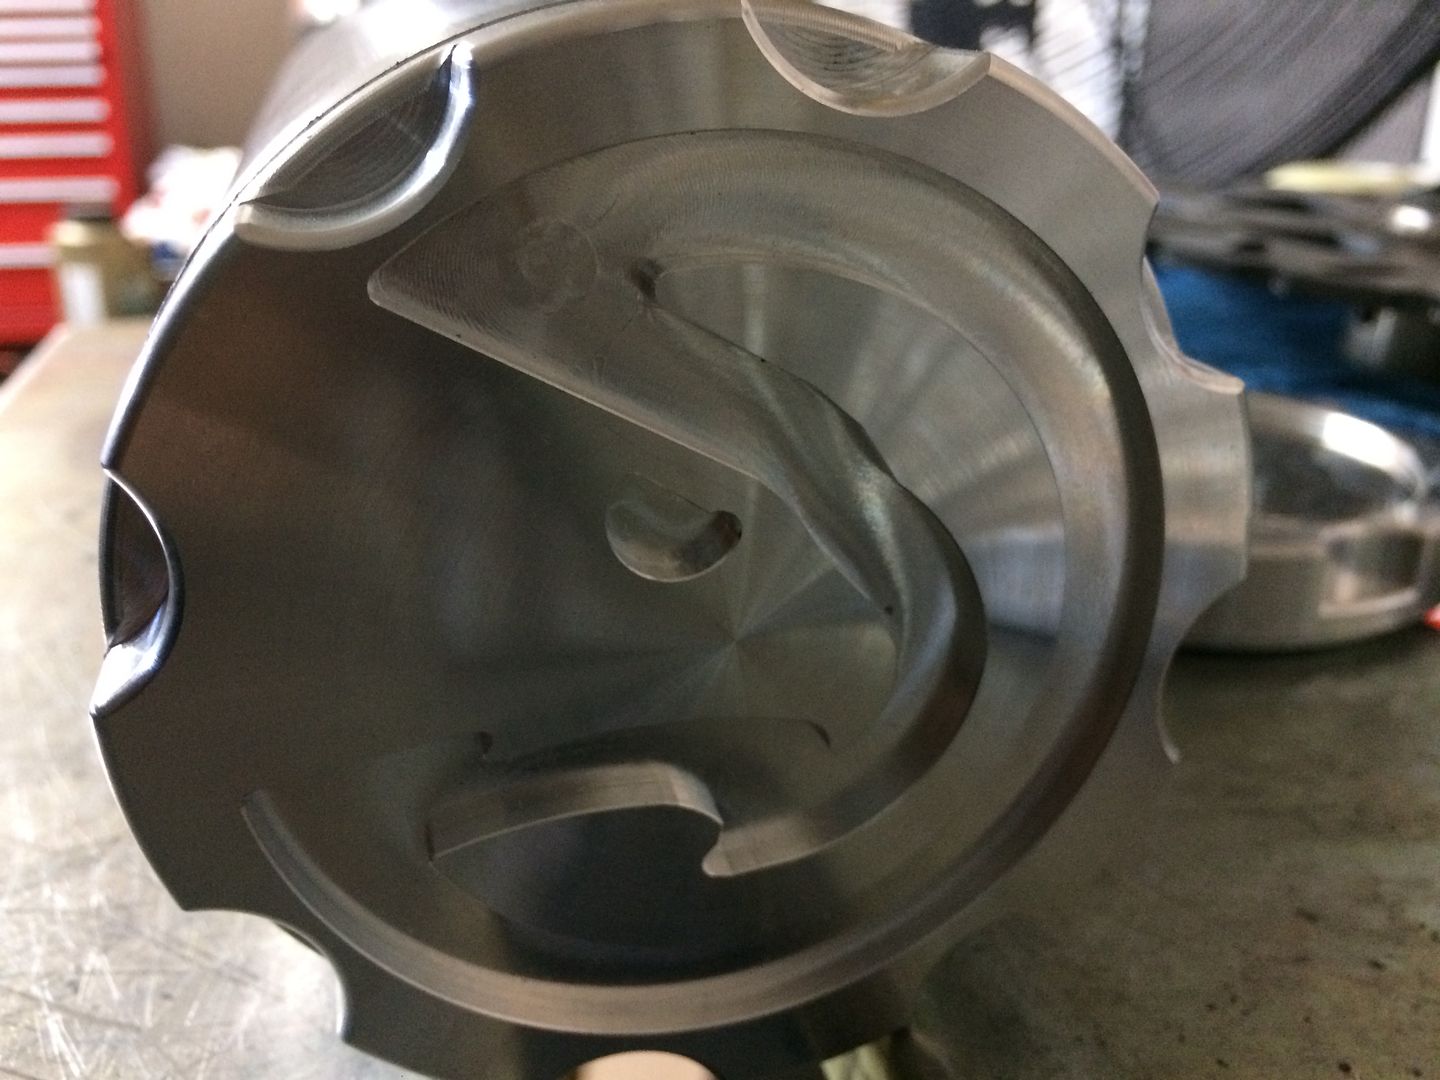
i programmed the cap to be a small vent through the top... but fit a filter (1/8' npt) on the bottom to help prevent any vacuum issues with gas coming out the vent... grabbed the small vents from mcmaster car [/quote]
I welded up the first one... I do not use the pulse feature, which may make rhythm a little easier to get down initially, but the point for me is to keep getting better feeding the wire and controlling the welder without any of the extra features of a welder in a sense... each time it sit down, i do seem to get more comfy with it... the better i get, i will play with the functions of the positioner's controller and play with pulse and maybe try to make a cold wire feeder, to be used with the positioner, when im using it.. but for now, i want to practice tig welding and dipping the rod, etc by hand... i am not using the tig pen either.. havent sense after the first day it arrived... for me its easier to just feed by hand...
my modified soft jaws work perfect... was ann affordable way to make this chuck more versatile...


 [/quote]